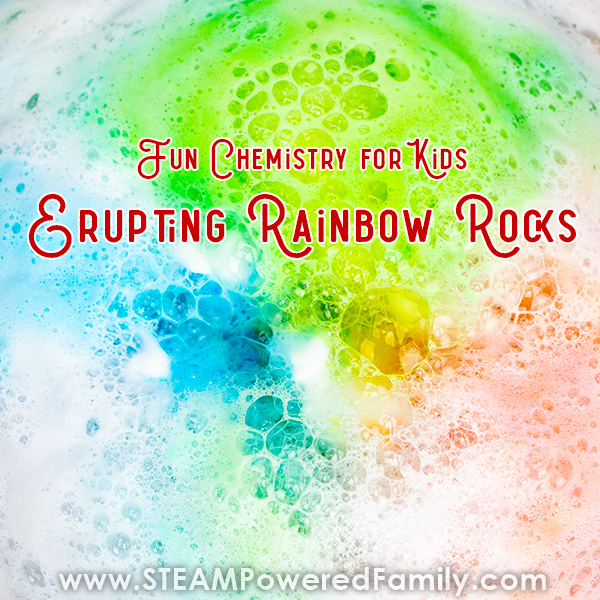
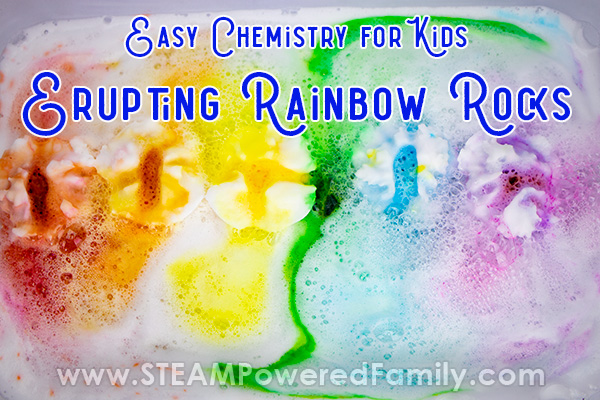
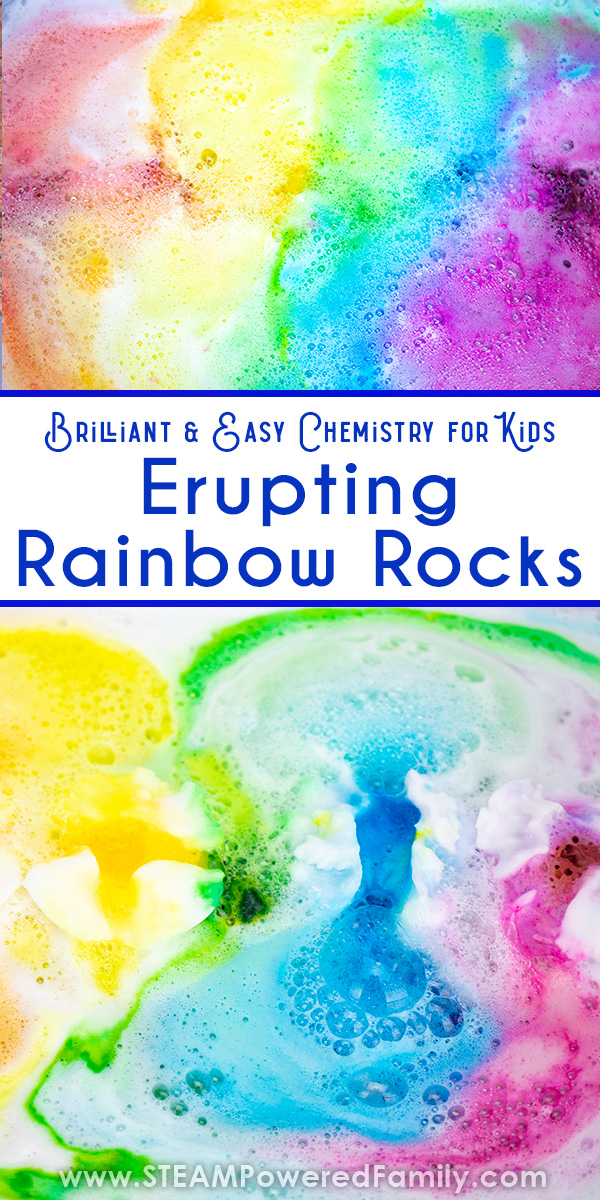
Erupting Rainbow Rocks – Brilliant & Easy Chemistry for Kids
I love it when we do experiments that have big wow factor. Erupting Rainbow Rocks definitely fit the bill! When we did this chemistry experiment the kids loved it and the room was filled with gasps. So much excitement and fun. This is how we get kids passionate about learning!
Baking Soda and Vinegar SURPRISE Rainbow Experiment
Table of Contents
Disclaimer: This article may contain commission, paid partnerships, or affiliate links. We independently review everything we recommend. When you buy through our links, we may earn a commission from qualifying purchases.
What kid doesn’t love messy science that erupts? Add in a surprise rainbow and they are sure to go crazy over this Erupting Rainbow Rocks activity.
Way, way, way back when my kids were little we created a fun activity called Hatching Dino Eggs. It was a wonderful activity that works really well with preschoolers all the way up to adults who love to get in on the fun. It is a relatively simple activity, that teaches basic concepts of chemistry while also building fine motor skills.
Recently we have been obsessed with rainbows, so while brainstorming ideas for a new chemistry activity, we thought it would be fun to create a surprise rainbow that magically appears. Soon after our Erupting Rainbow Rocks were born!
The Science Behind a Baking Soda and Vinegar Experiment
Kids love combining baking soda and vinegar. Baking soda is also known as sodium bicarbonate and is a weak alkaline (base). Vinegar is an acid in liquid form. When they combine, there is a spectacular chemical reaction known as a neutralization reaction. The reaction produces carbon dioxide gas (CO2) which is why you see all the bubbles.
The release of gas can also be contained to create a fun physics experiment exploring force, like we did with our Bottle Rockets.
Over time we have done lots of different experiments with baking soda and vinegar, but one of the first, and most talked about, was our Hatching Dino Eggs.
And I have a feeling these Rainbow Rocks will be just as famous!
Erupting Rainbow Rocks Science Experiment supplies
Making these is soooo simple! You will need:
Baking soda
Water
Food colouring (liquid)
Parchment paper
Muffin silicone mold (if desired, we used a muffin one for part of our experiment)
Freezer
Bowl
Disposable gloves
Vinegar
Syringe or cup
Large dish or container
How to Make Erupting SURPRISE Rainbow Rocks
To make these start by making the secret rainbow centers. Add about 2 cups of baking soda to a bowl, add about a tablespoon of water and mix it together with your hands. Really work it all through. If you need to add more water, do it a teaspoon at a time. You want it to be like damp sand and very mold-able in your hands. But you don’t want it to get too runny or wet as you will still need to add liquid food colouring.
If you add too much water, add more baking soda to even it out until you get the right consistency.
Take about a teaspoon worth of the mix and form it into a little ball, we called these our pebbles. Set the pebble on parchment paper on a tray or plate that can go in the freezer.
Once you have all the little pebbles lined up, add a few drops of red food colouring to one to colour it. Continue through all the colours of the rainbow, Red, Orange, Yellow, Green, Blue and Purple, until you have one pebble at least of each colour.
If the kids are helping you, you can share how you can make the different secondary colours by mixing the primary colours.
Set these in the freezer for at least 2 hours.
After two hours, take your remaining white mixture. If you need to add a bit of water to regain the damp sand consistency, do so and mix it well.
Remove the small coloured pebbles from the freezer. Now there are two different ways you can do this.

Rainbow Rocks Method 1 – A Large Rainbow Rock
Take some of the white mix in your hand and create one large disc. Place one of each coloured little pebble on the disc. Now carefully layer more white over the top. Continue adding white until all the coloured pieces are covered. Shape it into a nice rock shape.
Place the large rock on parchment paper on a plate and place it in the freezer.
Rainbow Rocks Method 2 – Lots of Rocks
For this method we created one rock for each colour. To save time we used a silicone muffin tray. Simply place some of the white mix into the base of the mold and press firmly. Add one coloured pebble. Finally pack more white mix over top and press it down firmly. Repeat for each colour so you have one rock for each colour. Place the tray in the freezer.
I recommend letting the rocks sit in the freezer overnight.
Erupting Rainbow Rocks Science Experiment
Now it’s time for the fun eruptions and magical rainbow reveal!
Set your large rock or series of rocks, whichever you chose, in a large dish. I used a casserole dish. Using a syringe or cup and pour vinegar over your rocks to start the reaction. At first you will see lots of white bubbles, but soon the colours will start to emerge and swirl!
The best is when kids don’t know the rainbow is coming! Their gasps of amazement are so much fun!
Continue adding vinegar until all the baking soda has reacted.
Check out the video of our Experiment
We made a mistake while we were making the individual rocks. We were having so much fun we didn’t realize we forgot to make a green one until we started erupting them! So the kids had me add a green pebble, so we didn’t miss any colours. Enjoy or video of this gorgeous chemical reaction!
Tips for Baking Soda and Vinegar Rainbow Rocks Experiment
If you do the large rock I found the colours released a different times, so it was hard to get a nice flowing rainbow. More planning and work on the placement of our coloured pebbles might help with that. The kids definitely preferred the reaction we had with the multiple rocks.
Bleed through of the colours can happen if your pebbles are not completely frozen. You want them literally rock hard (pun intended!). If they are at all melty, the colours can bleed through your white layer.
For a faster reaction, use a cup to add lots of vinegar at once. For a slower reaction and to practice fine motor skills, use a syringe.
Want more bubbly awesomenesss? Add a drizzle of dish soap to the dish. It will add an extra level of bubbly, foamy fun.
Enjoy the Rainbow Rock Colour Explosions!
MORE CHEMISTRY FOR KIDS