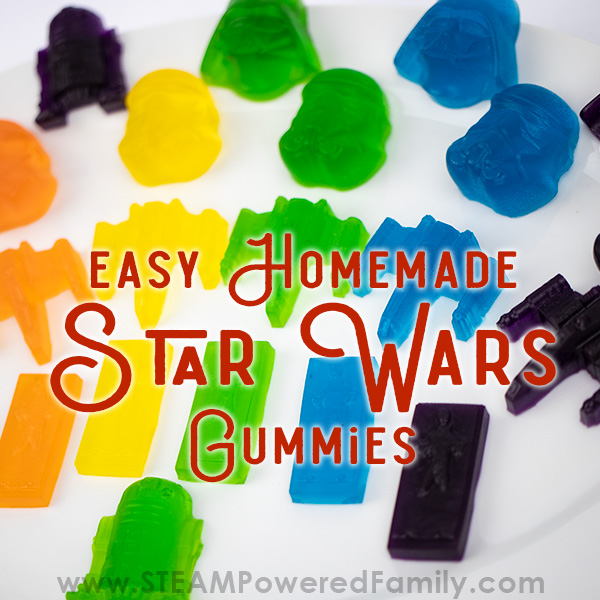
Star Wars Homemade Gummies
Star Wars is a huge deal in our household. We have even bigger reason to celebrate because we have a May 4th kiddo. For those not familiar May 4th is celebrated as a Star Wars day with the fun play on words, May The 4th Be With You instead of May The Force Be With You. So to celebrate this day of geeky, Star Wars awesome, I made these delicious Homemade Gummies. The recipe is simple and the kids go crazy for them!

Disclaimer: This article may contain commission, paid partnerships, or affiliate links. We independently review everything we recommend. When you buy through our links, we may earn a commission from qualifying purchases.
GUMMY CANDY RECIPE STAR WARS EDITION
Table of Contents
Once I realized how easy it was to make homemade gummies, I never wanted to buy the store bought ones again. The best part is all the awesome types I can make! They are the perfect treat for a themed party or event.
We’ve made Doctor Who Gummies, Heart Gummies and Dragon’s Egg Gummies.
I have to say, kids and adults alike also go crazy for these Star Wars gummies. They look and taste amazing.
EASY HOMEMADE GUMMIES INGREDIENTS
Jello (in a variety of flavours and colours)
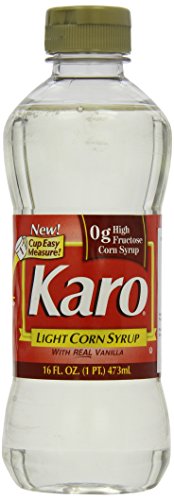
Corn Syrup (clear or light)
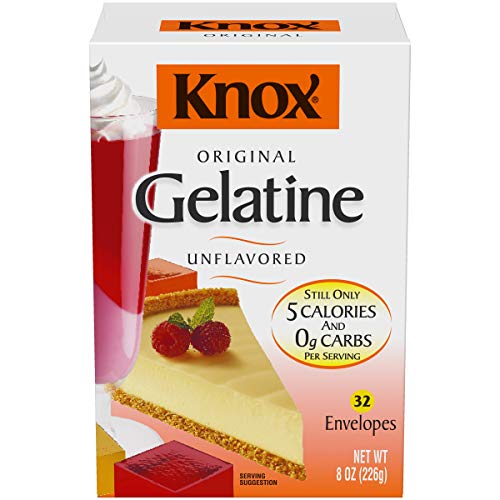
Gelatin
Water (cold)
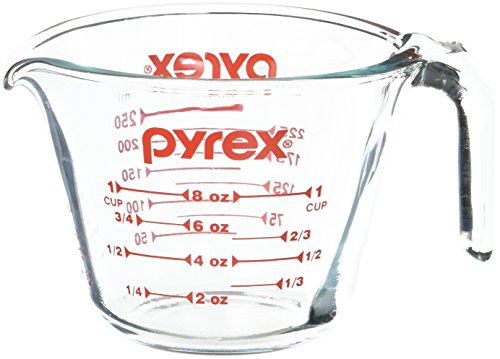
1 Cup Pyrex Measuring Cup
Pot
Whisk
Spoon
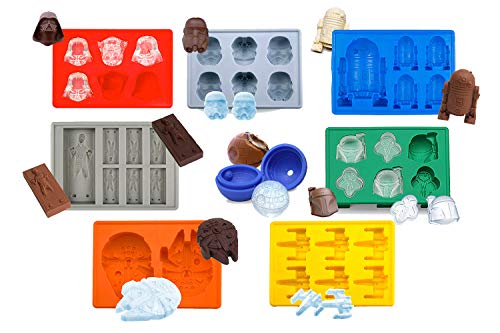
Star Wars Silicone Molds
Fridge (optional)

Star Wars Homemade Gummies Recipe
Add 1/2 cup of cold water to the measuring cup. Make sure it is cold. Refrigerate if necessary.
Watching from the side add 1/4 cup of corn syrup. This is a great moment to work on fractions and show kids that as you add the corn syrup, once the level reaches 3/4 cup you have added enough.
Mix the corn syrup and water with a spoon. It will become quite cloudy. Keep stirring until it clears. This will take about 1 to 2 minutes.
Add the mixture to your pot. Without turning on the heat, add a package of Jello and 2 packets of Gelatin (each packet is 1 Tablespoon).
Mix it all together with a whisk until it is well mixed with no lumps.
Rinse the measuring cup. You will need it again in a moment.
Now put the pot on the stove and turn on the heat to medium-low. Stir regularly with a spoon. You don’t want to stir vigorously or whisk as this will create bubbles which will make your gummies cloudy.
Once it just starts to bubble remove from the heat and pour the mixture back into the measuring glass.
Let it sit for 2 to 3 minutes. A foamy layer will develop on top. After a few minutes, carefully scoop off the foam layer and discard. The more foam you can remove, the better for creating a clear gummy.
Now carefully spoon the mixture into your silicone molds. The mixture is hot, so use caution. You don’t want to wait too long, as the mix will start to congeal.
Fast set or slow, your choice!
Leave the molds to sit for at least 30 minutes before moving them. Then you can move them into the fridge if you wish. If you need to move them earlier, simply make sure your molds are on a plate before you start filling them.
If you are leaving them on the counter, it will take about 4 to 6 hours for them to set up. In the fridge they can set up in about 2 to 3 hours. If possible, I always try to leave them overnight to set up.
Note: Temperature and humidity will affect the setting up time.
Once they are set, gently pop them out of the silicone molds and enjoy!
TIPS FOR MAKING HOMEMADE GUMMIES
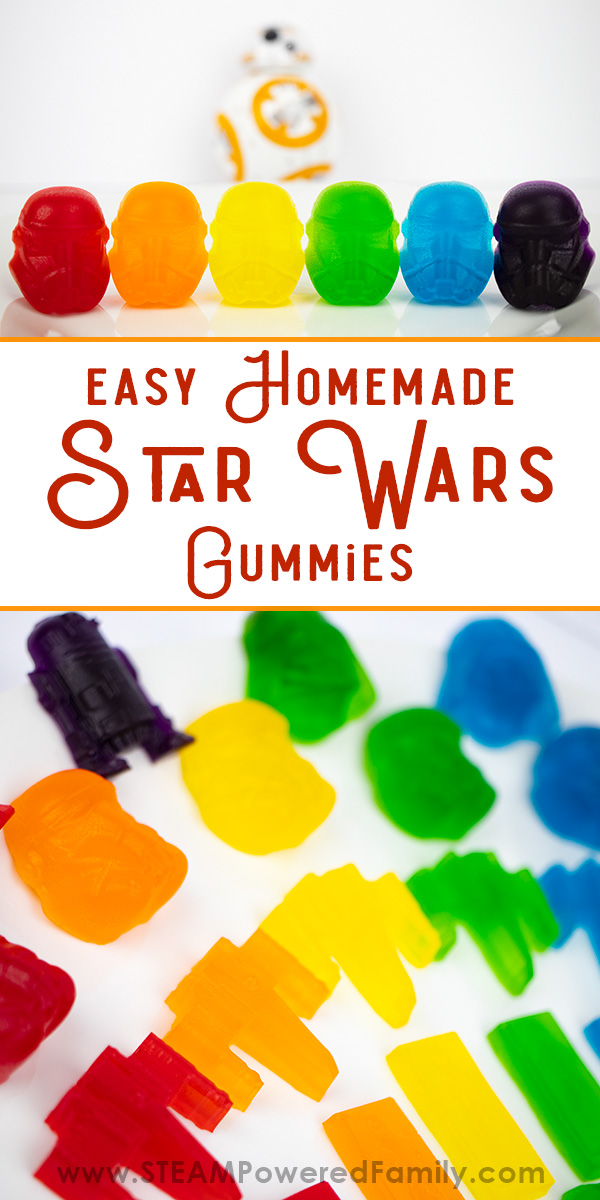
Now if you are making these Star Wars gummy candies for a party or event, or even as a special treat, I recommend making them in lots of colours. They look so nice when they are in a rainbow of colours and flavours. It makes an amazing presentation.
If you set out your silicone molds you can fill just one or two of the molds with each colour. Then when you are done you will have each style in a variety of flavours.
If you need the gummies to set up quickly, set them in the fridge.
The gummies may be a bit sticky when you remove them from the mold, simply let them sit at room temperature or in the fridge for another hour or two. The stickiness should go away.
Make sure you store them in an airtight container until you are ready to eat them. If they will even last that long!
If you find your gummies are cloudy or have lots of bubbles and it bothers you, use the technique we used to make our Doctor Who gummies to make your homemade gummies. It takes more time but results in super clear gummies. Simply let your gummy candy mix set up in a disposable coffee cup overnight. Then, once solid, cut off the top foam layer, then reheat the mixture. It takes more time but the results are super clear.
My kids no longer let me take that long to make homemade gummies, a few bubbles don’t bother them at all!
Gummy Candy Science Lesson
Tip! Turn Gummy Candy making into a lesson on polymers! You can get all the science details here on our Dragon’s Egg Gummies Recipe.
May The 4th Be With You!
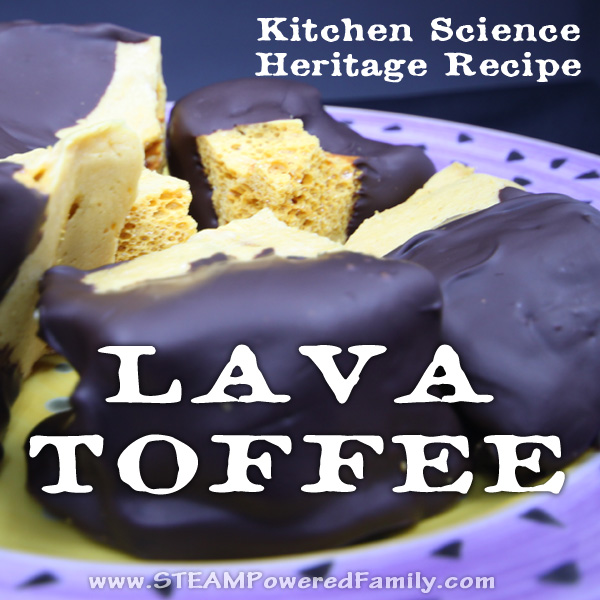
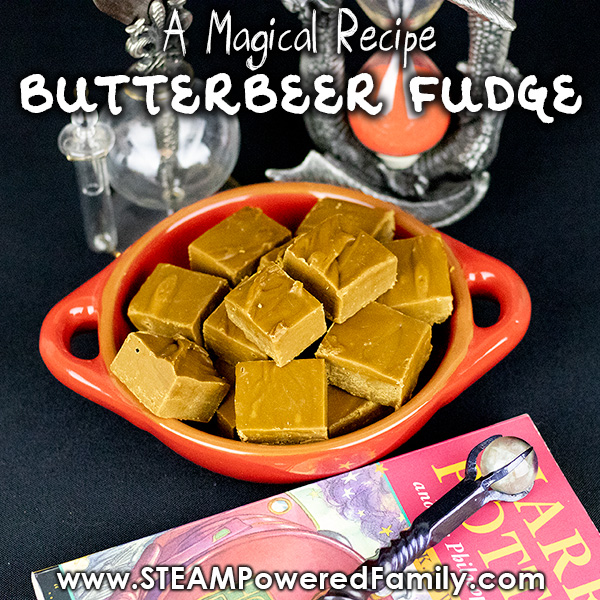
MORE CANDY SCIENCE

Star Wars Gummy Candy Recipe
Star Wars Homemade Gummies – This easy and delicious recipe will be a huge hit with the kids. Perfect for Star Wars parties and May The 4th Be With You.
Supplies
- 1 Package Jello
- 1/4 cup corn syrup
- 2 packets gelatin (packet equals 1 Tbsp)
Instructions
-
Add 1/2 cup of cold water to the measuring cup, plus 1/4 of corn syrup. Mix until clear.
-
Add the mixture to your pot. Without turning on the heat, add a package of Jello and 2 packets of Gelatin. Mix until no longer lumpy.
-
Turn on low-medium heat. Stir regularly to prevent burning until mixture just starts to bubble.
-
Remove from heat and pour back into measuring cup. Let sit 2 minutes.
-
Spoon off the foam that has risen to the top.
-
Carefully spoon into the molds.
-
Let sit for 2 to 3 hours in the fridge or 5 to 6 hours at room temperature.
-
Remove from molds.