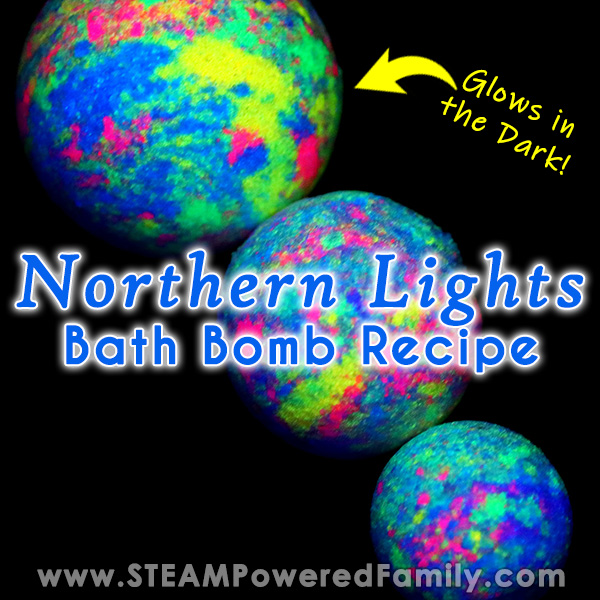
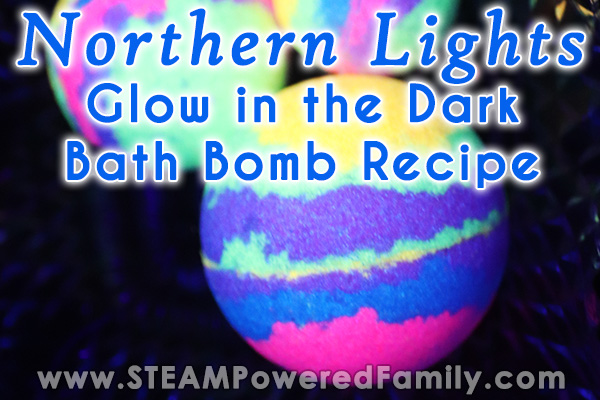
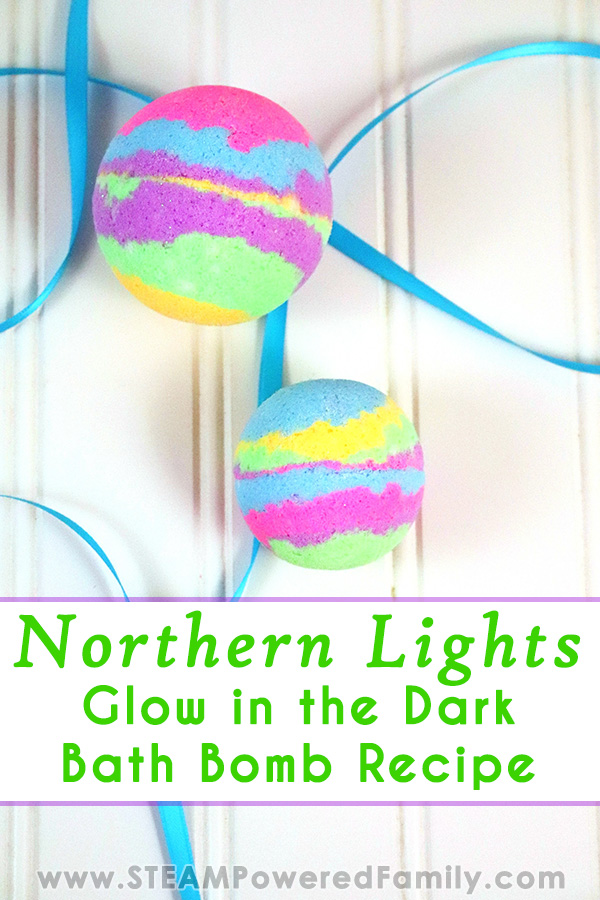
Northern Lights Bath Bomb Recipe
Living in the great chilly North can be hard at times, but it does mean we get some spectacular natural phenomenons like the effects of extreme cold and the dazzling Northern Lights displays. This time of year we see a lot more of the Northern Lights, so we decided to capture those beautiful natural lights in a Glow in the Dark Northern Lights Bath Bomb Recipe.
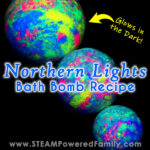
Northern Lights Glow in the Dark Bath Bombs
Table of Contents
Disclaimer: This article may contain commission, paid partnerships, or affiliate links. We independently review everything we recommend. When you buy through our links, we may earn a commission from qualifying purchases.
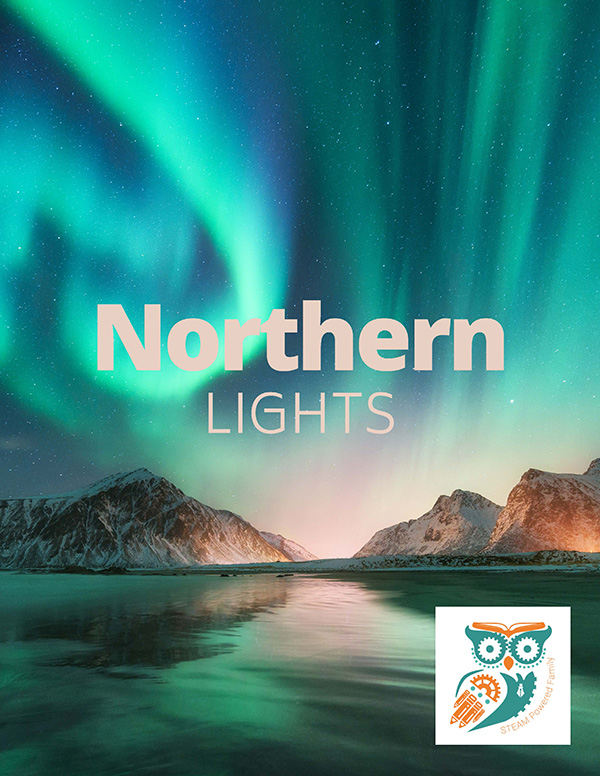
The Northern Lights are truly magical and if you are ever fortunate enough to travel up here in the North and catch one of the gorgeous displays it is something you will never forget. Before we get to the bath bomb making, let’s chat a bit about the fascinating Northern Lights.
This is also a great way to bring in some science lessons to your bath bomb making, beyond the standard chemistry lesson.
What are the Northern Lights?
The Northern Lights are incredible light displays in the sky. Also known as Aurora Borealis or simply the Aurora, they occur over the North Pole and the South Pole. When seen in the south they are known as Aurora Australis.
Did you know the Northern Lights are actually caused by the Sun? It may be 93 Million miles away, but the Sun impacts our whole solar system and one of the ways we can see that impact is the ethereal dancing Northern Lights.
How? Great question!
The temperature on the surface of the sun is approximately 5,600 Celsius (10,000F). That intense heat means collisions between gas molecules are frequent and explosive. When those collisions happen, free electrons and protons are thrown from the sun’s atmosphere by the rotation of the sun. Those charged solar particles are carried through our solar system on solar winds. Most of the time, the charged particles are deflected by the Earth’s magnetic field, but the magnetic field is weaker at the poles (North and South) allowing some of those particles to slip into our atmosphere. Once here, they collide with gas particles on Earth. The collisions cause a reaction that releases light. Those lights dance across our night skies creating what we call the Aurora or Nothern Lights.
If you have seen Northern Lights or even just Googled for images of Northern Lights or Aurora, you have probably noticed there is quite a bit of variation in those dancing colours. Those different colours are caused by different types of gas particles colliding. The most common colour you will see is green which is caused by collisions with oxygen (O2), while Nitrogen collisions cause blue and purple aurora lights.
Want to learn more about Aurora on Earth, and other planets (oh that got your attention!), check out this article from Space.com.
Northern Lights Lesson Pack Printable
Looking for a Northern Lights lesson pack you can print out and use with your students? We have you covered! Check out this stunning printable available in our shop that includes lessons, activities and more.
Now let’s make some gorgeous Northern Lights Bath Bombs!
Bath Bomb Ingredients and Supplies
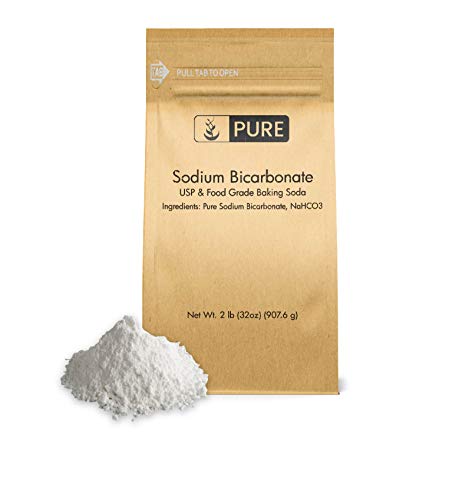
2 cups sodium bicarbonate (baking soda)
1 cup citric acid
1/4 cup cream of tartar
2 tablespoons Epsom salts
1/3 cup coconut oil
2 teaspoons polysorbate 80
10-20 drops ylang-ylang essential oil
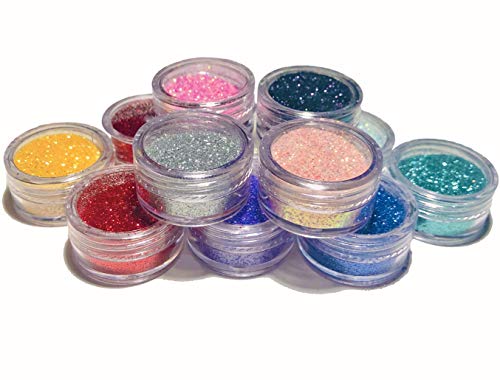
1 tablespoon biodegradable cosmetic glitter (optional, see note)
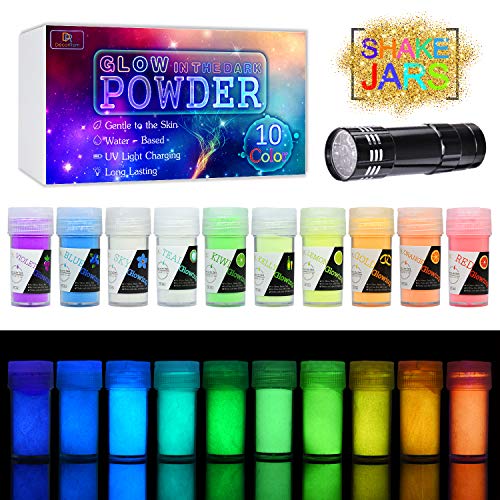
1 tablespoon each of 6 glow in the dark mica
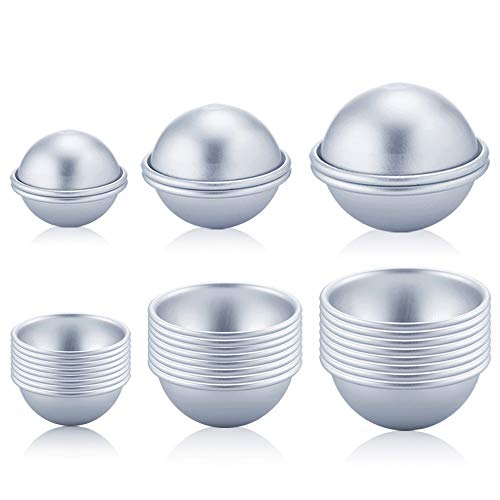
Stainless steel bath bomb molds
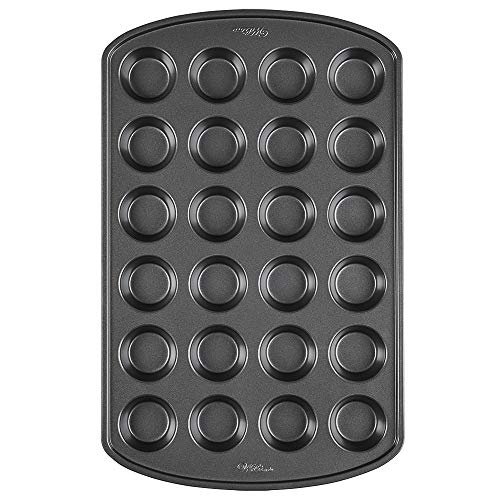
Mini muffin tin (optional)
2 large mixing bowls
6 small bowls
*A NOTE ON GLITTER – Glitter has become very controversial due to the negative impacts on the environment, but I know many of you still love a little sparkle in your projects! When it comes to glitter, I believe it is always optional. None of my projects require it. But if you decide you do want a little sparkle and shine in your creations, I highly recommend using a biodegradeable glitter. There are lots of fantastic options available.


![Mica Powder Pigment 22 Colors Plus 8 Glow in The Dark Powders [Huge 300g/10.58oz Set] for Soap Making,Bath Bombs,Epoxy Resin Dye,Slime Colorant-Natural Cosmetic Grade Pigments](https://images-na.ssl-images-amazon.com/images/I/51AoLSO1gOL.jpg)
DIRECTIONS – Glow in the Dark Northern Lights Bath Bomb
MIX DRY Ingredients
In a large mixing bowl, add the baking soda, citric acid, cream of tartar and Epsom salts and mix together.
MIX WET ingredients
In a second bowl, add the coconut oil and melt it briefly in the microwave until it just liquefies. This binds all the ingredients together, so you bath bombs don’t crumble.
Add polysorbate 80. This is an emulsifier which helps the oils and colours mix nicely with the bath water and prevents them sticking from the tub and the bather.
Add the essential oil. Now mix all the liquids together. If you are using glitter, add it now and mix it into the liquids.
Mix the wet and dry ingredients together
Next pour the liquid mix into the dry mix bowl and start working it all together. I like to use my hands and really work everything together. You want it to feel like wet sand and clump when you squish it.
Separate mixture into 6 small bowls.
Colour the mixtures
Add 1 tablespoon of each mica powder into each small bowl. Mix in thoroughly. If you want a darker color, add in an additional bit of color (maybe a teaspoon, don’t go crazy!)
I recommend using gloves when mixing in the mica. It helps prevent any staining of your hands or cross contamination. If you wash your hands between colours, make sure to dry them completely. Any moisture left on your hands will trigger a reaction.
Pack the molds
Fill both sides of the mold with the mixture. You can either create neat layers or splatter it into the mold in a more chaotic pattern. It’s totally up to you! Fill each half until slightly overflowing. If mixture gets dry while making your bath bombs, mix in a spritz or two of the rubbing alcohol.
Press molds together and grind to remove excess mixture.
Gently tap each side of the mold to release the bombs. To avoid the bombs breaking during the drying phase, I put them in a mini muffin tin. They fit perfectly! And this means you can move them to a safe place. Say away from curious kittens that want to lick them (now that was a mess!).
Let Set and Enjoy!
Allow the bath bombs to dry for at least 24 hours. If your climate is wet or cold, allow an additional 24 hours. My rule of thumb is that when it is hard to the touch, they are ready for the tub!
Store in an airtight container until ready for use.
The Science of Bath Bombs
Bath bombs fizz due to an acid-base reaction between baking soda (base) and citric acid and cream of tartar (acids). When dry these ingredients don’t react. You need to add water to trigger the reaction. And yes the temperature of the water makes a difference as we discovered in our Bath Bomb Science Fair project.
Another interesting ingredient is Polysorbate 80, which is an emulsifier. Oil and water don’t mix unless you add an emulsifier which makes this ingredient incredibly useful for many projects, including our Moon Dough recipe.
Finally the ability of these bath bombs to glow is another fascinating science. We spent a lot of time talking about the science behind things that glow in the dark in our Glow in the Dark Oobleck experiment. Glow in the dark pigment powder works through a process called luminescence which is caused by chemicals called luminescent phosphors. For this glow to work the mica needs to charge in the light. Let the bath bombs charge in bright light before turning off the lights. This will charge the luminescent phosphors. You will have the brightest glow when you first turn off the lights, then it will fade. You can “recharge” the glow simply by turning on the lights again for a minute.
I hope your Northern Lights Glow in the Dark Bath Bombs are a magical experience!
MORE BATH BOMB RECIPE PROJECTS
Northern Lights Glow in the Dark Bath Bomb Recipe
Northern Lights Bath Bomb Recipe that glow in the dark and captures the beauty of the dancing lights of the Aurora Borealis.
Supplies
- 2 cups Sodium Bicarbonate aka Baking Soda
- 1 cup Citric Acid
- 1/4 cup Cream of Tartar
- 2 tbsp Epsom Salts
- 1/3 cup Coconut Oil
- 2 tsp Polysorbate 80
- 10-20 drops Ylang-Ylang Essential Oil change to suit preference
- 1 tbsp Biodegradeable Cosmetic Glitter (optional)
- 1 tbsp Each of 6 Different Glow Mica Powder Colours
Instructions
-
In a large mixing bowl, add the baking soda, citric acid, cream of tartar and Epsom salts. Mix.
-
In a second bowl, add the coconut oil and melt it briefly in the microwave until it just liquefies.
-
Add polysorbate 80 and essential oil. Mix.
-
If you want to use the glitter, mix it into the liquid now.
-
Next pour the liquid mix into the dry mix bowl and start working it all together with your hands until it feels like wet sand.
-
Separate mixture into 6 small bowls.
-
Add 1 tablespoon of each mica powder into each small bowl. Mix in thoroughly. If you want a darker color, add in an additional bit of color (maybe a teaspoon, don't go crazy!)
-
Put on gloves if you wish now. Then use your hands to work the mica powder into each bowl until the colour is evenly distributed.
-
Fill both sides of the mold with the mixture. You can either create neat layers or splatter it into the mold in a more chaotic pattern. It's totally up to you! Fill each half until loosely heaped.
-
Press molds together and grind to remove excess mixture.
-
Gently tap each side of the mold to release the bombs.
-
Set the bath bombs in the mini muffin tray and set somewhere warm and dry to set for 24 to 48 hours.
-
Store in an airtight container until ready to use.