Mini Greenhouse Project for Kids
Ready to dig into a hands-on STEM adventure? Building a mini greenhouse is the perfect way to bring science to life while inspiring curiosity and creativity in young learners. Whether you’re running a classroom, homeschool program, or after-school activity, this project blends science, engineering, and environmental awareness in a way that gets kids excited. As students design and build their own mini greenhouses, they’ll explore plant biology, ecosystems, and problem-solving, all while getting a little bit dirty but having blast learning and connecting with nature. Let’s grow some knowledge, one seed at a time!
Seedlings and Science:
Create a Mini Greenhouse in the Classroom to Explore Biology, Ecosystems and Nature
Table of Contents

Disclaimer: This article may contain commission, paid partnerships, or affiliate links. We independently review everything we recommend. When you buy through our links, we may earn a commission from qualifying purchases.
Spring has sprung! The days are getting longer, the sun is shining and you can feel the warm air moving in. Springtime is always a season of new beginnings and the perfect time to introduce the kids to seeds starting in their own mini greenhouse – and the best part is our little greenhouses are made from recycled materials! Starting seeds with kids teaches them about plant life cycle, water cycle, how a greenhouse helps plants grow and hopefully develop a love of nature and gardening.
You can start this project pretty inexpensively and in a short amount of time – then you can observe the seeds over time in your home or classroom to watch the incredible growing process. The kids are always so excited to check their seeds each day. For an extra fun twist, consider starting vegetables or herbs that your kids can transplant and eventually harvest.
Supplies
Clear Plastic Containers (think about the containers from fresh produce, lettuce, tomatoes, berries, or from the bakery, like pastries and muffin containers)
Seed Starting Soil
Seeds (I recommend a seed that has a quick germination like microgreens so the kids see the results relatively quickly)
A spray bottle to water the plants.
The Workspace
This can be a messy project. If you are not doing it outdoors, consider covering your table with old newspapers or a tablecloth. You could even use an old baking sheet, the benefit of the baking sheet is that you can easily move the mini greenhouses when the planting is done.
Starting a Mini Greenhouse
Prepare your work area, especially if you are doing this indoors. Cover your work surface with plastic, papers or the baking sheet. Line up your plastic containers with the tops open. You will one container per student.
Once everything is ready, have your kids scoop some of the seed starting soil into each container. The amount of soil will depend on the size of the containers, but plan on filling them about three quarters of the way full.
Now you will want to plant the seeds according to the package directions. Show the kids the seeds in the palm of your hand, let them feel the seeds. If you have a microscope or a magnifying glass, get a close up look at the seeds. Make some observations.
Time for planting!
After the kids have checked them out, let them place the seeds in the soil. Don’t forget to water the seeds by using the spray bottle to soak the soil. You will want to be sure it is nice and wet so the seeds will have a nice start.
Once they’ve been watered, close the tops of all of the containers and place them in a sunny spot.

Observe and Record
Each day, encourage kids to observe changes they see, mark on your calendar when they were planted and then when seedlings sprout. Have them watch how condensation forms inside the greenhouse.


How Does a Greenhouse Work? The Science
A greenhouse traps heat and moisture inside which mimics what happens in nature. Three key ways we can see this:
Heat Absorption: Sunlight enters through the clear plastic, warming the air and soil inside making an ideal environment for plants to thrive.
Moisture Retention: Water evaporates from the soil and the plants, forming condensation on the inside of the container. This water will then drip back down onto the soil, keeping it moist.
Steady Temperatures: Greenhouse plants have an advantage over the outside because plants have a constant environment to grow while their outdoor counterparts have to deal with temperature and weather changes.
Extension Activities
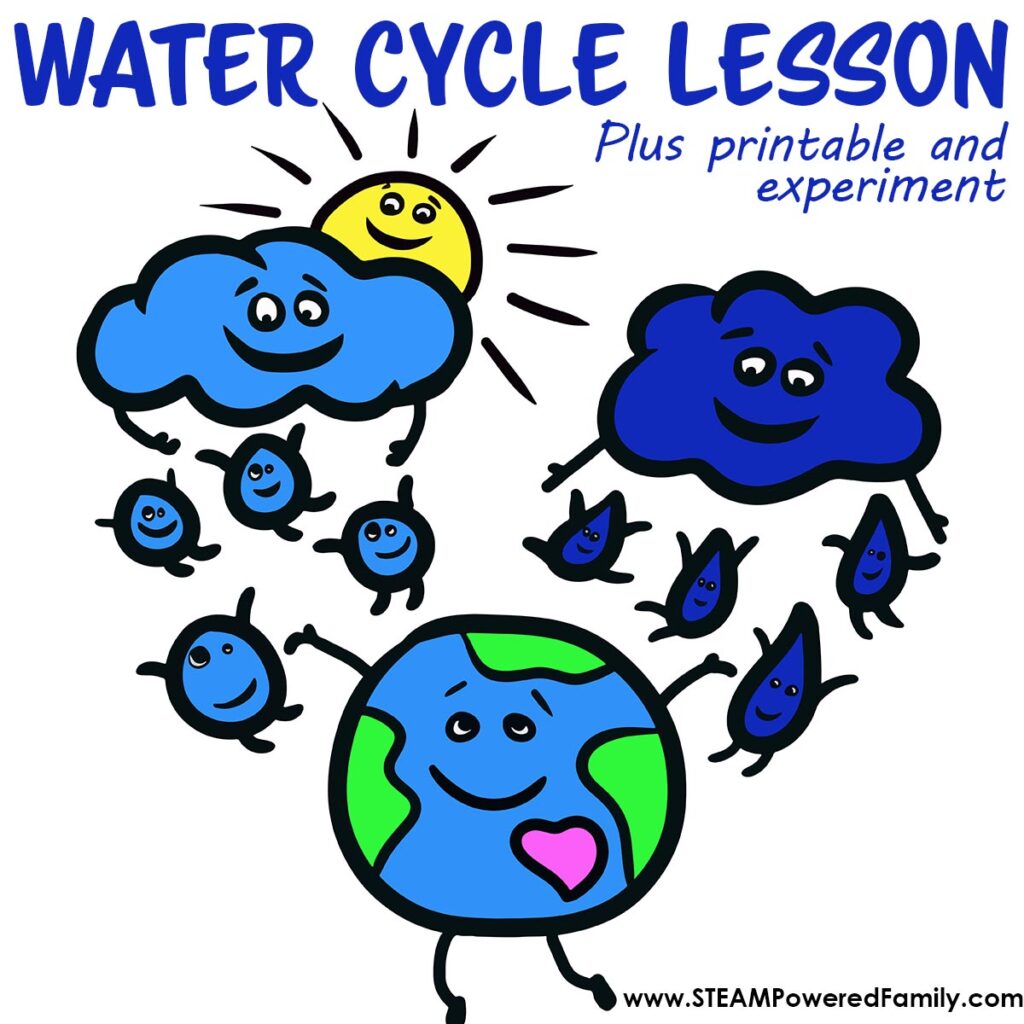
This DIY greenhouse project is a great way for kids to see the water cycle in action. They can watch how the water that has evaporated from the soil gathers on the top of the container and then drips back down onto the soil. If you would like a bonus lesson for the kids on the water cycle, check out this fun Water Cycle Lesson.
You could also do an experiment to explore how different seeds germinate under varying conditions: Check out the Seed Lab Project for how we did this.

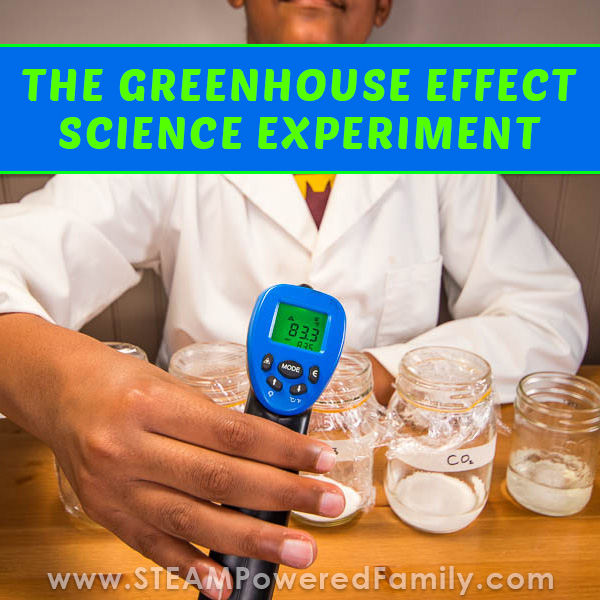
If your kids are really fascinated by the earth sciences and the science behind a greenhouse, check out this Greenhouse Gas Experiment. It allows students to learn more about this issue that affects our planet.
Make it Magical
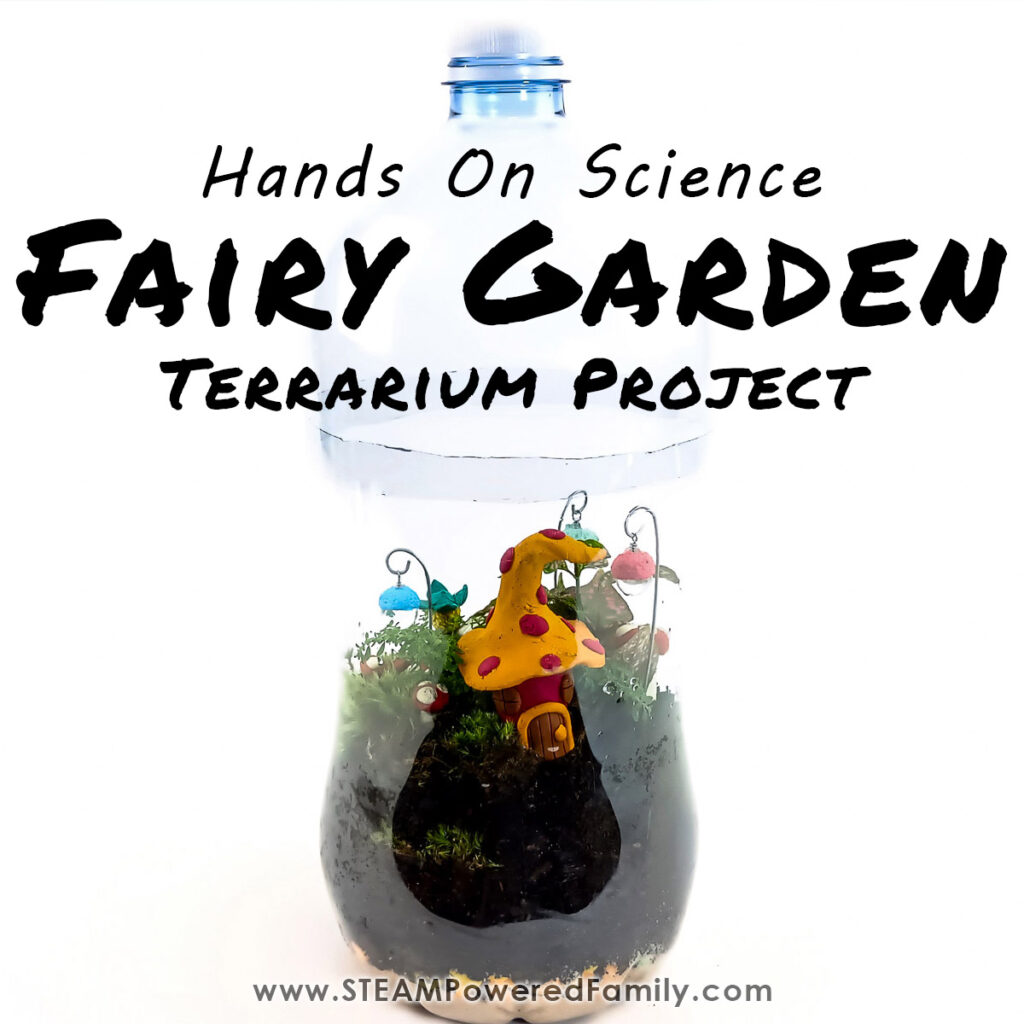
If you would like to take the project in another direction, why not transform your greenhouse into a little fairy garden. You can add pebbles and moss and little fairy figurines! Check out the Fairy Garden Terrarium project.
I love a project like this one even for little kids. It teaches the kids to be responsible and look after their plants and helps them connect with nature and natural life cycles. Try this mini greenhouse project with the kids in your life. This is such a fun project, that makes lasting memories, builds curiosity and gets the kids excited about nature.