How to Make Bouncy Balls Experiment
Did you know that you can make a DIY rubber bouncy balls out of glue and a couple of other ingredients that you probably already have on hand? Glue- who would have thought?!? Some might call it polymer science – I just call it good old fashioned fun! Some of the experiments that are the most fun are actually really simple and need very little in the way of cost, prep or planning but can still have a lasting impact on learning!
Homemade Bouncy Balls
Table of Contents
Disclaimer: This article may contain commission, paid partnerships, or affiliate links. We independently review everything we recommend. When you buy through our links, we may earn a commission from qualifying purchases.
So how do you make a bouncy ball out of glue you might ask? First you will need to gather up a few simple ingredients. But before you do that, check out this video of the project. If you can’t see the video, turn off your adblockers as they also block our video feed. You can also find this video on the STEAM Powered Family YouTube Channel.
Supplies
White Glue (You can use any brand but Elmer’s works perfectly every time!)
Cornstarch
Borax
Water
Measuring Spoons
Measuring Cup (Liquid Measure so you can see that the Borax completely dissolves)
Food Coloring (Optional but Fun)
Plastic zip top bags (if you would like to store the balls after you’re done experimenting).
How Does Bouncy Ball Science Work?
So how exactly does the DIY bouncy ball come together? The key to turning the glue into a ball lies in the science behind it. Glue is a polymer. Simply, a polymer is a great big molecule made up of a bunch of smaller molecules that are stacked in a repeating pattern. Learn more in What is a Polymer?
Borax is a mineral also known as sodium borate. Mixing borax with water forms a borate ion and mixing the borax ion solution with the liquidy glue actually causes a chemical reaction that shortens those long polymer molecules causing them to “rubberize” and turn into a harder substance that when rolled into a ball can actually bounce!
Exploring Polymers
Where else have we explored polymers? One of the most popular activities with polymers is homemade slime recipes! Kids love playing with slime, which is a polymer.
Another polymer experiment is making bioplastics. Whether you make clear bioplastics with gelatin or simple milk plastics, this is another type of polymer.
For your little ones, they can explore polymers with a sensory bin created with water beads.
So how do we make these homemade bouncy balls? There are a couple of methods for making the bouncy balls, so it is actually a great opportunity for you to have your kids or students compare and contrast which recipe or method works better and bounces higher.
Making Bouncy Balls Directions
Method #1 (Yellow)
Start off by mixing together a half a cup of warm water (the warmer the water the faster the borax will dissolve) and a tablespoon of Borax. Mix them together and then stir it until it is completely dissolved, the water will appear clear again – that’s how you know it is totally mixed.
Next, mix a couple of tablespoons of glue and a tablespoon of cornstarch together in a different bowl. If you need to make a bigger batch that is totally fine, just go with a 2:1 ratio of glue to cornstarch.
Add a little food coloring if you would like the ball to have some color – obviously it will work without the color but it is more fun! Mix the color in and then drop the glue mixture into the borax mixture and gently swirl it around. The glue will immediately start to harden.
When you see it coming together you can scoop it out and roll it in your hands until it forms a ball! Then just bounce away!
Method #2 (Blue)
Method 2 starts the same, mix your half a cup of warm water into a tablespoon of Borax and stir it until it is completely dissolved.
Mix the glue, cornstarch and food coloring. If you are comparing the bounce between these two recipes I would choose a different color for each. Mix together until well combined.
Now this is where it differs. Rather than dumping the glue into the borax mixture, simply add a tablespoon of the mixture into the glue. Stir it together to form a paste and then coat your hands with some cornstarch and roll the mixture into a ball.
The Results
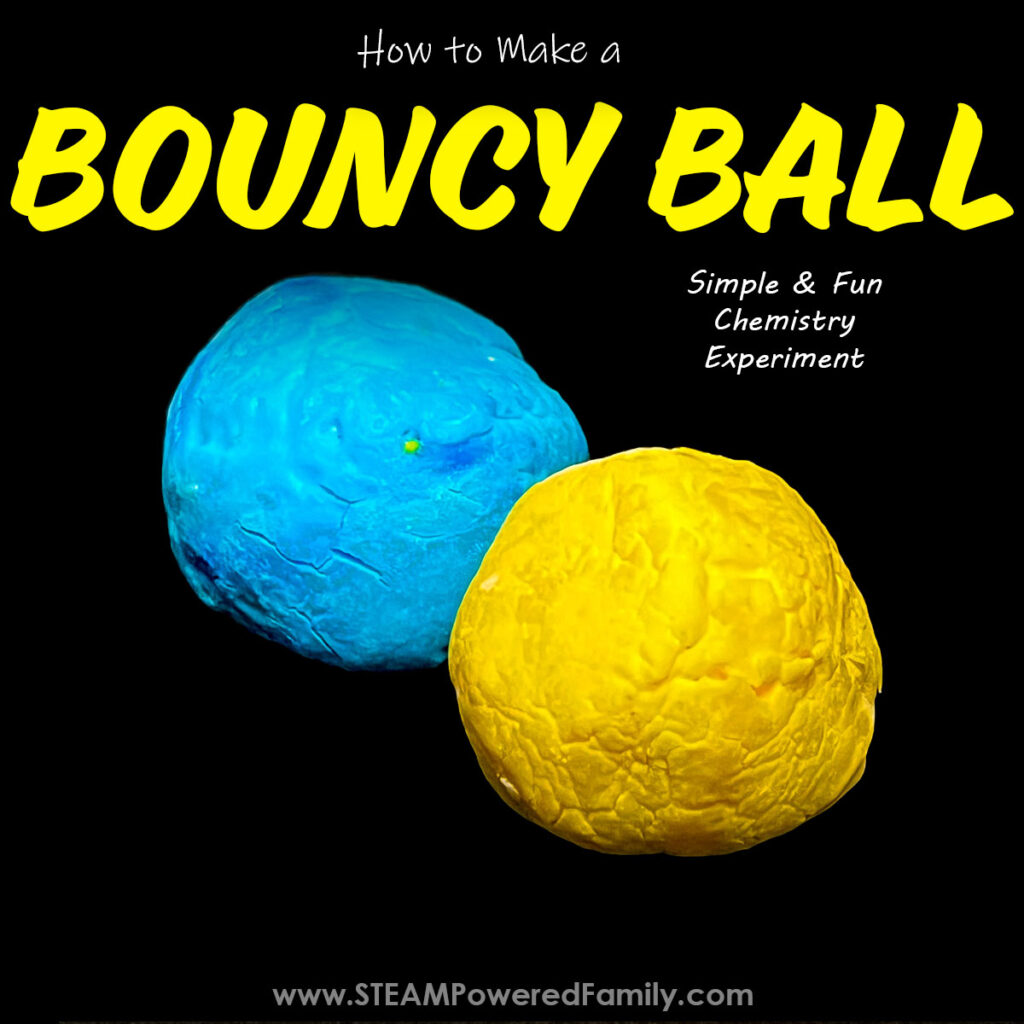
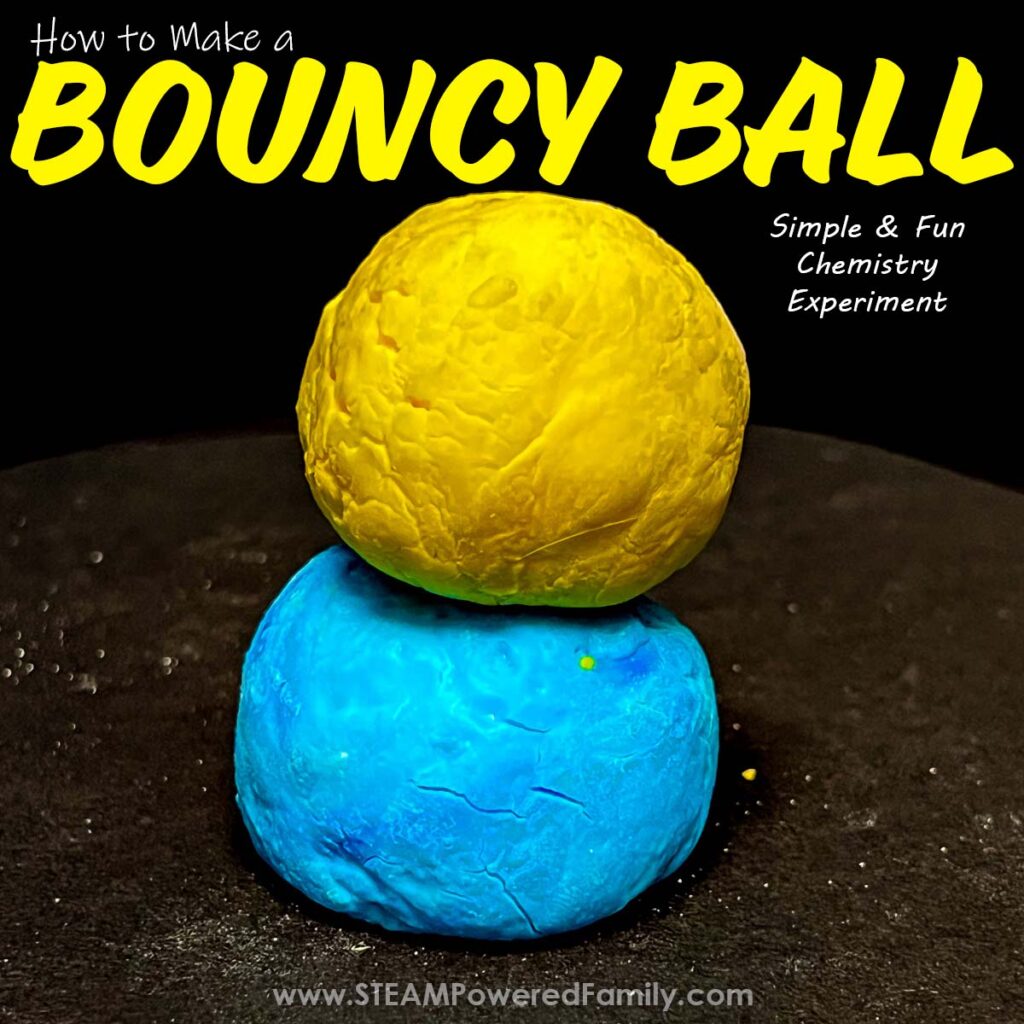
Now it’s time to compare: Lay the balls side by side – which one looks better – more like a bouncy ball.
Honestly – they are not pretty but they are definitely no longer a sticky liquid substance.
Next, the bounce test – which one bounces better? Have the students observe.
You could also have students discuss why they think each is different or even experiment with more or less of each ingredient.
Does changing the recipe change the way the ball looks or reacts? How else could you shake this up?
How about a different type of glue, we actually tried with both glitter glue and metallic glue. The metallic glue was a no go – it never turned into a ball, it was just kind of slimy.
The glitter glue was great – it looked amazing and bounced like a dream! Now what if you used glow in the dark glue?
Simple – straightforward science, what a great way to engage students in hands-on learning disguised as fun! I hope you try this little experiment and make some homemade bouncy balls with your class – or your kids!