Halloween Salt Dough Craft
If you’re looking for a fun Halloween Project that combines science, art and a little math, but also is hands on to build dexterity and fine motor skills, try a Halloween Salt Dough Project! Not only is this project easy, engaging , low cost and low prep, the kids get a special keepsake they can take home with them to help decorate for Halloween. This is a fantastic Halloween craft idea for the classroom, home or after school club.
Halloween Crafting with Salt Dough
Table of Contents

Disclaimer: This article may contain commission, paid partnerships, or affiliate links. We independently review everything we recommend. When you buy through our links, we may earn a commission from qualifying purchases.
What is Salt Dough?
Salt dough is a simple, versatile, easy-to-make crafting material you can make from simple ingredients you more than likely have at home – and if not you can get the supplies very inexpensively. All you need is plain all purpose flour, salt and water. When these elements are combined, they create a smooth, moldable dough you can roll out and cut with cookie cutters or shape into different objects like monsters or pumpkins! Once you’re finished you can let them air dry or bake them in a warm oven to preserve them.
How to Make Salt Dough
Ingredients
This recipe is about enough for approximately 15 decorations. Adjust the recipe for the number of students and salt dough projects you plan to make.
2 cups all-purpose flour
1 cup of salt
1 cup of water
Optional Decorating Tools:
Halloween Cookie Cutters
Sculpting Tools
Paint and paint brushes
Directions
You have the ingredients… now what? Well this is the very simple way to make salt dough.
Mix the flour and salt together in a large bowl. This is a fun spot to work in some math. If this recipe makes 15 ornaments – how much flour and salt would I need to make 30 ornaments? 45? What if I only wanted 7? Great ways to get the kids thinking!
Gradually add water while stirring until a dough begins to form. You will see it come together and pull away from the sides.
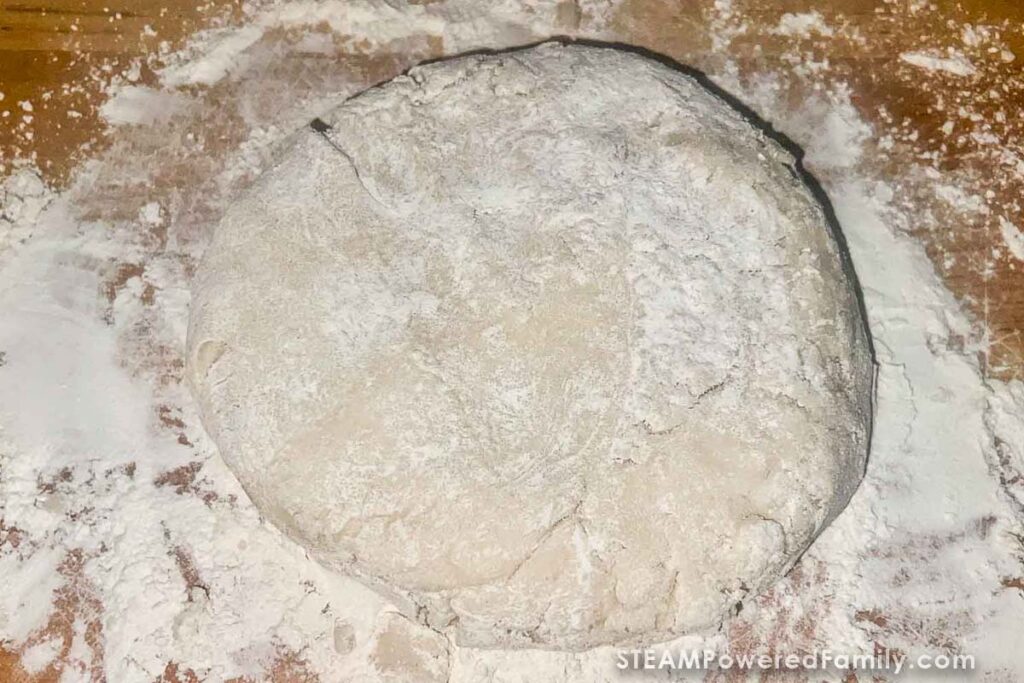
When everything is together you want to knead the dough for a few minutes to make sure it is well combined, smooth and ready to mold. Kneading is a great way to build finger and hand strength!
Once it is smooth the salt dough is ready!
Making Halloween Salt Dough Monsters and Decorations
Now for the fun part! Shape the dough into Halloween shapes!
How you do this is up to you. You can roll out the dough with a rolling pin and then use some Halloween cookie cutters to make the shapes.
Or you can sculpt and build the shapes using clay or playdough tools. The choice is yours! We decided to do both so each child could make their own unique Halloween ornaments.
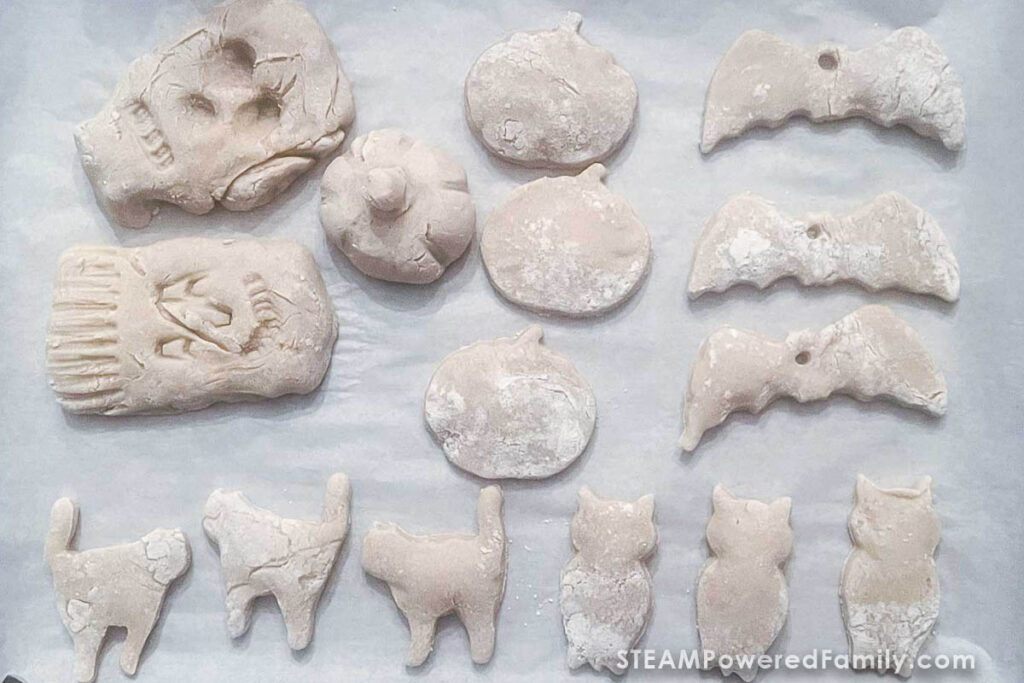
Pro Tip! If you would like to make them into ornaments that you can hang, you will want to poke the hole with a stick or straw before you let them dry. See the bats above.
Bake the dough at 200°F for 2-3 hours, or until the dough is completely dry and hard. Or, if you have the time, you can allow the salt dough to air-dry for several days.
Pro Tip! If you allow your creations to air dry, you can add embellishments like pipecleaners, buttons, googly eyes, etc. before you let them dry. That way the embellishments will dry in the pieces and stay put. But don’t add these if you are using an oven! They will melt or could cause a fire in the oven. Only do this if you are air drying the pieces!
Decorating Salt Dough Halloween Ornaments
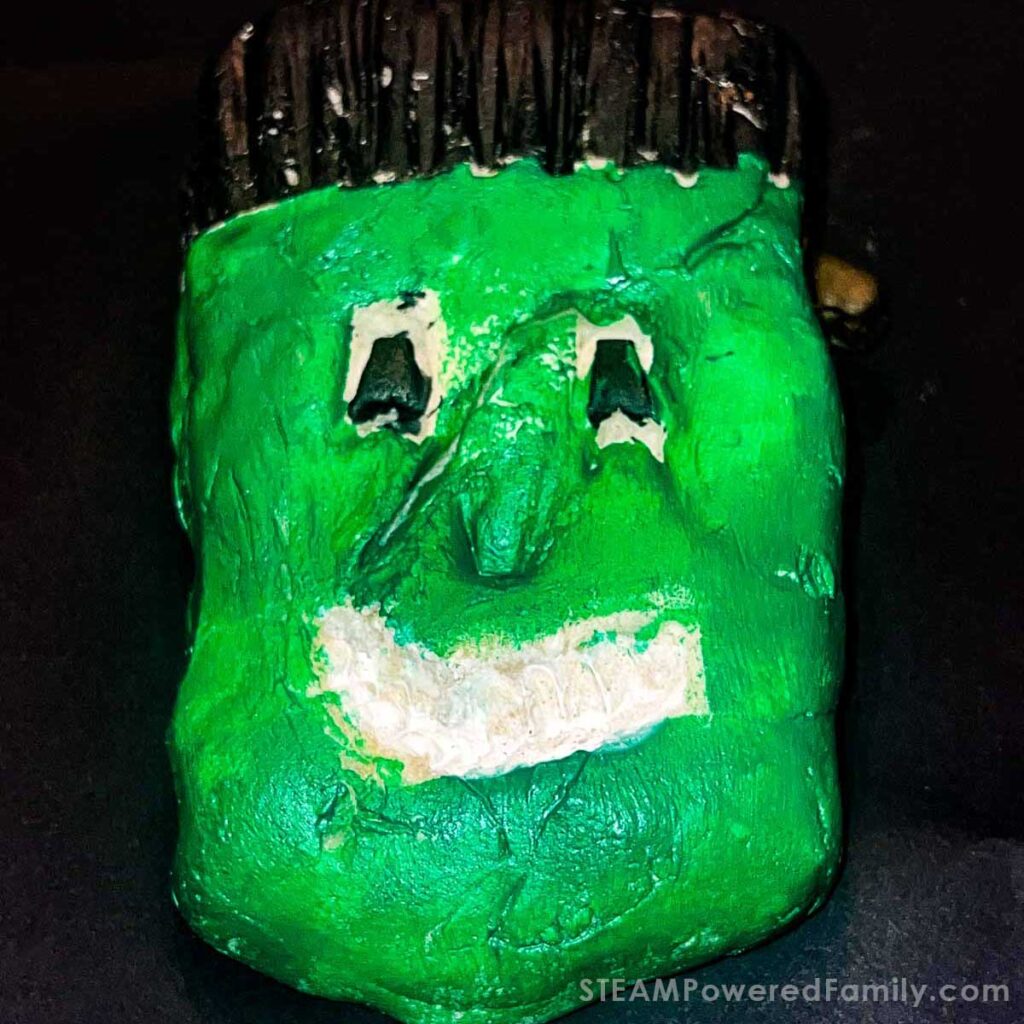
Now we get creative and really make our Halloween salt dough crafts creepy perfection!
Once your creations are completely dry and cool you can decorate them! I like to use paint and glitter, but markers will work too.
If you used an oven, you can use a bit of school glue to stick on decorations like eyes or pipe cleaner tentacles. Whatever your Halloween monsters need to make them the coolest monsters on the block!
Check out some of our finished Halloween creations.


SPECIAL SAFETY NOTE
Salt dough is generally considered safe to use, especially for littles because it is made from non-toxic ingredients. However, it’s important to remind children that salt dough is not edible. Because of the high salt content, eating salt dough could cause stomach issues. In addition, if you have pets at home, make sure to keep your salt dough creations out of their reach. Salt dough can be dangerous for pets, as the high salt content can lead to salt poisoning if ingested. Always supervise young children and pets to ensure that the dough isn’t mistaken for food.
Once they are finished you can use them as decorations for your Halloween parties, classroom or festivities. One of our favorite things to do was make a Halloween Wreath and include our Salt Dough bats as part of the decoration. It turned out so well!

So that was fun – but what is the science you ask?
The Science Behind Salt Dough
One of the coolest parts of this craft is that it’s not just creative—it’s also educational – it crosses that fun art/science line. The whole process of making and baking salt dough covers some simple scientific principles that kids will be sure to find fascinating.
Evaporation
When the flour, water, and salt are combined they work together to form the dough that you can play with and mold and build, but when the dough is left to dry or is put into an oven, the water evaporates or turns into a vapor, leaving behind a solid structure. This evaporation process is what causes the dough to harden, turning it from soft and squishy into a solid, long-lasting ornament.
Preservation
Did you know that salt is a preservative? The high salt content in salt dough serves a special purpose—it acts as a preservative, preventing mold and bacteria from growing on the dough. It also helps to speed up the dehydration process which makes the salt dough hard.
Elasticity
When kids knead the dough, they’re actually changing the structure of the salt dough, just like they did when we made bread dough. The proteins in the flour, known as gluten, stretch and bond during kneading, giving the dough its elasticity and smooth texture.
Heat and It’s Effect on Evaporation
This could be a fun side by side experiment. Observe the difference between air drying and oven drying the dough – which takes longer? Why? When you bake salt dough, you’re applying heat to accelerate the drying process. As the dough heats, the water inside evaporates more quickly, and the dough becomes firm. This very simply illustrates the principles of thermodynamics, as heat causes physical changes in the dough, making it solid and durable.
So, to recap we made some adorable Halloween decorations the kids can enjoy and we learned some fun math and science along the way. These are the kind of projects I love – hands on learning that is sure to be remembered! If you loved this project you should check out some of our other salt dough projects including a Thanksgiving Turkey Craft and adorable Christmas Salt Dough Ornaments.