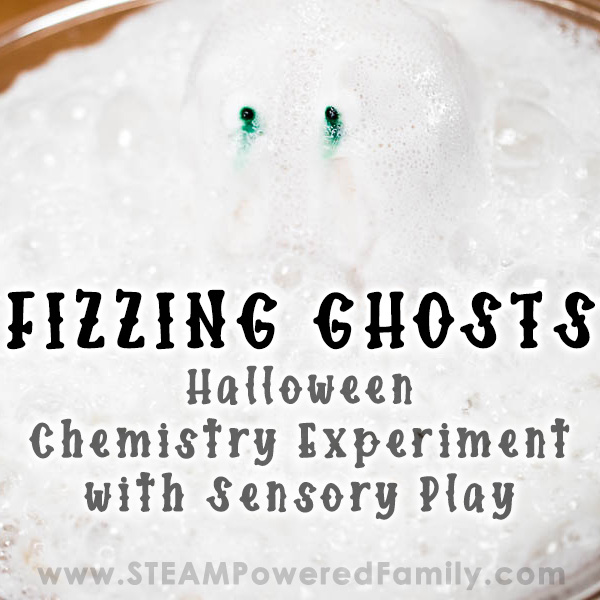
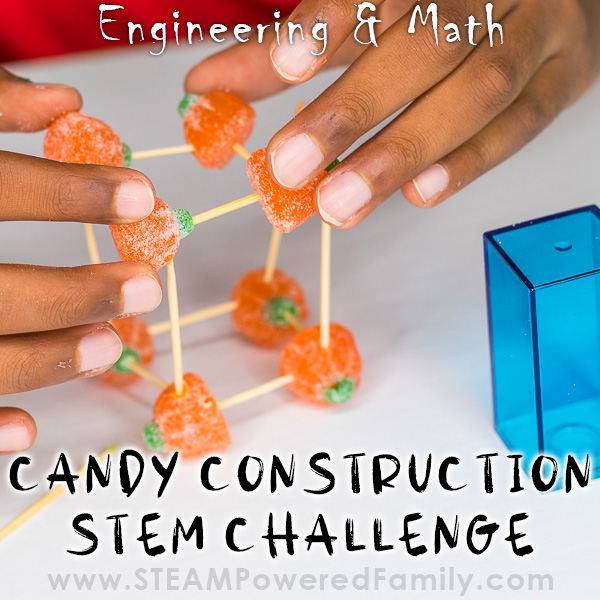
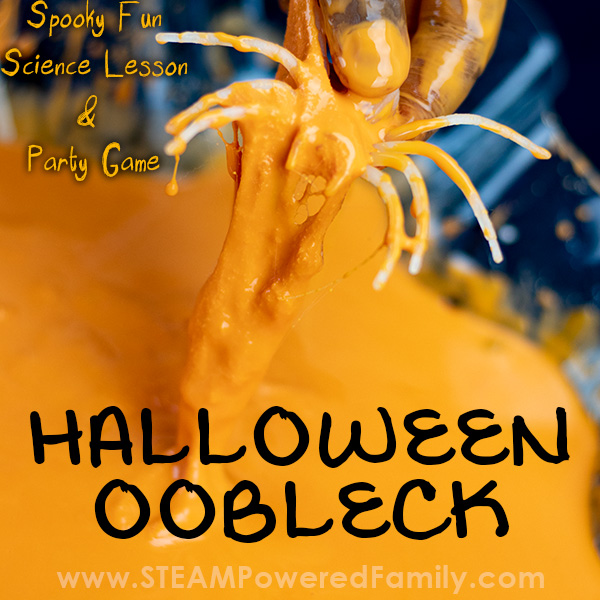
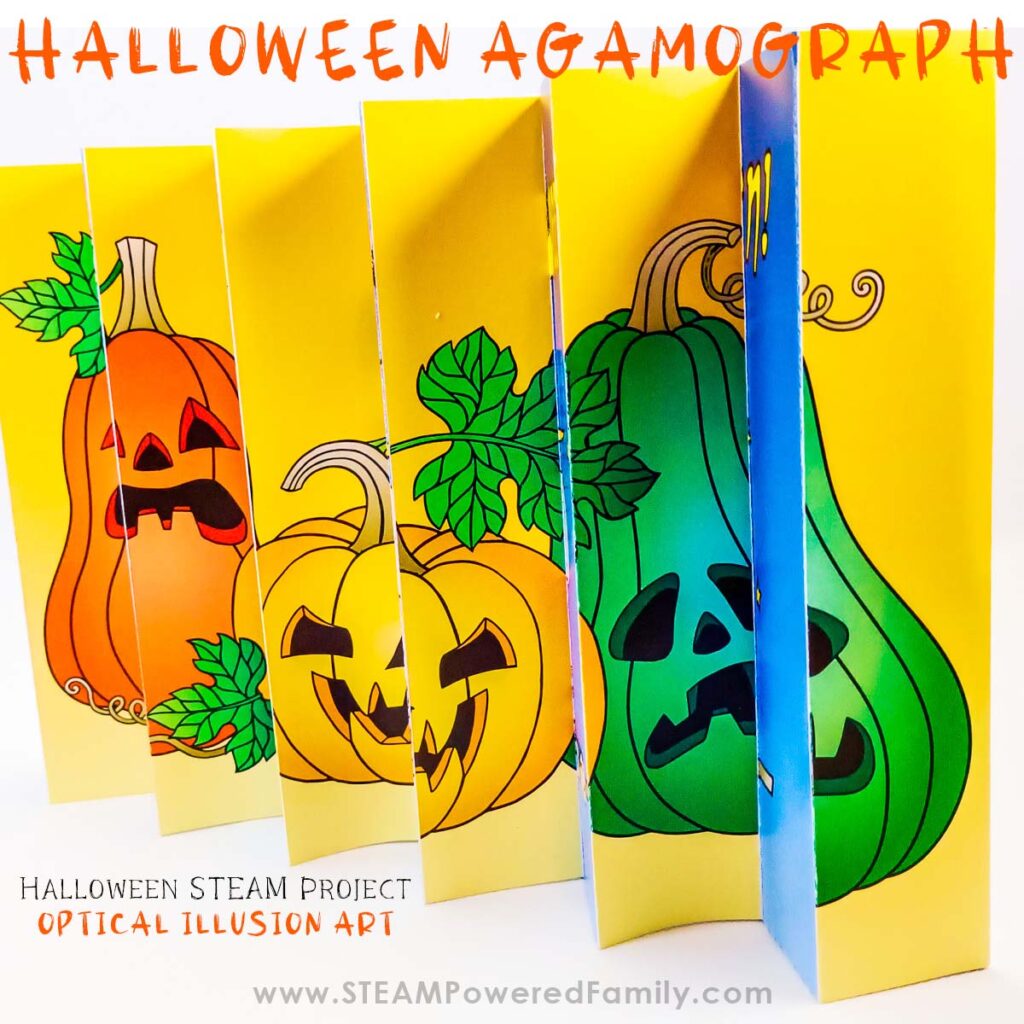
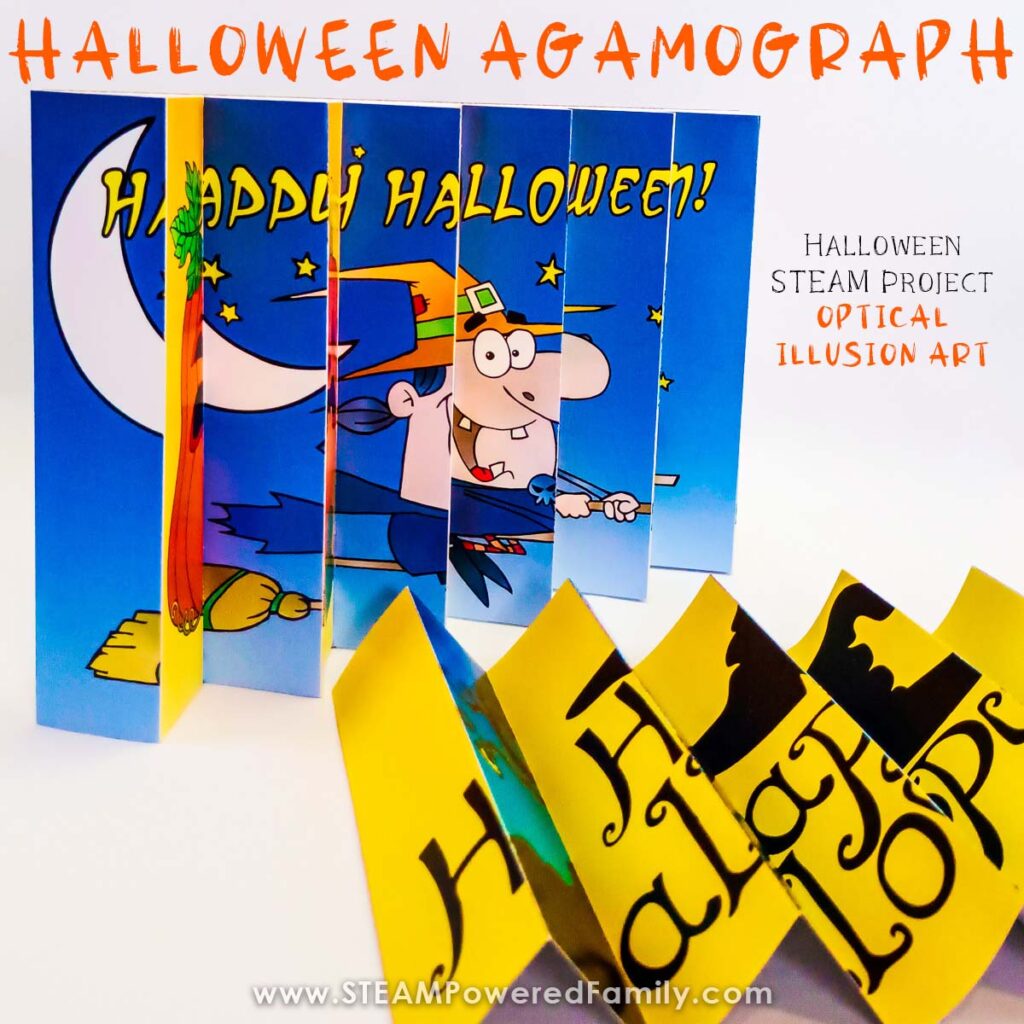
Halloween Agamograph Project
Halloween is coming up and we are so excited to celebrate with brand new STEM and STEAM projects. Every year we celebrate with fun and innovative Halloween STEM Activities. This year we have lot of amazing new ideas, including this Halloween Agamograph STEAM project which makes an incredible art project while also teaching kids about optical illusions and how our vision works. Plus the results make incredibly fun and interactive art to decorate your classroom or home for Halloween.
Halloween Agamograph STEAM Project
Table of Contents
Disclaimer: This article may contain commission, paid partnerships, or affiliate links. We independently review everything we recommend. When you buy through our links, we may earn a commission from qualifying purchases.
What is an Agamograph?
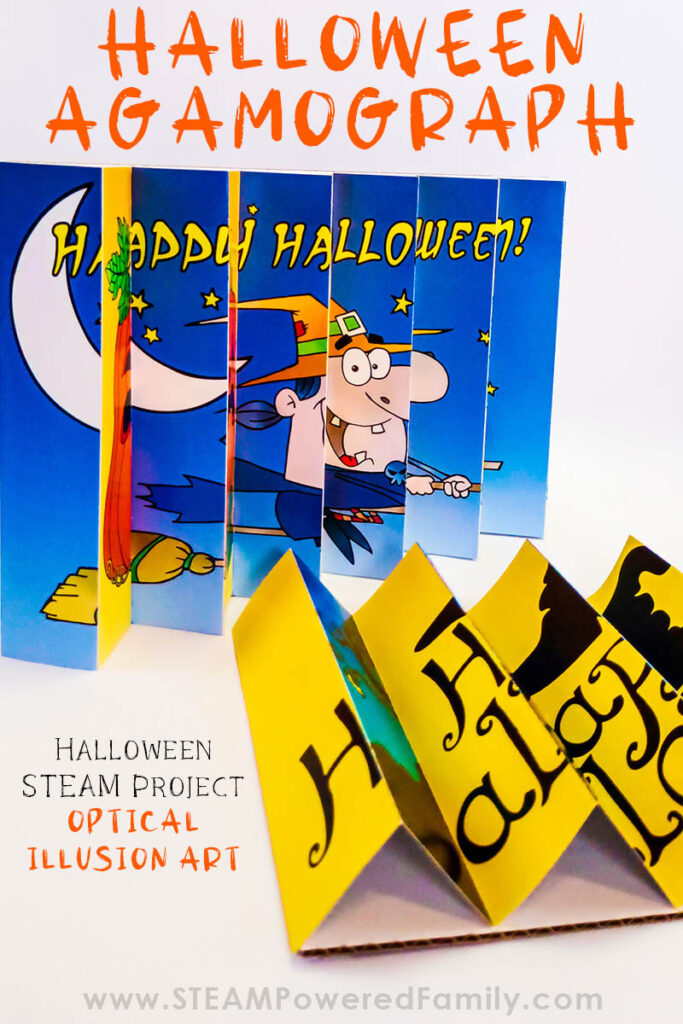
The pictures of the Halloween Agamograph look cool, but what exactly is it? It’s a clever form of art and optical illusion. It allows us to create a piece of artwork that tricks the eye into seeing two different pictures in one piece. By moving from the left to the right slowly while looking at the art, the image changes. This is known as an optical illusion.
An Israeli artist called Yaacov Agam developed this kinetic art style around 1953.
What is Kinetic Art? Kinetic art derives from the Greek word kinesis which means movement. Hence kinetic art refers to forms of art which contain motion or require motion to create a special effect. In the case of an Agamograph, it requires the onlooker to move which creates the optical illusion.
In this fun STEAM project, you are going to make a Halloween inspired Agamograph. We have made other Agamographs in the past, but this time we are giving it a Halloween twist!
Halloween Agamograph STEM Activity Video
Watch as we make this fun project in this video. If you can’t see the video, ensure your adblockers are turned off as they also block our video feed. You can also find this video on the STEAM Powered Family YouTube Channel.
How to Make a Halloween Agamograph
Materials & Tools
Scissors or a craft knife
Two pieces of sturdy box cardboard that measures 30 X 19cm (12 X 72inches)
Screw or a bone folder – is used to score the cardboard for folding
Glue stick or a glue gun
Ruler
Pencil
Plus you will need the templates for this Halloween Agamograph project. These are available to STEAM Powered Family mailing list members. Simply enter your email to unlock the printable.
Halloween Agamograph DIY Directions
Print out both templates for Agamograph A & B on project board or cardstock and cut along the solid lines.
Glue Template A-2 onto Template A-1 where it says, “GLUE 2ND PIECE ON THIS SIDE”.
Do the same for Templates B-1 and B-2 as well.
Color both Templates B-1 and B-2. Remember that all pictures marked “1″ are part of the first
picture and all those marked “2″ are the second picture.
Score the fold lines with a bone folder or a screw and fold like a fan. Templates A – on all the
lines where the colored sections meet and Templates B, along all the dotted lines.
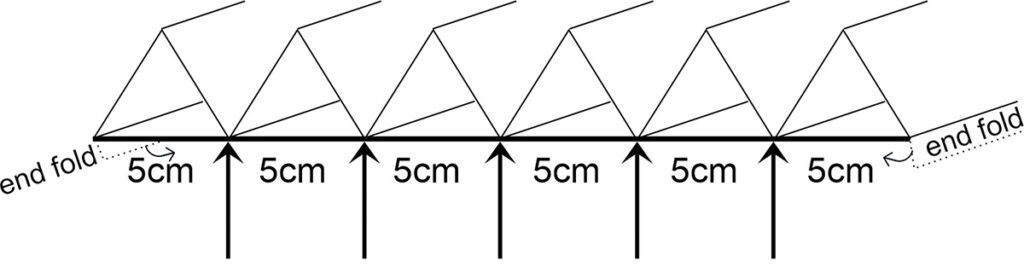
Fold the two end pieces marked “FOLD BACK ON DOTTED LINE”, backwards. These will
be stuck onto the underside of the cardboard base.
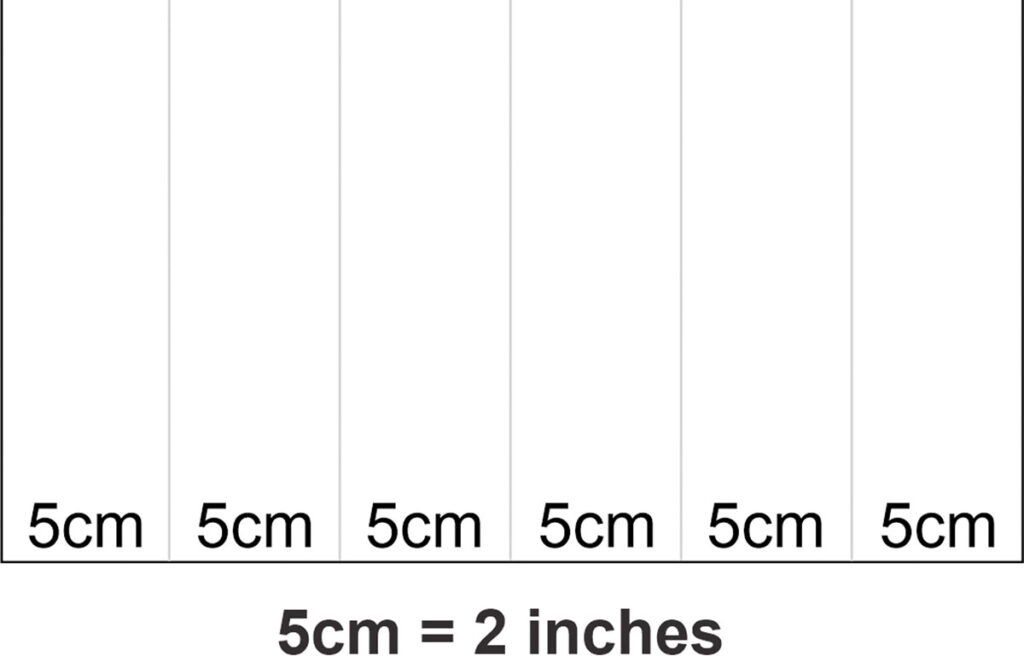
Cut two sturdy pieces of cardboard – 30 X 19cm (12 X 72inches). You are going to mount your
Agamograph on this piece. It makes it easier to hang up.
Mark out 6 sections on the cardboard, in spaces 5cm (2 inches) apart:
This is what the Agamograph should look like after gluing everything down:
You are ready to mount both Agamographs onto the cardboard, so turn your glue gun on! The glue gun is very hot, and you may need the help of an adult to do this.
Starting at one end, fold the end fold down and glue it under the cardboard base.
Glue each fold down onto the lines which are marked 5cm (2 inches) apart, moving to the
opposite end and lastly, glue the other end fold under the base.
The Halloween Agamograph is now ready to be hung up on the wall. Enjoy the science of optical illusions!
How does the Agamograph work?
How exactly does the Agamograph work as an optical illusion? Here are some things you can do to explore this scientific phenomenon yourself. By exploring hands on, understanding the concepts and science becomes easier.
First, stand in front of the Agamograph.
What do you see?
You should see both pictures in many pieces.
Now move over to the left side of the Agamograph.
What do you see now?
You should see the whole picture now.
Now move over to the right side of the Agamograph.
What do you see now?
You should see the whole of the other picture too.
Agamographs are amazing examples of optical illusions!
Extension Ideas
There are blank templates included for you to make your own Halloween Agamograph. Consider what kind of Halloween art you love, and how you could turn that into a really cool optical illusion. Get creative and give it a go!
Happy Halloween!