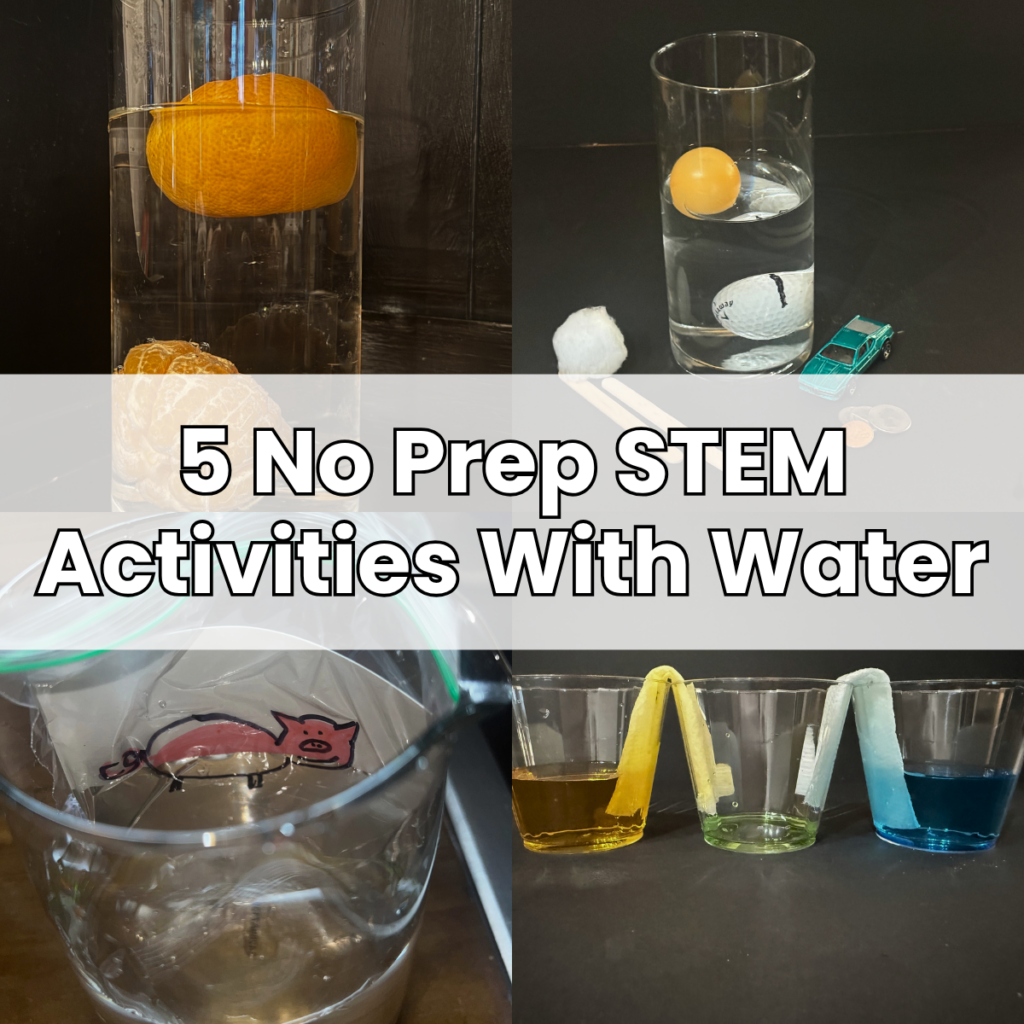
Easy No Prep STEM Activities With Water: 5 Simple Experiments Kids Love
As a parent, a teacher, and a STEM coordinator, I have to say that low-prep, low-cost, high-engagement activities with tons of learning potential are my sweet spot. Kids love a good STEM challenge, and hands-on learning almost always sticks better than learning from books alone.
So let us dive right in and have some really memorable no prep STEM activities with water. That’s right. How much more low prep and low cost can you get than good old H2O? All of these simple science challenges for kids can be done with water and just a few additional items that you probably already have on hand.
Why No Prep STEM Activities With Water Work So Well
Table of Contents
Disclaimer: This article may contain commission, paid partnerships, or affiliate links. We independently review everything we recommend. When you buy through our links, we may earn a commission from qualifying purchases.
Water is the ultimate STEM material. It is cheap, it is everywhere, and it does some genuinely surprising things when you start asking the right questions. These no prep STEM activities with water teach real science concepts (density, buoyancy, surface tension, capillary action, cohesion, and light refraction) using nothing but water and a few items already in your kitchen drawer.
They work for the classroom, homeschool, a summer camp afternoon, or a rainy day at home. They run fast, they reset fast, and they leave kids asking for more. Best of all, every single one of these challenges builds engineering thinking. The kids predict, test, observe, and redesign, which is the core of the scientific method.
Tips for Running No Prep Water STEM
- Set up a water tray or tarp underneath. These are easy activities to clean up, but a contained workspace makes them faster to reset between rounds.
- Always ask kids to predict first. The phrase “What do you think will happen?” is the most important sentence in this whole lesson.
- Record predictions and results. A simple STEM journal turns a fun activity into real data collection.
- Repeat the experiments. Once kids know the outcome, they can change one variable and test something new on their own.
Challenge 1: Sink or Float?
Can students predict which items will sink and which will float on the surface? This is the perfect opener because every kid has a guess and almost no kid has the full picture.
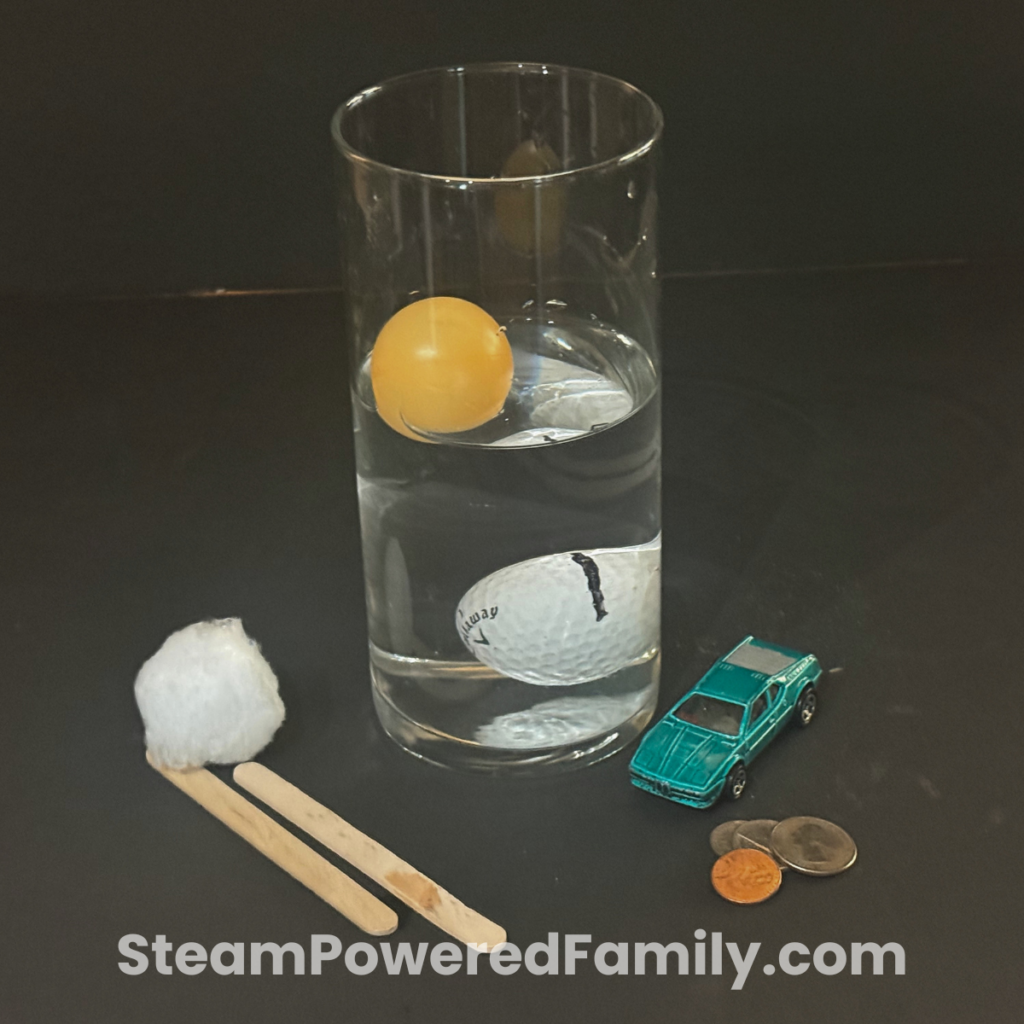
Materials
- Bowl of water
- Assorted small objects (coins, plastic lid, rock, spoon, sponge, crayon, and so on)
- Two oranges, one peeled and one unpeeled (for the extension)
Science Concepts: Density and Buoyancy
An object that is less dense than water will float. An object that is denser than water will sink. The tendency of an object to float is called buoyancy.
Steps
- Fill a bowl with water.
- Lay all the items out in front of the students and have them predict whether each object will sink or float. This is a great spot to talk about density and buoyancy.
- Test the objects one at a time and observe what happens.
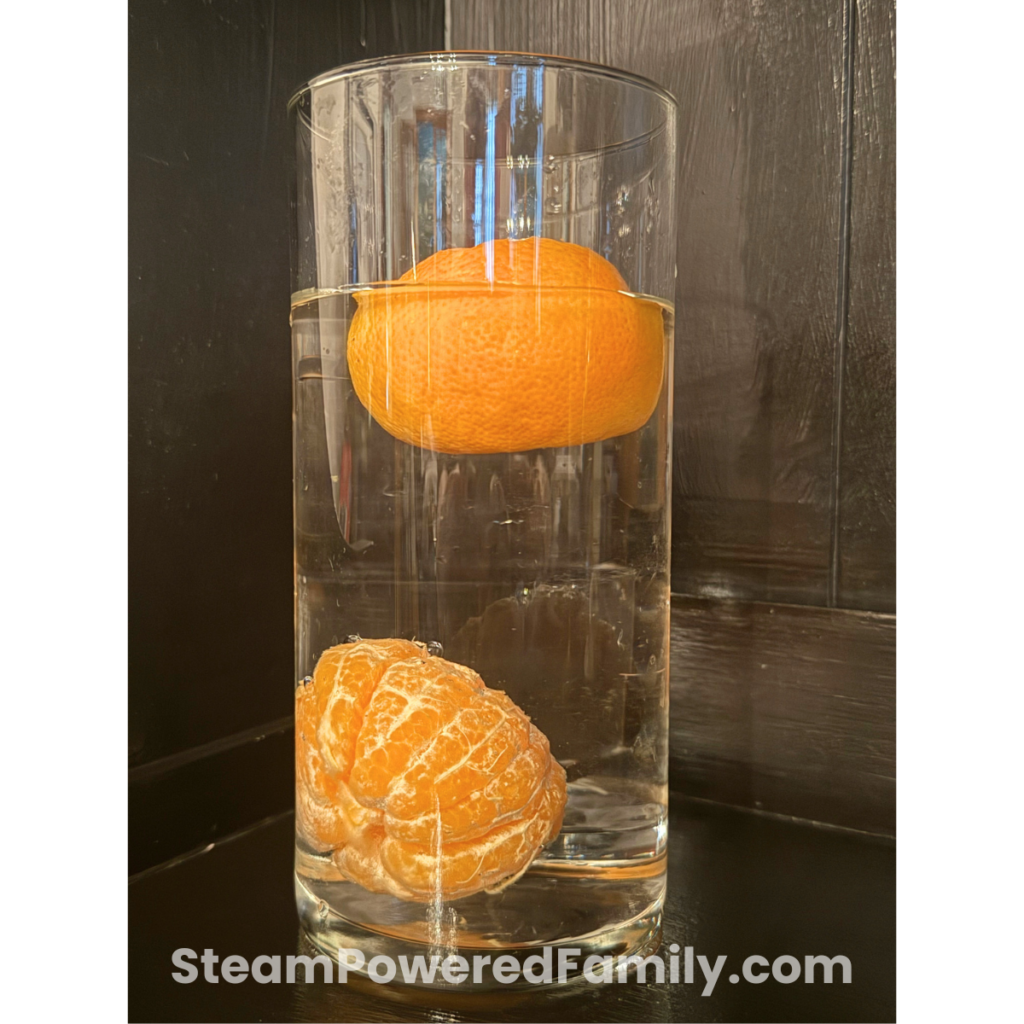
Extension Challenge: Can an Orange Float?
This is a tricky one. You will need two oranges, one peeled and one unpeeled.
Ask the kids what they think will happen. Have each kid hold an orange. Is it heavy? Light? Make predictions.
Then test. Place the unpeeled orange in the water and observe. Then repeat with the peeled orange.
What happens? The unpeeled orange usually floats, while the peeled orange often sinks or sits much lower in the water. Most kids predict the opposite.
The science tie-in: The orange peel contains tiny air pockets that increase buoyancy and make the whole fruit less dense overall. Once the orange is peeled, it becomes denser relative to the water and sinks toward the bottom.
Tip: Test your orange ahead of time. Different varieties and imperfections in the skin can skew the results, so it is nice to know what your specific orange will do before the kids start guessing.
Challenge 2: Water Surface Tension Tests
This challenge is actually two quick experiments stacked together. They both demonstrate the same concept (surface tension), but they look completely different in action.
Science Concept: Surface Tension
Water molecules love to stick together, especially at the top of the water. They pull tightly on each other and form a kind of invisible layer. We can sometimes see surface tension at work when very light objects appear to sit on top of the water.
Test 1: The Floating Paperclip
Materials:
- Cup or shallow bowl of water
- Paper clip (plus a second paper clip bent into an L shape)
- Liquid dish soap
- Cotton swab
Steps:
- Use the L-bent paper clip to gently lay a regular paper clip flat on the surface of the water.
- Dip the end of a cotton swab into liquid dish soap.
- Touch the top of the water with the soapy cotton swab and watch.
What happens? The soap breaks apart the tight hold the water molecules have on each other. When surface tension weakens, the paper clip quickly sinks to the bottom.
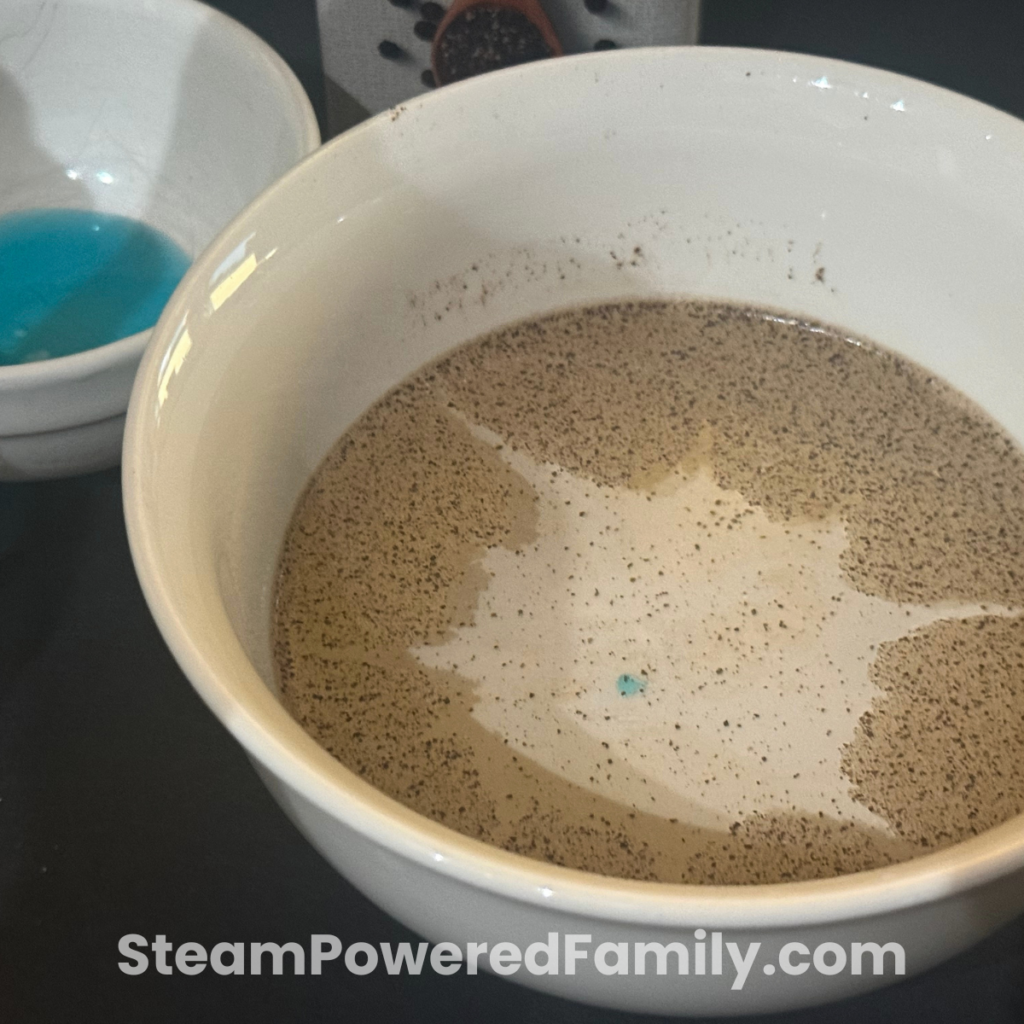
Test 2: The Pepper Push
Materials:
- Shallow bowl of water
- Black pepper
- Dish soap
- Cotton swab
Steps:
- Sprinkle pepper on the surface of the water. Have the kids notice that the pepper is floating.
- Dip a cotton swab into dish soap.
- Touch the surface of the water with the soapy swab and watch the pepper scatter.
It is an immediate, dramatic reaction. The kids always gasp out loud. So much fun.
Challenge 3: Walking Water
Materials
- 3 cups
- Paper towels
- Food coloring
- Water
Science Concept: Capillary Action, Adhesion, and Cohesion
Have you ever noticed that water can sometimes do things you would not expect? It can seem like it has a mind of its own. Lay a paper towel over a spill and the water seems to take over the towel, spreading quickly through the fibers. That is absorption in action.
You might think it is just the paper towel doing its job, but actually water likes to stick to things. Scientists call this adhesion. Water also likes to stick to itself, which is called cohesion. Picture the water molecules as tiny friends holding hands.
Working together, adhesion and cohesion help water move through tiny spaces, and that is called capillary action. It is the reason paper towels soak up spills. The tiny gaps in the fibers grab water, and then that water pulls its friends along for the ride.
Steps
- Fill two cups with colored water and leave the center cup empty. I love using colors that will combine to make a new color in the center (like yellow and blue, or red and blue).
- Roll two paper towels into strips and fold each one into a V shape.
- Predict! Ask the kids what they think will happen when you put the paper towels in the cups.
- Turn the V shapes upside down and place them so one end of each towel sits in a full cup and the other end sits in the empty cup.
- Watch and wait. The water will climb up the paper towel in the full cup and down into the empty cup. When the two colors meet in the empty cup, they will mix into a new color.
This one absolutely wows the kids every time.
For a fun extension, have the kids work out how to make the entire rainbow with walking water. You can check out our full Walking Rainbow Experiment for the step-by-step setup.

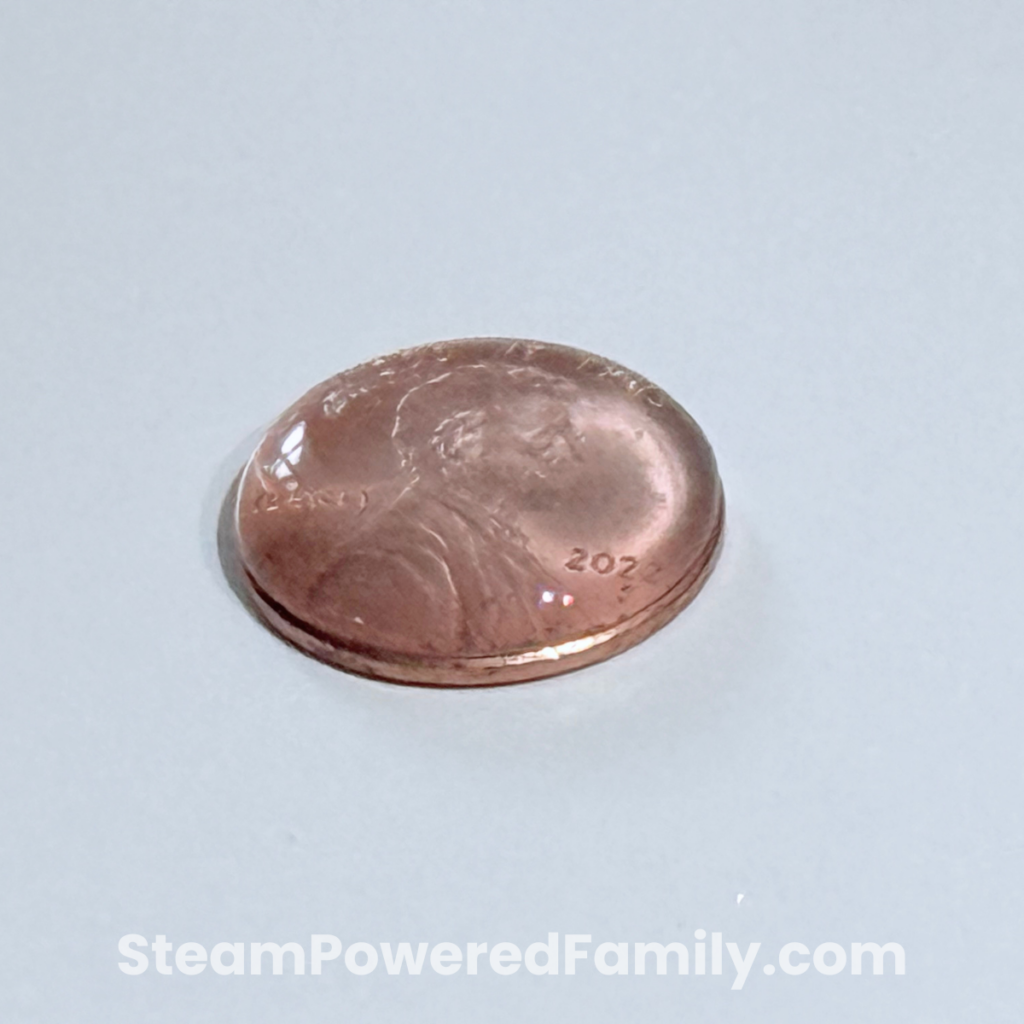
Challenge 4: How Much Water Can a Penny Hold?
This is another fun cohesion experiment. Students guess how many drops of water they can fit on a penny before it spills off the edge. They will almost always guess a lower number than a penny will actually hold.
Science Concept: Cohesion
Water likes to cling to itself. As you drop water onto the penny, the drops cling to each other and form a dome before any water spills over the edge.
Materials
- A glass of water
- A small straw to act as a water dropper (or a pipette)
- A clean, dry penny
Steps
- Lay the penny flat on the table.
- Dip your straw into the water and place your thumb over the top to trap some water inside.
- Hold the straw over the penny and slowly release your thumb so water drips out one drop at a time.
- Keep track of how many drops your penny holds. Watch the water form a dome on top of the penny before it spills over.
Many times a penny can hold 20 or more drops of water. It is a lot of fun to try to push the number higher and higher each round.
Tip: This is a great challenge to tie in some math. Record each student’s predictions and results, then graph them as a class. An ongoing STEM journal is a fantastic way for kids to look back on their learning over time.
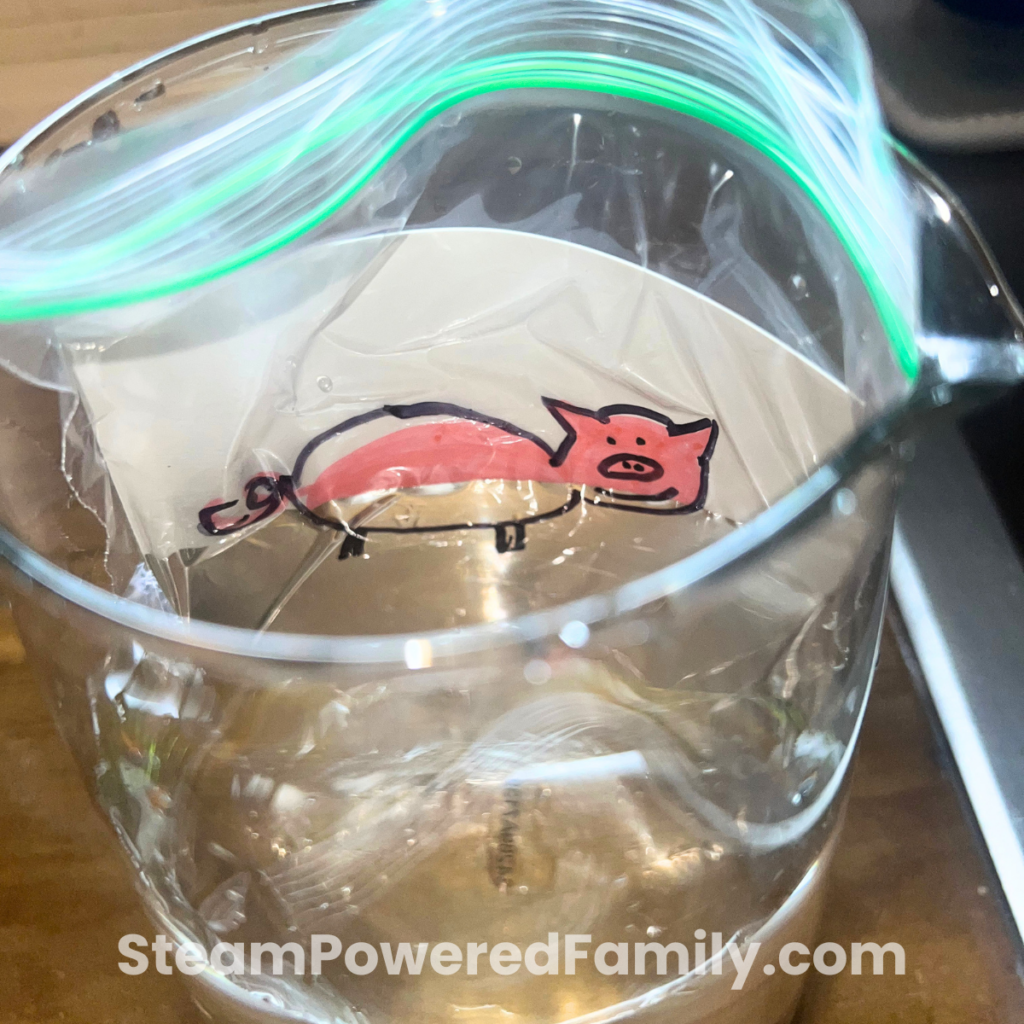
Challenge 5: Light Refraction
Materials
- Paper small enough to fit inside a zip top bag
- Markers
- Black permanent marker
- Zip top bags
- Clear vase or pitcher of water
Science Concept: Light Refraction
Refraction is what happens when light bends as it passes from one material to another. When light enters water or glass, it actually slows down and bends, taking a new path. That bending is called refraction. As a bonus, this challenge connects beautifully to art, because kids can test different types of drawings to see how the effect changes.
Method 1: The Disappearing Picture
- Have the kids draw a colorful picture on a piece of paper.
- Slip the picture into a zip top bag and seal it.
- Use a permanent marker to trace the outline of the picture directly on the bag.
- Fill a glass bowl or pitcher with water and slip the bag into the water. Watch the kids’ faces as the colorful picture seems to disappear. The way light bends through the water changes how their eyes see the picture, making parts of it vanish.
- Slowly pull the bag back out of the water and watch the picture reappear.
Method 2: The Flipping Arrow
- Draw two arrows, one on top of the other, on a piece of paper with a couple of inches between them.
- Pass the paper behind a jar filled with water. Make sure one arrow is above the water level and one is below.
- Watch as the arrow that is behind the water appears to flip direction.
The water is bending the light, and that changes how you see the arrow. Simple, dramatic, and wildly memorable.
Final Thoughts: Why These No Prep STEM Activities With Water Stick
If you are exploring water activities in the wintertime, you should also check out Simple Snow Science. It is a great way to talk about states of matter, because water can show us solid, liquid, and gas all at once. How is that for versatile science?
And if you want another low-prep, high-engagement roundup, our no prep STEM activities with paper post pairs perfectly with this one. Stack the two together and you have a full week of hands-on STEM that costs almost nothing.
These simple STEM activities for kids prove that meaningful learning does not have to be expensive or complicated. Sometimes the most memorable science lessons only need a bowl of water, some simple materials, and someone asking, “What do you think will happen?”
Whether you try one challenge or have a wacky water day and run all five, these no prep STEM activities with water are a great chance to celebrate curiosity, problem solving, prediction, and wonder. Each challenge builds engineering thinking. Kids put on their engineering caps to predict, test, observe, and redesign.
Best of all, the kids will remember all of it long after the water dries up.
Frequently Asked Questions
Simple STEM activities using water include sink or float tests, walking water experiments, surface tension tests, penny cohesion challenges, and light refraction experiments. All of them use materials you probably already have at home.
Water STEM activities encourage hands-on learning, critical thinking, and scientific observation skills. They are no prep, low cost, and reset quickly, which makes them ideal for classrooms and homes.
Common items like cups, paper towels, food coloring, dish soap, straws, pennies, and oranges all work well for water STEM experiments. Most of these no prep STEM activities with water need only one or two extra supplies.
Yes. Water activities help children explore density, buoyancy, absorption, surface tension, cohesion, adhesion, capillary action, light refraction, and states of matter, all through hands-on play.
No prep STEM activities are ideal for classrooms, homeschool groups, and indoor science exploration because they require minimal setup and inexpensive materials. They are also perfect for sub plans, last-minute lessons, and indoor recess.
Water STEM activities are engaging for preschool, elementary, and middle school learners with adjusted difficulty levels. They are especially fun as summer STEM activities, since kids love water play in warm weather.