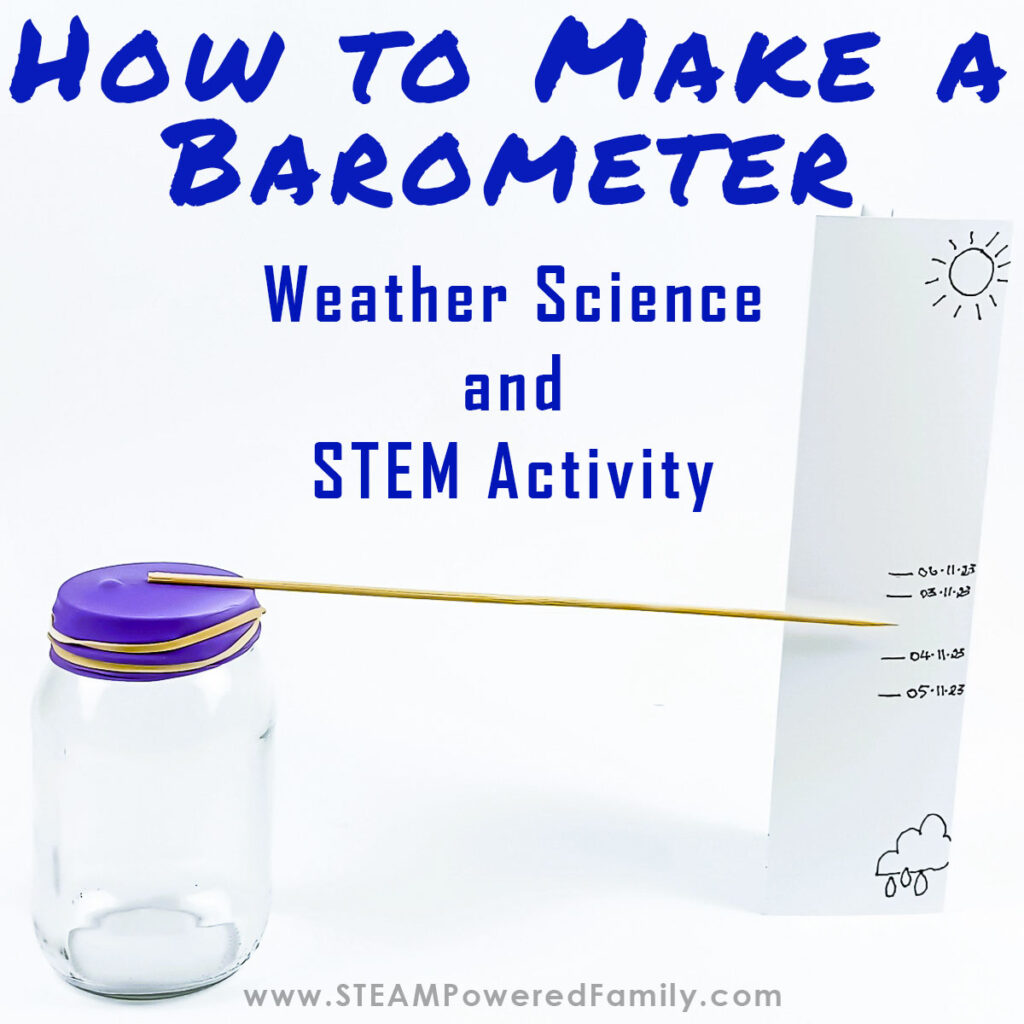
How to Make a Barometer
Today we are diving into the world of meteorology, where we will be constructing a fundamental weather science instrument: the barometer. A barometer is a crucial tool for understanding atmospheric pressure and predicting weather changes. Students will gain valuable insights into the principles of meteorology and the science behind weather forecasting. This is a fantastic project to do for the science fair or as part of a weather science unit study.
Barometer Weather Science Project
Disclaimer: This article may contain commission or affiliate links. As an Amazon Influencer I earn from qualifying purchases.
Not seeing our videos? Turn off any adblockers to ensure our video feed can be seen. Or visit our YouTube channel to see if the video has been uploaded there. We are slowly uploading our archives. Thanks!
The Science of Weather
The Earth is surrounded by a layer of air called the atmosphere that is made up of gas molecules, including nitrogen, oxygen and carbon dioxide. All of these molecules in our atmosphere have weight to them that presses down on the Earth, and this pressure is called air pressure.
Most of the time we are unaware of this because the pressure in our bodies is the same as the air around us. But sometimes, we can feel atmospheric pressure changes, like flying in an airplane. Your ears get blocked because the higher you are in the atmosphere, the pressure in your body is higher than the pressure around you. When the plane comes down to land, both the pressure in your body and the external pressure around you become balanced, your ears “pop”, and your ears become unblocked.
Air pressure is one of weather science’s most important topics, as it affects our weather patterns.
When the air gets warmer, it expands and causes the air to become heavier, which results in lower pressure. When the air gets colder, it shrinks. This shrinking causes the air to become lighter, which leads to higher pressure.
Scientists measure this air pressure using barometers which help them predict the weather. An Italian scientist invented the first Barometer called Evangelista Torricelli in 1643. He was inspired by Galileo Galilei, who built a thermometer that measures temperature.
Different Types of Barometers
There are many different types of barometers, and each one uses different methods and substances to read air pressure:
Mercury Barometer – uses mercury
Aneroid Barometer – uses air
Electronic Barometer – uses sensors
Water Barometer – uses water
Making a Homemade Barometer
In this project, we will make a balloon barometer, also known as an aneroid (air) barometer, using a glass bottle, a balloon, a wooden skewer and a measurement chart. It will help you understand air pressure in a fun and easy way. Then you can use your creation to help you predict the weather.
Let’s get started!
DIY Barometer STEM Project Video
First, take a moment to watch the video of us making the barometer. It always helps to see the process in action before starting on your own build. If you can’t see the video, it is being blocked by your firewall or adblockers. You can also find the video on the STEAM Powered Family YouTube Channel where it also has closed captioning.
Materials & Tools
A4 or Letter Sized Cardstock
Ruler
Pencil
Scissors
Screw (for scoring the cardstock)
A thin, long wooden skewer or you can use two straws (see directions below)
Balloon
Mason jar, or you can use a bottle or a tin can
Permanent marker or felt tip pen
Glue stick
Rubber band
Super glue or tape
Homemade Barometer Directions
Make the Barometer
Cut the neck of the balloon off. Then open the balloon and stretch it over the mouth of the bottle, ensuring it is tight and flat. It is important that the balloon fits tight and must not have any wrinkles. Use a rubber band to hold the balloon on the bottle.
Attach the wooden skewer onto the balloon with super glue or tape. White glue will also work, but you must wait a while to dry. Ensure that the back of the skewer touches the middle of the balloon.
Make the Recorder Stand
Now we need to make the stand to record the readings.
Measure the height of your bottle, jar or can. My bottle is 12cm high. The card should be double the height of your bottle or can, so adjust these measurements to fit your bottle.
Place the cardstock in front of you horizontally (landscape orientation). Using a ruler, mark off 12cm and 24cm at the top and bottom edges, cut off, and throw away the excess card.
Turn the card around and mark off 6.5cm, 13cm and 19.5cm at the top and bottom edges.
Turn the card around again and score the three lines using a screw or something pointy.
Fold the card on each of the three lines. Always fold the card with the pencil marks on the inside.
Use a glue stick to close the stand.
Wow, you just made a 3D triangular prism! See how we sneak in some math into this STEM project?
With a pencil, draw a simple sun at the top right of the triangular prism’s three faces.
Draw a cloud with raindrops at the bottom right corner of all three faces.
Use a black permanent marker to outline all your drawings.
You are ready to predict the weather with your homemade Barometer!
How to Use a DIY Barometer to Measure Air Pressure
Place your Barometer somewhere in your home where the temperature does not change much. Look for somewhere away from windows, heating and cooling vents, devices that produce heat, and away from direct sunlight.
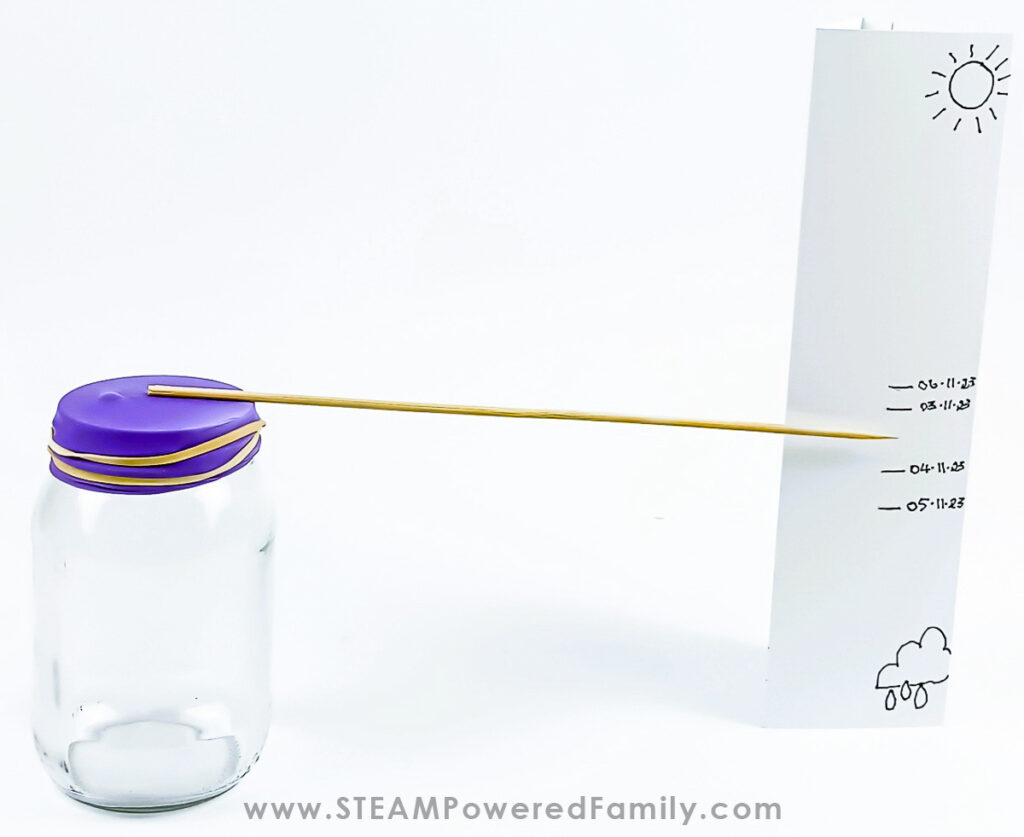
Place your Barometer slightly in front of your stand, ensuring that the point of the skewer is about 2cm into the face of the stand. Like this:
Make a pencil line at the tip of the skewer’s point on the face, go over it with a permanent marker, and write the date.
Do this for a few days, always at the same time. If you run out of space on one side of the recorder, simply turn it to start on a new side.
PRO TIP! Make sure you are reading your barometer at the same time each day to get the most accurate weather predictions!
How Does a Barometer Work? The Science Lesson
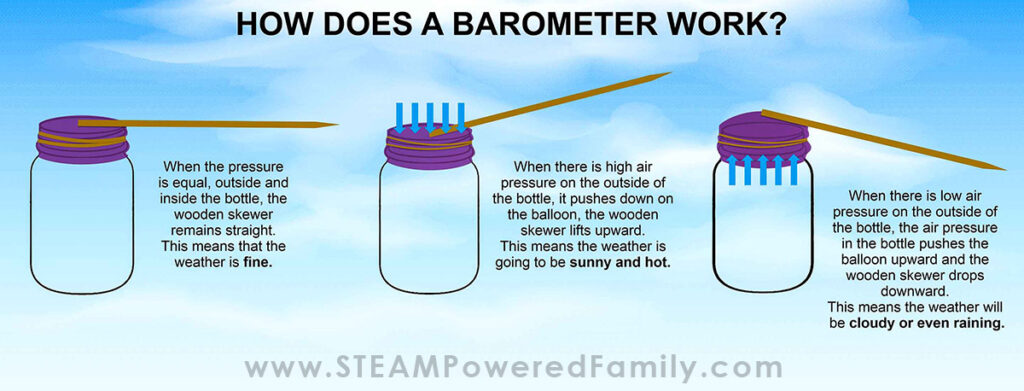
The first time you record your barometer reading is right after you have made your Barometer, so the pressure is equal outside and inside the bottle, so the wooden skewer remains straight.
It generally means that the weather is fine.
When there is high air pressure on the outside of the bottle, it pushes down on the balloon, and the wooden skewer lifts upward. This means the weather is going to be sunny and hot.
When there is low air pressure on the outside of the bottle, the air pressure in the bottle pushes the balloon upward, and the wooden skewer drops downward. This means that the weather will be cloudy or even rainy.
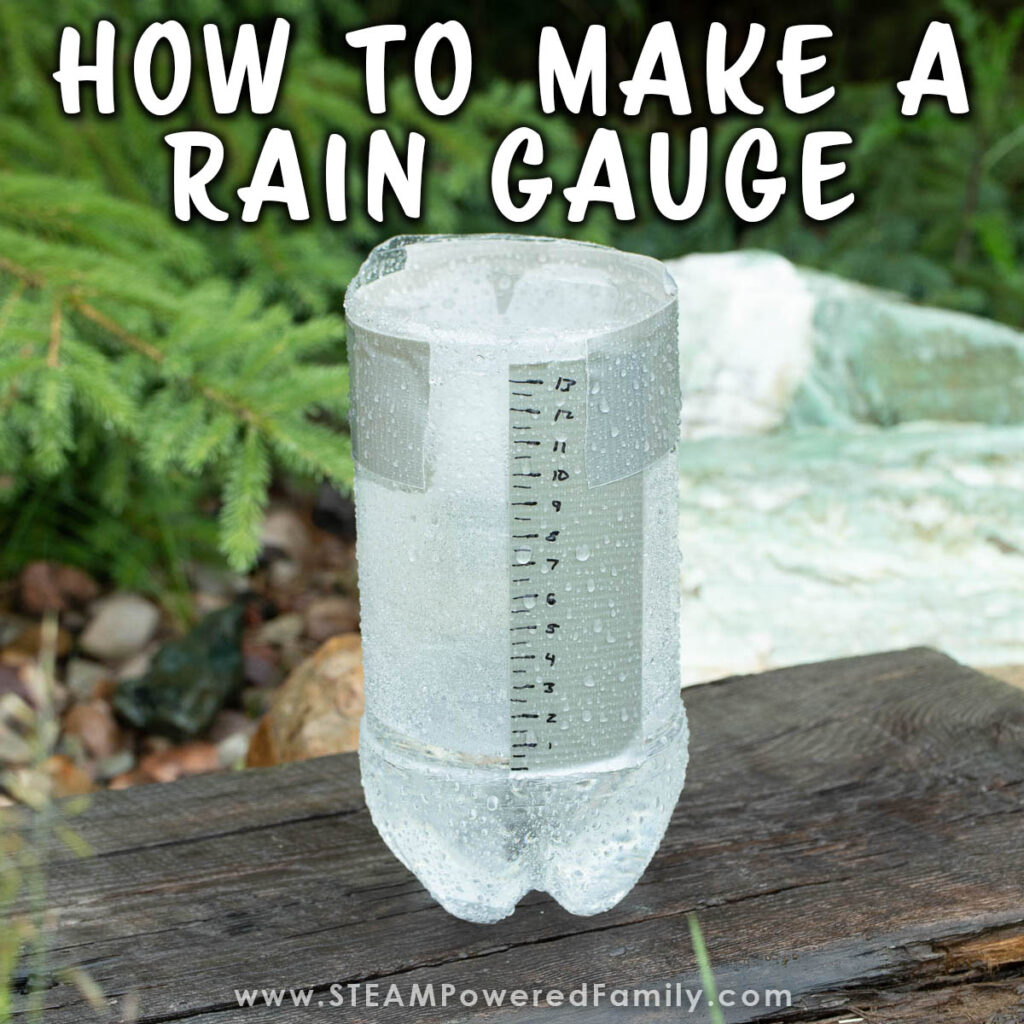
Consider making a Rain Gauge to track rainfall too as part of your weather science studies!
Classroom Extension Ideas
After everyone has made a Barometer and recording chart, a good classroom experiment is to divide the class into groups of three. This experiment is about changing the air pressure inside the Barometer, as we cannot change the external air pressure of nature.
Give each group one bowl of room-temperature water, another with ice water, and a third with boiling water.
Place each Barometer into one of the three bowls. Wait for about 5 minutes and record the results of each bowl.
What happened to the Barometer in each bowl?
If there was a change, why do you think this happened?
A hint: The results of this experiment are the reverse of the first experiment we did. When you put the Barometer into room temperature water, the air inside the glass bottle cools back to room temperature. The balloon should remain flat, and the wooden skewer should be straight.
When you put the glass bottle in ice water, the air inside the jar cools down and causes the balloon to pull into the jar. It makes the wooden skewer point upwards.
In boiling water, the skewer will point downward as the air inside the jar pushes upward on the balloon, causing it to bubble upward.
This experiment shows that we cannot change the external air pressure that Mother Nature brings. Still, we can change the internal air pressure of the Barometer, giving us a reversed result of the first experiment we did.
Have fun making this quick and easy Barometer and learning all about air pressure.
More Weather Science
Looking for more Weather Science activity ideas? Try one of these!


