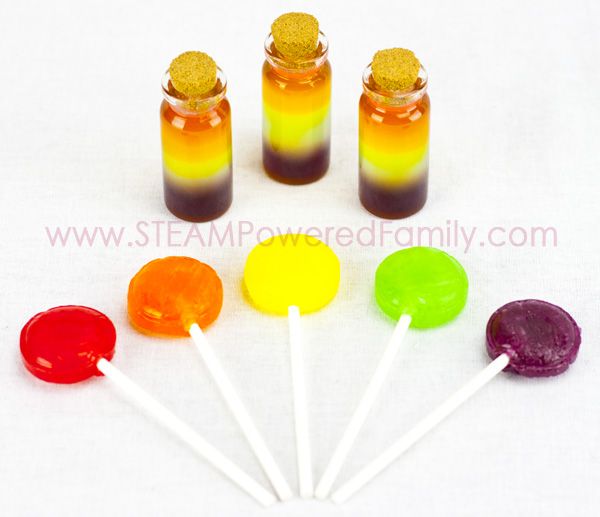
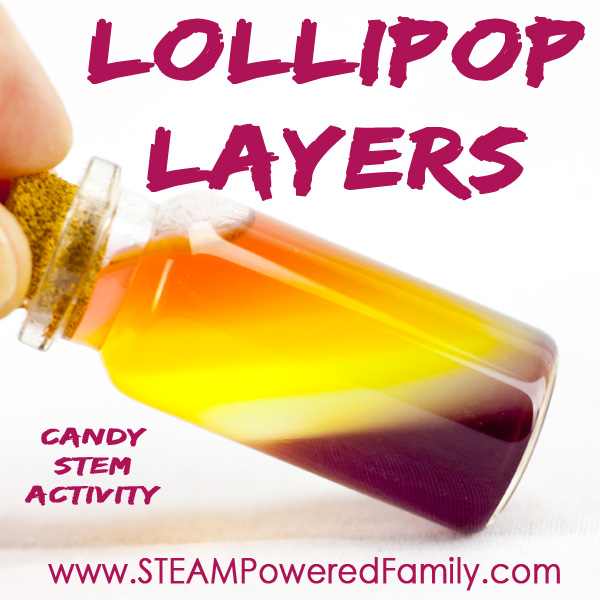
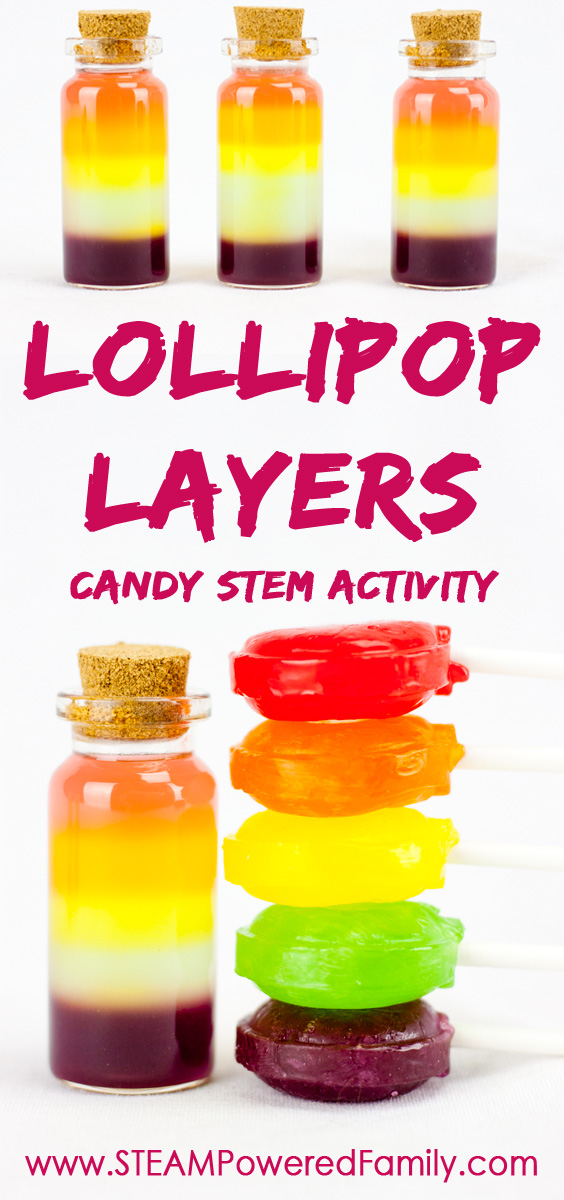
Layered Lollipops – Candy STEM Activity
Halloween is coming and that means there is so much candy around! Instead of ingesting all of that sugar, why not use it for a greater cause? Why not use it in a colourful and beautiful candy stem activity?
 Disclaimer: This post contains affiliate links
For more Halloween check out our 31 Days of Halloween STEM Activities!
Table of Contents
Lollipops, they are a childhood staple that has spanned generations. With their gorgeous colours and sweet flavours, it’s no wonder they have stood the test of time.
But just eating them all the time would be boring. Right? That’s what I tried to tell my kids, and although dubious at first, once they saw this challenge in action they quickly changed their tunes! Suddenly candy science was cool. Sacrificing their lollipops in the name of science was worth it!
Layered Lollipops – Candy STEM Activity
This article is going to have a ton of pictures, because this challenge made the leap from STEM to STEAM. The gorgeous colours, blending into a stunning rainbow was pure art. I wanted to capture the beauty as many ways as possible.
This challenge would be best for children in upper elementary or higher if they are doing it themselves. If your children are younger, they can still get so much out of this activity, but you will be doing most of the work.
The best part is that you can easily do this in a large group or classroom. The lollipop juice can be made in larger batches, then each person can make their own layered piece. And if you are careful, the lollipop layers will survive being moved around and transported.
Let’s make your own Layered Lollipops!
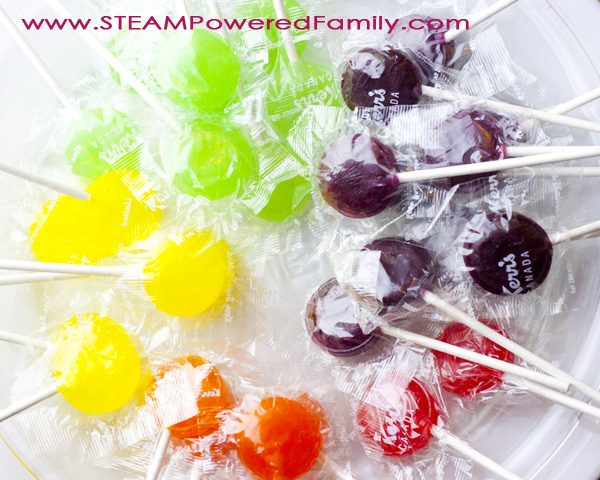
You will need lollipops. Lots of them. And they need to be solid colours.
Next you will need containers to make your lollipop juice, we used mason jars.
Warm water.
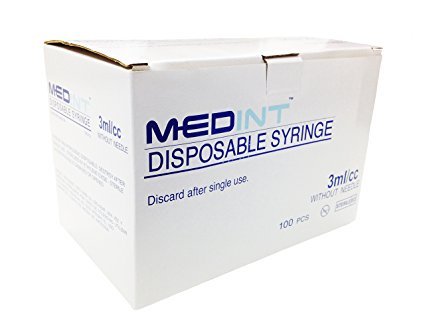
Small syringe or pipette.
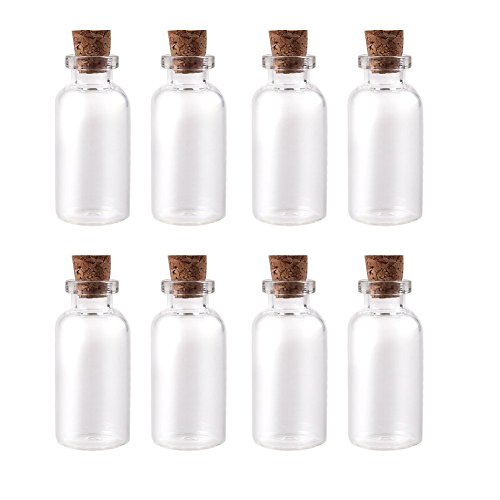
Individual jars or containers. We used wishing bottles and they were perfect and so pretty!


To start get the kids doing a little math and planning. We need to ensure that each layer has it’s own distinct density or concentration of sugar molecules. This is what will allow us to create the layers.
So the first question is what order you want your colours to be in your jar.
Once that is decided ask if they think the bottom colour should be the most dense or least dense. It’s going to be the most dense, if you need to guide the discussion.
Now we know what order our colours will be, and that the bottom one will be the most dense. From there we need to count out our lollipops. We added 2 lollipops for each layer.
This is how ours broke down:
Red – 2
Orange – 4
Yellow – 6
Green – 8
Purple – 10
In each jar add the same amount of warm water. We used 1/2 cup of water. You could adjust this and your amount of lollipops based on the size of your group or how many jars you are making. We had a lot of juice left over.
Add all the red lollipops to one jar, all the orange to another jar, etc. etc.
To help speed up the dissolving process you can stir the solutions, or if your water is too cool, try heating it in a microwave. Warmer water will help speed up the process.

Once the lollipops are dissolved (and yes, it will smell amazing!), remove the sticks.
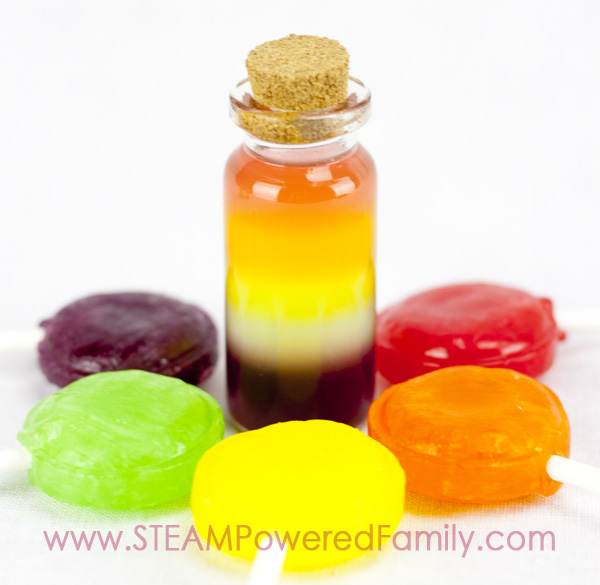
Now starting with your most dense liquid, in our case this was purple add some to your jar. For our little wishing jars 2 mL of each colour was perfect.
This next step is where the magic happens. Using a very steady hand, fill your pipette or syringe with the next most dense colour (green in our case). Place the tip on the inside wall of the jar, and very slowly add the liquid. If you add it too quickly it will mix with the other layer. Take your time and slowly let the liquid run down the side of the jar and pool on the layer below it.
Then repeat with yellow, orange and finally red, if you followed the same density colour pattern we used.
Put your cork stopper in and your done! You successfully completed the Layered Lollipop Candy STEM Activity!
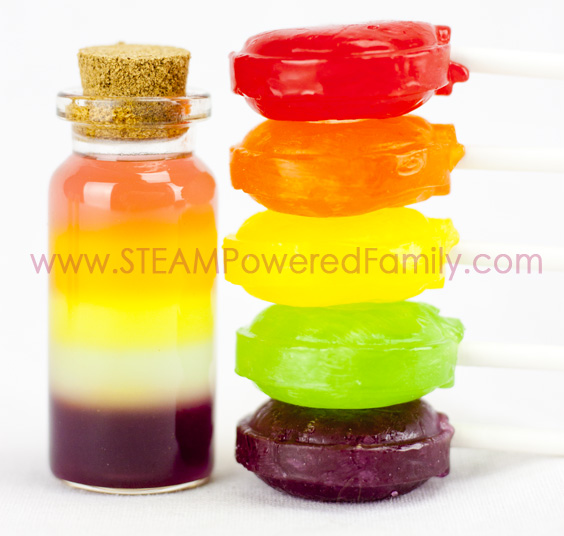
The greatest thing with these lollipop layers is that they are quite stable. They can handle moving about, turning, even putting them on their side, then back upright, the colours stayed in their layers. The layers stayed separated for days. Only mixing when we shook them vigorously.
Enjoy using your candy in the name of STEM, STEAM and learning! Oh, and if you eat a few while doing this activity, that’s OK too.
Oh, and these jars in the sunlight? GORGEOUS!
MORE FROM SCIENCE EXPERIMENTS