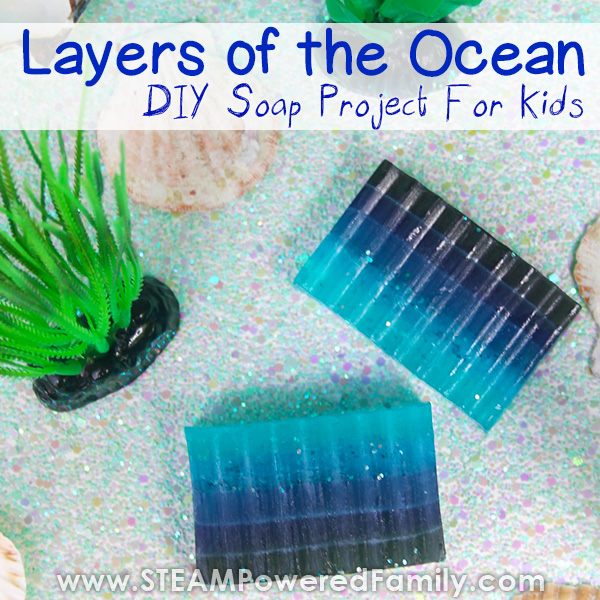
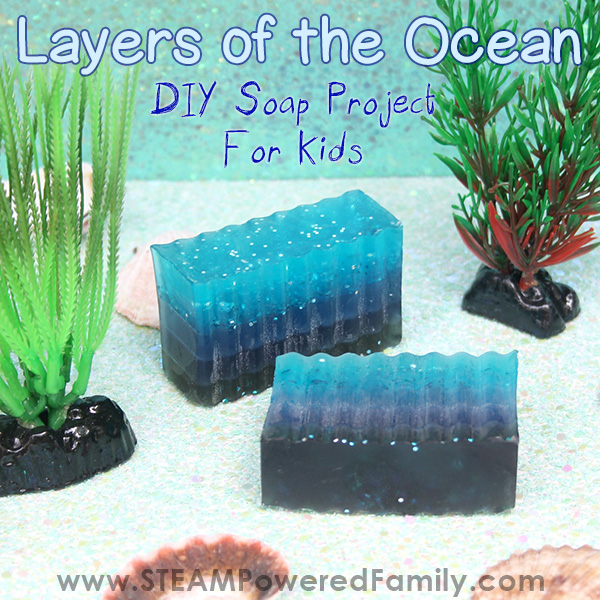
Easy and Beautiful Layers of the Ocean Soap Project For Kids
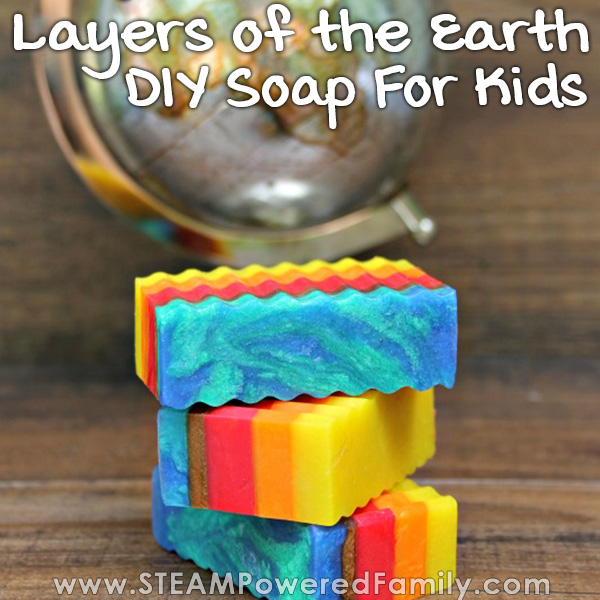
Did you see our Layers of the Earth soap project? It turned out so beautiful and was a fantastic addition to our science lessons. We enjoyed it so much we decided to do it again but this time in our studies of the Layers of the Ocean. Once again I love the results! They turned out so beautiful.
LAYERS OF THE OCEAN LESSON AND SOAP MAKING FOR KIDS
Table of Contents
Disclaimer: This article may contain commission, paid partnerships, or affiliate links. We independently review everything we recommend. When you buy through our links, we may earn a commission from qualifying purchases.
Some of the things I remember most from my childhood were the times when I was working on a slow paced project. Something where our hands were busy but we were relaxed and could talk. Like cooking a meal or grooming my horses. It was a calm and relaxed time with busy hands that allowed my mind to really work through the topics we were discussing. The lessons I learned during those conversations have stuck with me over the years.
That’s what I love about candy science, making bath bombs, and these soap making projects with kids. Making these soaps is not hard. It is a slow and easy process that requires a little patience and provides lots of time to talk and learn. I can tell my kids are learning. They are calm, happy and chill. Asking lots of intelligent questions, giving me so many amazing teaching moments with them.
We are also creating memories. Precious and important memories.
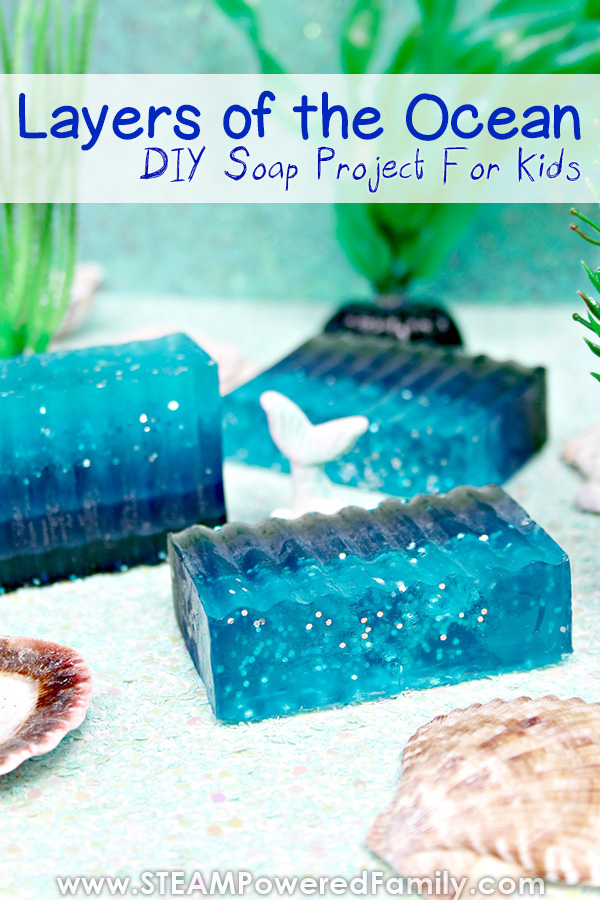
The soaps the kids create with this project are gorgeous and perfect for gifting or keeping themselves to use. Every time they go to wash their hands, just watch as they recite the different layers of the ocean. That is information that is really converting into solid knowledge.

THE 5 LAYERS OF THE OCEAN
There are 5 layers of the ocean, so as you create each layer of your soap you can discuss the special features of each layer. There are a lot of amazing resources out there but here is each layer in a nutshell.
Layer #1 The Trenches – Hadalpelagic Zone
This is the deepest layer of the ocean. It is located in the ocean basin and below. It is very cold and very dark as no light can penetrate that deep. Despite the darkness, cold and immense pressure, there are creatures living in this layer, mostly invertebrates like starfish.
Layer #2 The Abyss – Abyssopelagic Zone
This layer is similar to the Trenches. It has temperatures near freezing and no light. 75% of the ocean floor is in this zone. It is home to a number of creatures including squid and sea stars.
Layer #3 The Midnight Zone – Bathypelagic Zone
This layer is called the Midnight Zone or Dark Zone. Although this layer is still dark some sea creatures in this layer produce their own light (known as bioluminescent creatures). This layer is filled with a variety of creatures that are mostly red or black due to the lack of sunlight. Some whales will go hunting in this zone.
Layer #4 The Twilight Zone – Mesopelagic Zone
Faint sunlight can penetrate to this layer and it is home to some amazing creatures like wolf eels and swordfish. We also find a few bioluminescent creatures in this zone.
Layer #5 The Sunlight Zone – Epipelagic Zone
This is the layer of the ocean most of us are familiar with and if we are lucky, have gone swimming in. It accounts for only 5% of the ocean depth. It gets lots of light and is quite warm. Although the amount of light and temperatures can vary significantly. Coral reefs are found in this layer and it is where photosynthesis happens. This is also where you will find a vast diversity of sea creatures.
LAYERS OF THE OCEAN SOAP SUPPLIES
1 1/2-pounds melt and pour clear glycerin soap
1/2 teaspoon Jojoba oil
10-20 drops each of Ylang Ylang, Chamomile, Rosemary, Peppermint and Eucalyptus essential oil (or use your favourites)
Black Currant, Grape, Blueberry, Forget Me Not and Turquoise soap color
Silver and Blue biodegradable glitter
Rectangle soap mold
Spray bottle of rubbing alcohol
5 microwave safe measuring cups or medium sized bowls
A NOTE ON GLITTER AND OUR OCEANS
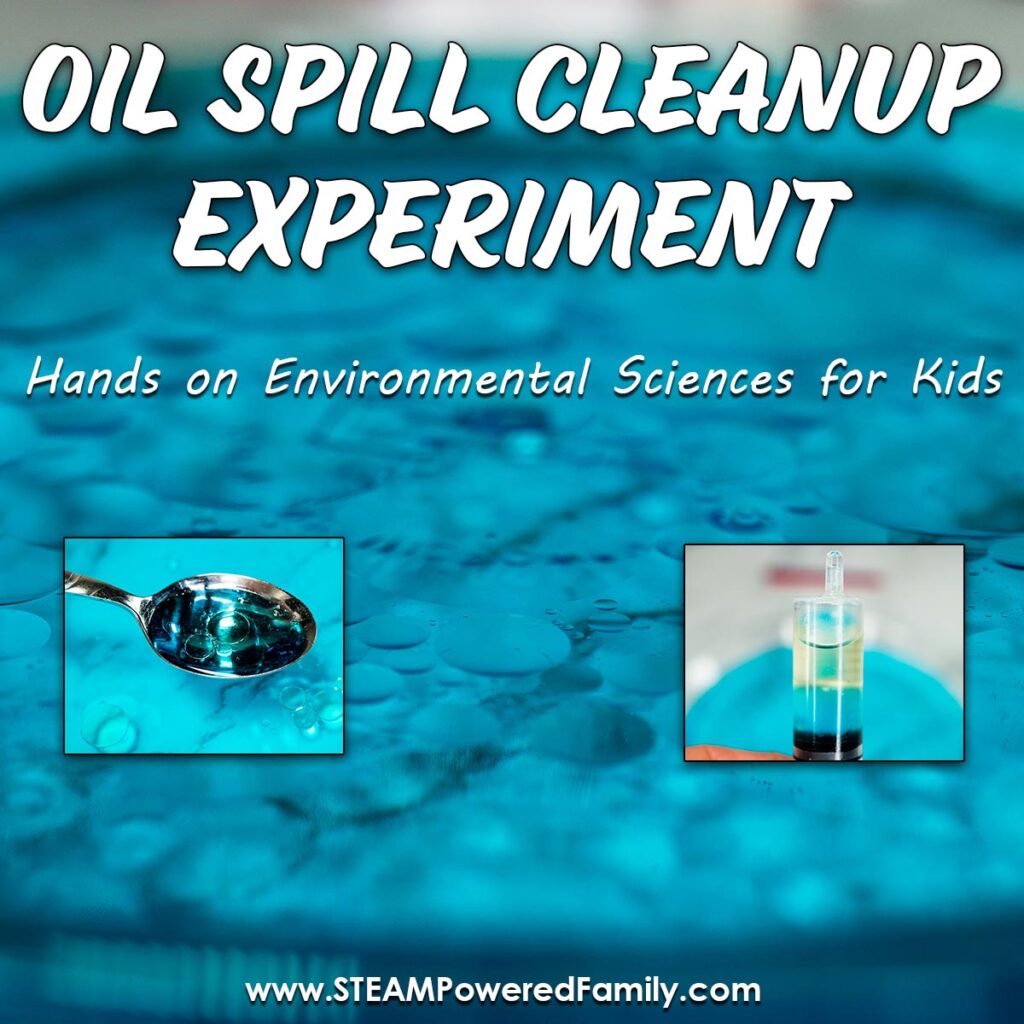
Plastics in our oceans have become an epidemic issue that is something we need to address around the world. We have explored this topic in the past as part of our projects where we made Bioplastics out of Gelatin and when we made Milk Plastic. Cosmetic glitter is made from plastics. As we know better, we need to do better. It’s up to us to take care of our home and do the best we can to protect it. Since plastics are having such a severe impact on our oceans it only makes sense with a Layers of the Ocean project that we make decisions that are good for our ocean. It also gave us another wonderful discussion during our soap making on the environmental impact of plastics. So for this project we chose a biodegradable glitter. You may also decide to leave the glitter out completely. The choice is yours. Here is one option for biodegradable glitter that will work in soap and bath bombs.
LAYERS OF THE OCEAN SOAP PROJECT DIRECTIONS
You can see the step by step images for creating the soap here.
We build our Layers of the Ocean soap from the bottom up. That means we start with the darkest layer.
OCEAN SOAP LAYER #1 – The Trenches (Hadalpelagic Zone)
The first step is to make your liquid soap mixture. Add 8 cubes of the clear soap base to one microwave safe bowl. Melt in 30 second intervals, stirring after each until it is completely melted. Add jojoba oil, ylang ylang essential oil and black currant soap color to bowl. Whisk oils and color into soap mixture.
Spray bottom of mold with rubbing alcohol and pour the black currant colored soap mixture into mold. Spray with rubbing alcohol to prevent bubbles. Allow to harden at least 30 minutes. You know you can pour the next layer if you blow on the soap and it doesn’t ripple.
OCEAN SOAP LAYER #2
Repeat steps in Layer #1 for making the liquid soap mixture using the chamomile essential oil and grape soap coloring.
Spray black currant soap layer with rubbing alcohol. Be liberal, but don’t go overboard! This makes the layers adhere to one another. Pour grape soap mixture into mold. Spray grape soap layer with rubbing alcohol to prevent bubbles. Allow to harden at least 30 minutes.
OCEAN SOAP LAYER #3
Make the liquid soap mixture using the peppermint essential oil and blueberry soap coloring. Whisk oils and color into soap mixture.
Spray grape layer with rubbing alcohol. Pour blueberry soap mixture into mold. Spray blueberry soap layer with rubbing alcohol to prevent bubbles. Allow to harden at least 30-45 minutes or until very hard and solid.
OCEAN SOAP LAYER #4
Make the liquid soap mixture using the eucalyptus essential oil and forget me not soap coloring. Whisk oils and color into soap mixture.
Spray blueberry layer with rubbing alcohol. Remember to be liberal, but not to go overboard! Pour forget me not soap mixture into mold. Spray blueberry soap layer with rubbing alcohol to prevent bubbles. Allow to harden for about 5 minutes or until layer has a gel like quality. Sprinkle with silver glitter and swirl in GENTLY. Spray forget me not soap layer again with rubbing alcohol to prevent bubbles. Allow to harden at least 30-45 minutes or until very hard and solid.
OCEAN SOAP LAYER #5
Make liquid soap mixture using the rosemary essential oil and turquoise soap coloring. Whisk oils and color into soap mixture.
Spray forget me not layer with rubbing alcohol. Pour turquoise soap mixture into mold and spray with rubbing alcohol to prevent bubbles. Allow to harden for about 5 minutes or until layer has a gel like quality. Sprinkle turquoise glitter and swirl in gently. Spray turquoise soap layer again with rubbing alcohol to prevent bubbles. Allow to harden overnight.
When you are ready to cut your soap, you can use the tools that comes with the rectangle loaf mold or you can use a large knife.
Store in an airtight container until ready to use. You can also package them individually in little plastic gift bags and tie shut with a ribbon. Perfect for gifting!
If you do not have the rectangle mold I used, that is fine! You can use any mold you like and get the same layered effect. If so, you may need to adjust the amount of soap you use. The important thing is that you make memories and have fun learning.
Have fun making soap, teaching lessons and most of all making memories!
MORE PROJECTS FOR KIDS AND TEENS