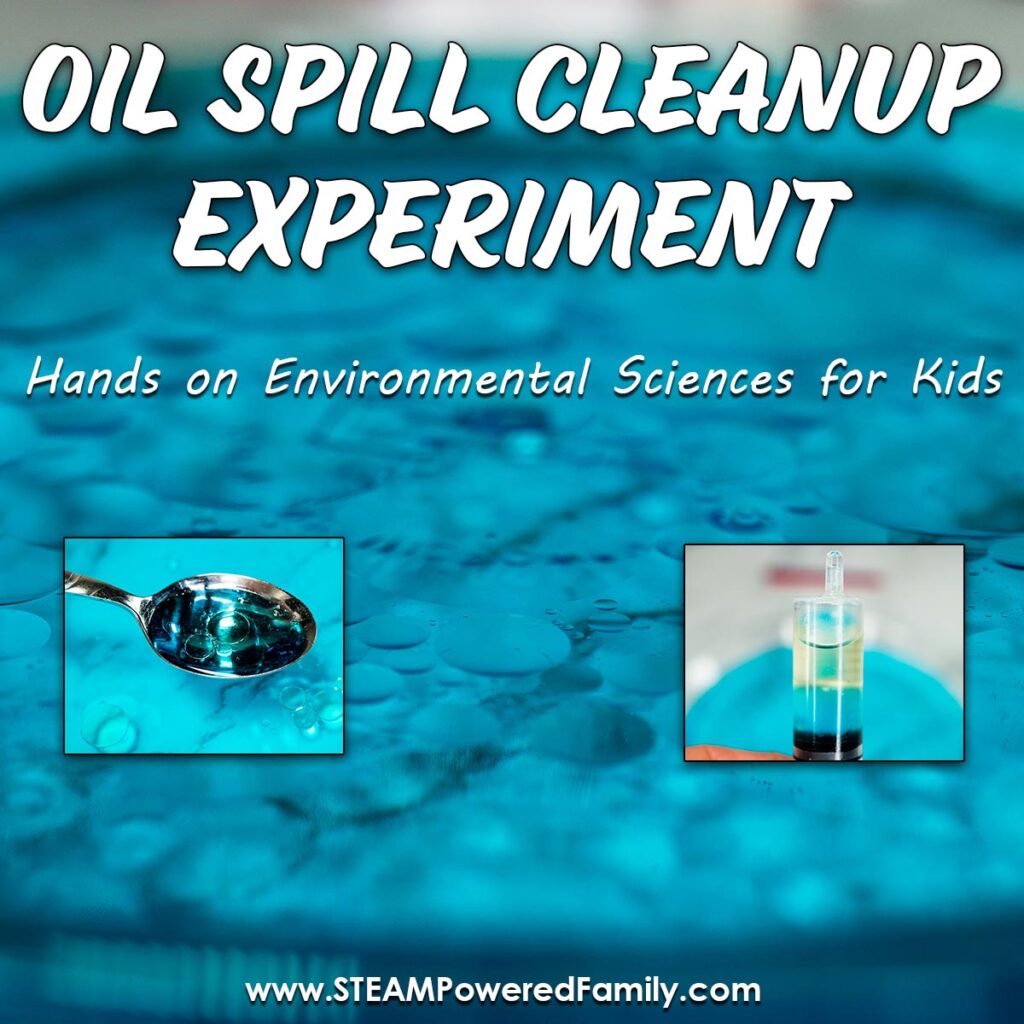
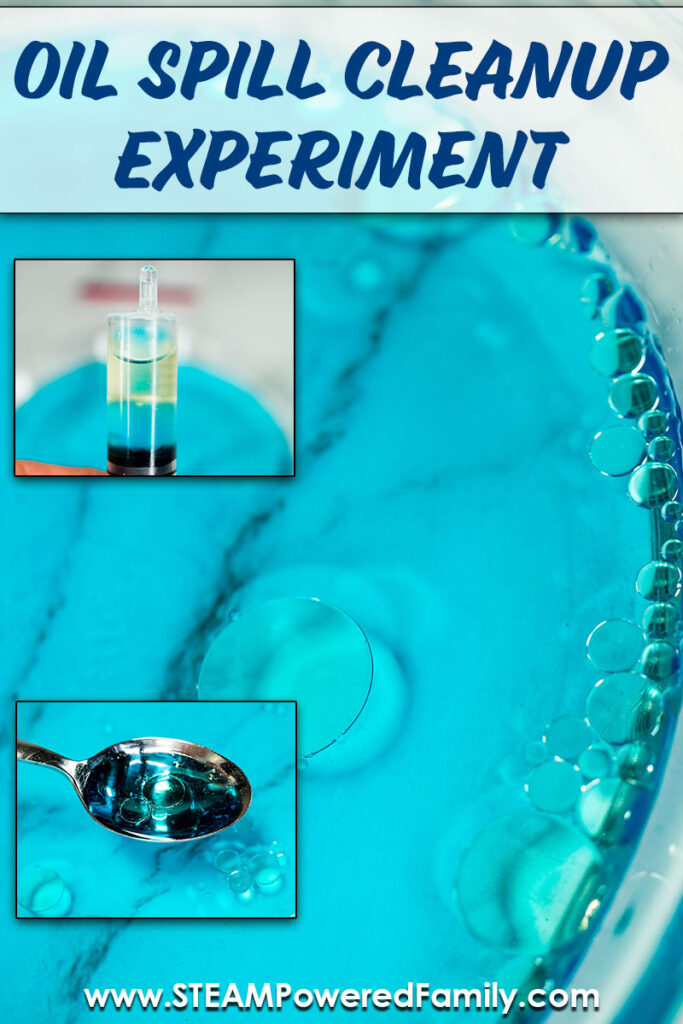
Oil Spill Cleanup Experiment
Oil spills have a major impact on our environment, and one of the biggest risks is oil spills in the ocean. This form of ocean pollution is absolutely devastating for our oceans and marine life. Today we are learning about oil spills, oil spill cleanup, and ocean pollution with an easy oil spill experiment you can do at home or in the classroom. This oil spill activity is a hit with students of all ages and makes a great addition to an ocean science unit study, or environmental sciences study, or as an Earth Day activity. It also makes a fantastic science fair project.
Oil Spill Cleanup Experiment
Table of Contents
Disclaimer: This article may contain commission, paid partnerships, or affiliate links. We independently review everything we recommend. When you buy through our links, we may earn a commission from qualifying purchases.
What is an Oil Spill?
Perhaps you have seen on the news that an oil spill has happened, or maybe you have been visiting a local river or waterway and saw the greasy rainbow hues of oil floating on the water. Although oil spills can happen on land, one of the biggest issues is oil spills into bodies of water. An oil spill is the accidental release of oil (petroleum) products into a body of water, either by an oil tanker ship, offshore oil rig, pipelines and even recreational vehicles, etc.
How do oil spills happen?
There are a number of possible causes of oil spills including structural failures, equipment malfunctions, collisions, carelessness of people, natural disasters (such as storms), and sadly, deliberate acts by people through terrorism, vandalism or illegal dumping.
Whatever the cause, and how the oil spill happened, when it does happen it is extremely damaging to the marine ecosystem, creating water pollution problems which affect humans, animals and plants.
How are oil spills cleaned up?
How an oil spill is cleaned up will depend on how much oil has been spilled, where it was spilled, and what impacts the oil spill has on the area.
Booms are physical barriers that stop the oil from spreading from an area. By keeping the oil in one area, it makes clean up easier. Booms can also be used to protect areas by stopping the oil from spreading to certain areas. One of our experiments will challenge students to build a boom to see if they can stop the spread of the oil.
Another approach is to use a Skimmer. These machines and devices help to collect the oil from the water. There are a few different ways this can be done by either scooping up the oil, or by using absorption techniques to collect the oil. We will try a few different skimmer techniques in our experiment.
So what happens if you have animals that are covered with oil? In that case, oil spill cleanup takes a different approach and a dispersant is used to help clean up the animals. Dispersants can also be used in the water as part of oil spill cleanup, but unlike other approaches that remove the oil, in this case it is simply spreading the oil out and diluting it. The chemicals, pollution and oil are still in the waterways. We will see this in action in our experiment.
Now we have learned about oil spills, let’s do some experiments.
Oil Spill Cleanup Experiment
Watch the video of this experiment! If you can’t see this video, please turn off your adblockers as they also block our video feed. You can also find this on the STEAM Powered Family YouTube Channel.
Supplies
For these experiments you will need the following supplies:
A shallow bowl or dish
Water
Oil (vegetable oil or baby oil would work too)
Food coloring
Spoons
Paper towels
Cotton balls
Syringe or pipettes
Sponges
Craft sticks
Optional – Measuring cups or scales
Optional – Other materials to try and clean up the spill: gauze pads, make up sponges
Oil Spill Experiment Worksheet
As members of the STEAM Powered Family mailing list you can grab our oil spill experiment worksheet here.
Experiment #1 – What happens when oil is spilled on water?
The first part of our experiment will demonstrate what happens when oil and water mix.
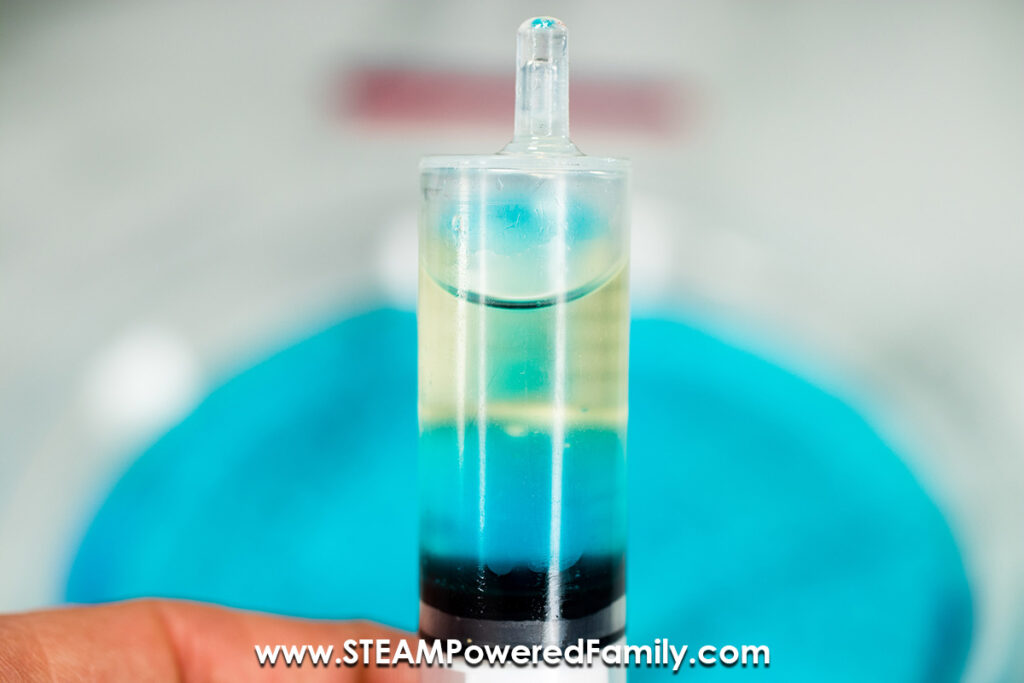
Take a shallow dish or bowl and fill it about half way with water. Then students will add some oil to their water and observe what happens to the oil.
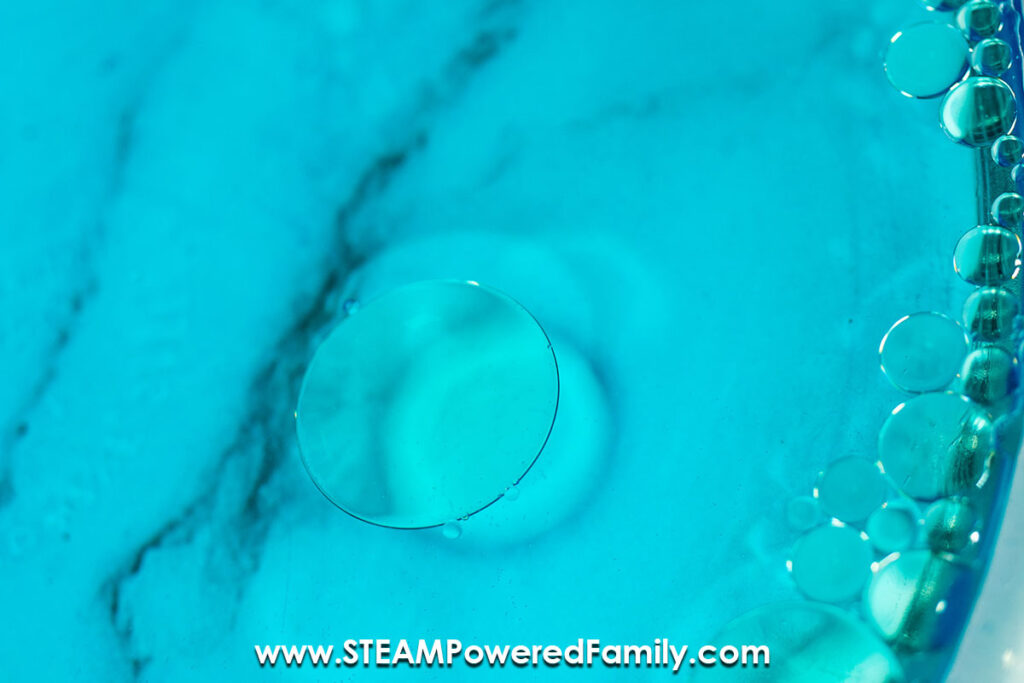
They will discover that oil floats on the water and slowly spreads across the surface of the water creating a thin layer called an oil slick. Once it is thin enough, it will take on that sheen and rainbow look that you have probably seen on the water at local marinas or waterways. Although pretty, it is not a good thing to see. It means the water is polluted.
Record your observations!
Now waterways and the ocean are not still water, so give that water a stir and watch what happens too!
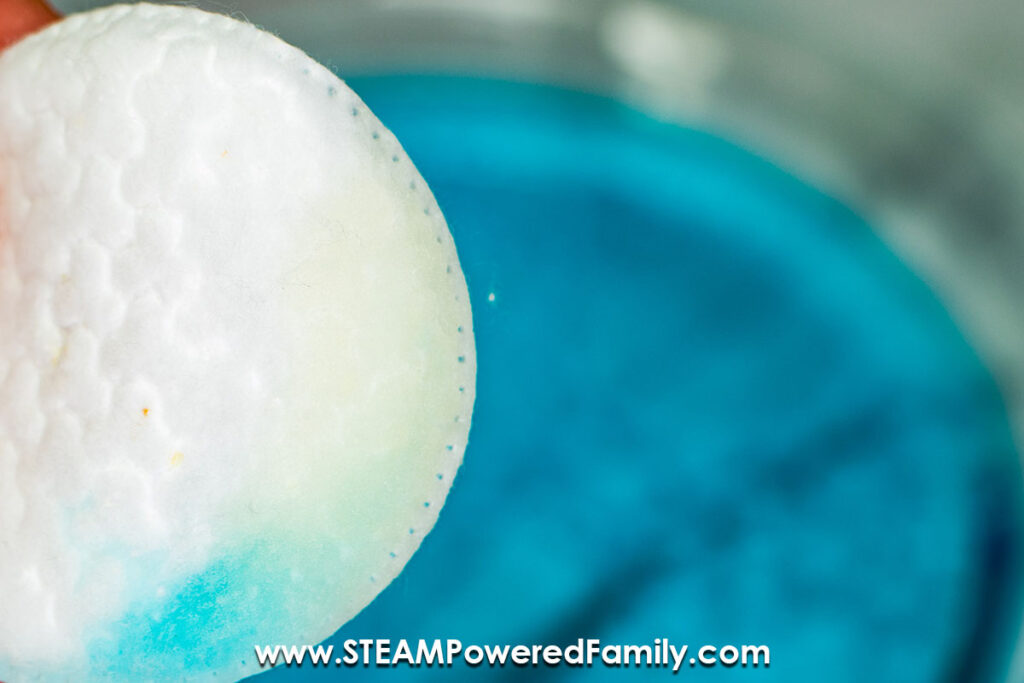
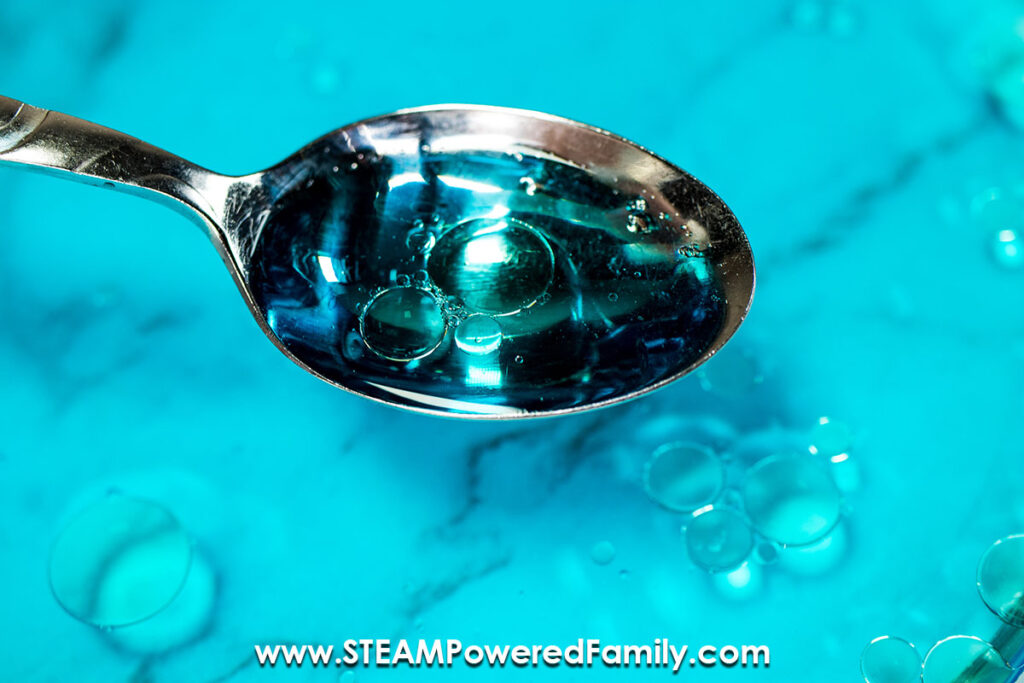
Experiment #2 – Cleaning up an oil spill with skimmers
Now we have an oil spill, we need to clean it up! First, let’s try various types of skimmers. Have the students use absorbent skimmers like sponges, make up remover pads, paper towels, etc. Record the effectiveness of each type. Are they only picking up the oil, or are they soaking up a lot of water as well?
Now try physical skimmers such as syringes, pipettes, and spoons. How effective are they at picking up the oil? Record your observations.
For older kids you can weigh or measure the amount of oil and water that was added to the bowl, then weigh or measure the amount of oil removed by various techniques to see if you can find the most effective one. Just be careful to account for water that is also being picked up.
Experiment #3 – Creating a boom
For this next experiment, try another approach that can be used with oil spill clean ups, a boom. Remember, a boom works by either keeping the oil in a specific area or away from a specific area. Challenge your students to come up with their own type of boom, then test to see if it is effective for controlling where the oil goes.
We tried using craft sticks and paper towels. Our big struggle was that the oil kept going around the boom. So our next step would be to fashion something that traps the oil.
Test a few different types of booms and record the results. Which type was the most effective?
Experiment #4 – Using dispersants in oil spill clean ups
This experiment is always exciting. Add a couple of drops of dishwashing liquid. We used Dawn Ultra. Immediately you would see the oil forms big droplets and moves to the edges of your bowl. The edges of the bowl are acting like a boom and the dish soap is the dispersants. Now try again to use a skimmer to pick up the oil.
Record those results!
Optional Experiment #5 – Oil and feathers
This is just an extra quick and easy experiment to see how oil affects marine birds. For this experiment you can take a feather and dip it in water. How does the water affect the feather? Now take a feather and dip it in the oil water. What is the difference? Now image a bird, who is covered in feathers, how it would become extremely heavy. Not only can the oil stop them from flying, it can make it difficult for the birds to stay afloat when coated with heavy oil.
The Science of Oil Spills
Water molecules are polar which means one end has a slight negative charge, the other a slight positive charge. The polarity means those water molecules can form hydrogen bonds and attach to other molecules that are also polar, this includes other water molecules. It is like little magnets attracting each other.
On the other hand we have oil molecules which are non-polar. This means they can’t form hydrogen bonds with water molecules. This results in water and oil not being able to mix. Oil is lighter than water, so it floats on top of the water without mixing in.
Skimmers work by physically removing the oil from where it is floating on top of the water, either through a mechanical means, or by using absorptive materials.
The dish soap is a surfactant. It is hydrophilic. A hydrophilic molecule or portion of a molecule is one that interacts with or can be dissolved by water and other polar substances. In this experiment the dish soap is the dispersant and disperses the oil through the water. You can see more of this in action in the Magic Milk Experiment or Glitter Magic.
Exploring Oil Spills Next Steps
Now we have done all of these experiments and learned a lot about oil spills and how oil and water interact, let’s apply that knowledge. What do you think would be the most effective way to clean up an oil spill?
Can you come up with a new invention idea for cleaning up oil spills? Share your ideas! We need more brilliant minds working on solutions just like this to help protect our planet!
Ready to dive into more Water STEM and Science Experiments? Check out this comprehensive resource.
More Environmental Sciences