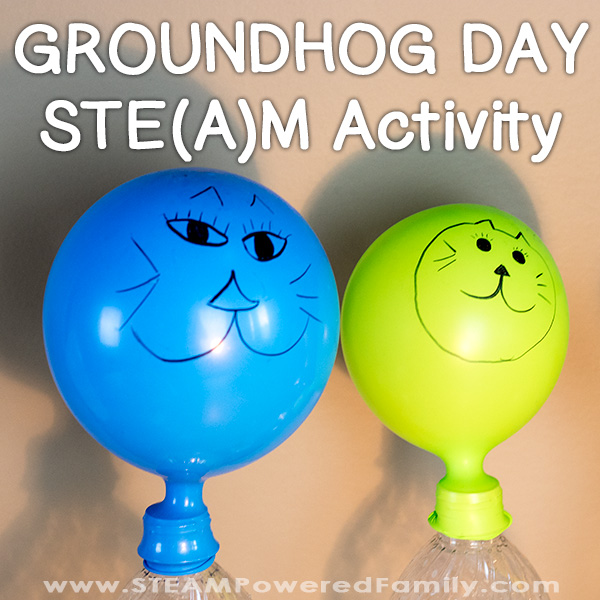
Groundhog Day Kids STEM Activity
Celebrate Groundhog Day this year with this science experiment that includes a little art and math. Will your ground hog see it’s shadow? Find out with this exciting Groundhog Day Kids STEM Activity.
GROUND HOG’S DAY
Table of Contents
Disclaimer: This article may contain commission, paid partnerships, or affiliate links. We independently review everything we recommend. When you buy through our links, we may earn a commission from qualifying purchases.
This STEM activity is actually more of a STEAM activity, as there is an opportunity for some amazing artistic creations as part of the process. Teachers may also chose to do this activity as a demonstration or it makes a fantastic group project.
The History of Groundhog Day
Groundhog Day is celebrated on February 2, which is known as Candlemas in the church. Candlemas falls halfway between Winter Solstice and Spring Equinox and has a long history of importance in many cultures throughout Europe and was brought to North American in the 1800’s by the Germans.
In Scotland, there was an old saying that:
“If Candlemas Day is bright and clear, There’ll be twa (two) winters in the year.”
And in England there is an old song.
“If Candlemas be fair and bright, come, winter, have another flight. If Candlemas brings clouds and rain, go winter, and come not again.”
Looking to hibernating animals to help understand the yearly variations in seasonal patterns is a tradition that dates back thousands of years in Europe. They believed that badgers had the ability to predict changes in the seasons. This was important, as farmers needed to know when to plant their crops.
So they carefully watched on February 2nd to see what would happen when the badger poked his head up out of his hole in the ground. If he saw his shadow, he will return to his burrow and there will be 6 more weeks of winter weather. We will have a second winter. If he doesn’t see his shadow, then spring is on it’s way.
I found a great article on Groundhog Day in Canada and the USA here.
Groundhog Day Activities
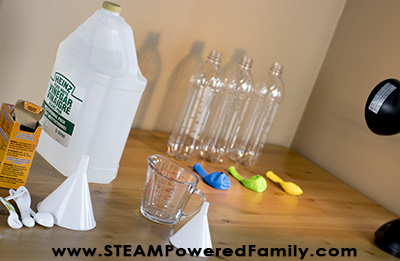
Supplies
Soda pop bottles
Balloons
Markers (I use Sharpies and love them!)
Chip Bag Clips
Vinegar
Baking Soda (sodium bicarbonate)
Funnels
Variety of measuring spoons
Measuring cup
Light – could be a table lamp or flashlight
Directions
This is a fantastic STEM activity to do as part of your Groundhog Day Celebration.
Prep
The first step is to set up your space. You will want to be near a wall so you can aim the light at the bottles to create the shadows. The light is your sun!
Clean and rinse your bottles and remove any labels so you can see the reaction.
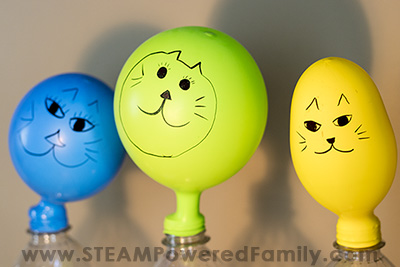
For our experiment we decided to keep our vinegar as the constant and our baking soda as our variable. We chose three variable amounts, which means we needed three balloons or ground hogs. You can make as many variables as you want.
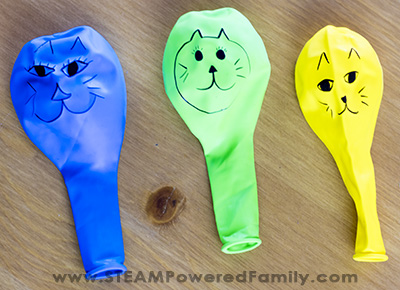
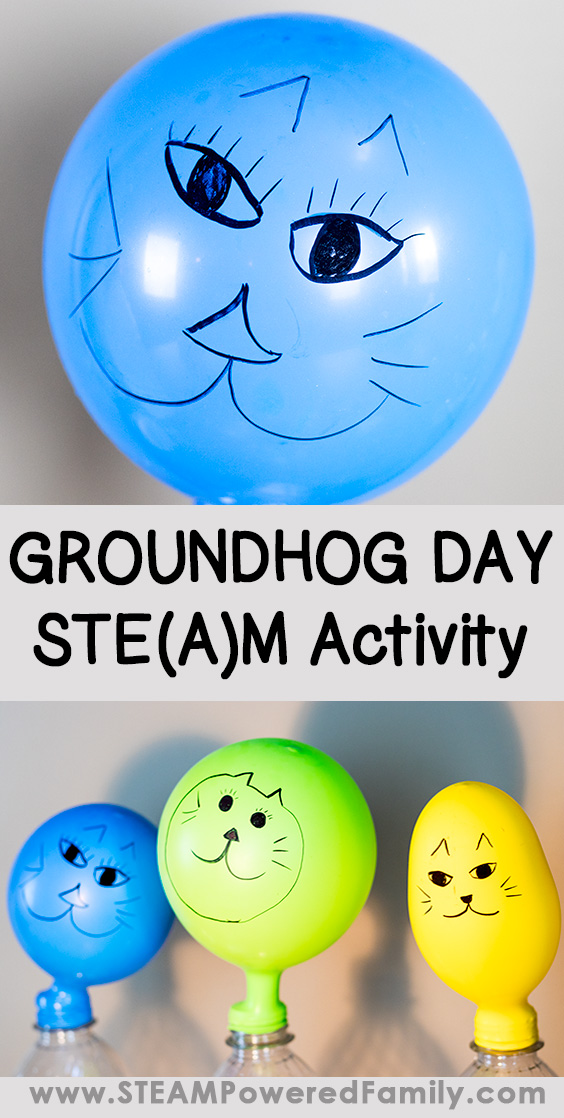
Decorate Balloons
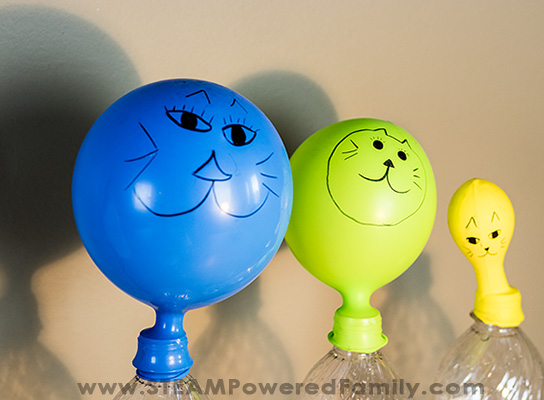
Blow up the balloons and clamp the end so the air doesn’t escape. Using markers draw on the balloons to create your groundhog faces. Let kids go crazy and be creative with this. There are no rules. Even which animal was used on this day has varied over history and location, so encourage kids to be creative with their balloons.
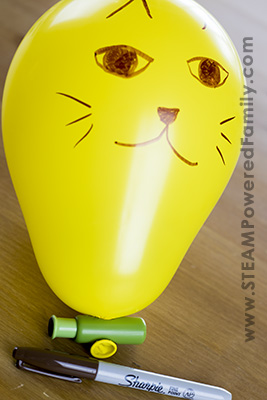
Once they are done decorating their balloons, let them deflate and set them near the bottle.
Decide on how much you are going to alter your variable. We decided to use 1/4 teaspoon in the first bottle, 1/2 teaspoon in the second bottle, and 1/2 tablespoon in the third. For our constant we used 1/4 cup of vinegar.
Teaching tip! This is a great opportunity to discuss the importance of the scientific process and how we control and alter certain variables to see how it affects our outcomes.
Take a moment to discuss your student’s hypothesis.
Set Up the Experiment
Add 1/4 cup of vinegar to each bottle (use a funnel to limit mess).
Next we need to prepare the balloons.
In one balloon use a funnel to add 1/4 teaspoon of baking soda then carefully slip the balloon over the top of the bottle. Don’t let any of the baking soda fall into the bottle yet! Repeat for each bottle. Adjusting the amount of baking soda in each balloon.
Reaction Time!
Once you are ready, flip up your balloons and shake them so the baking soda falls into the bottle and triggers the reaction!
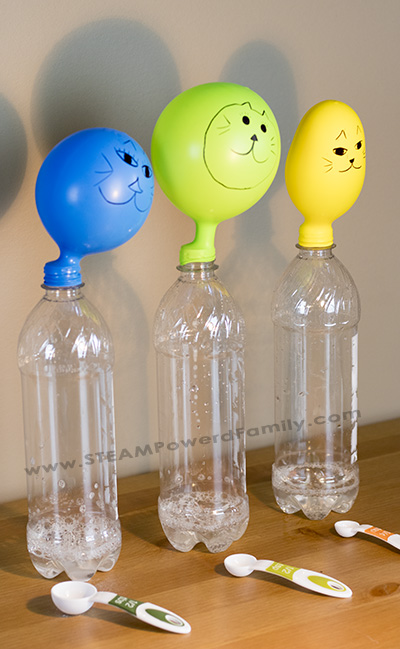
Now examine your balloons and see how they vary. Don’t forget to examine the shadows on the wall! Did your groundhogs see their shadows? How are the silhouettes different?
Classroom Tip! If you are teaching in a classroom you can have the kids work in pairs and assign each pair different measurements for their vinegar and baking soda. The balloons will stay inflated for a little while, so the kids can do their individual experiment, then bring it up and compare it to the results other teams got with their different ratios of ingredients.
The Science Lessons
Like many of our favourite chemistry experiments, this is a simple vinegar (acid) and baking soda (base) reaction. When the two are mixed they release CO2 gas which rises and takes up space. This is what causes the balloon to blow up. When you alter the amount of baking soda added to the bottle, it affects how much CO2 is released and therefore how much the balloon blows up.
Extension Activities
What happens when you keep the baking soda amounts constant and make vinegar your variable?
What happens if you change the size of the bottle? Or size of the balloon?
How long does your balloon stay inflated? Use a timer and see how the amount of baking soda and vinegar affects how long the balloon stays inflated.
Happy Groundhog Day!!!
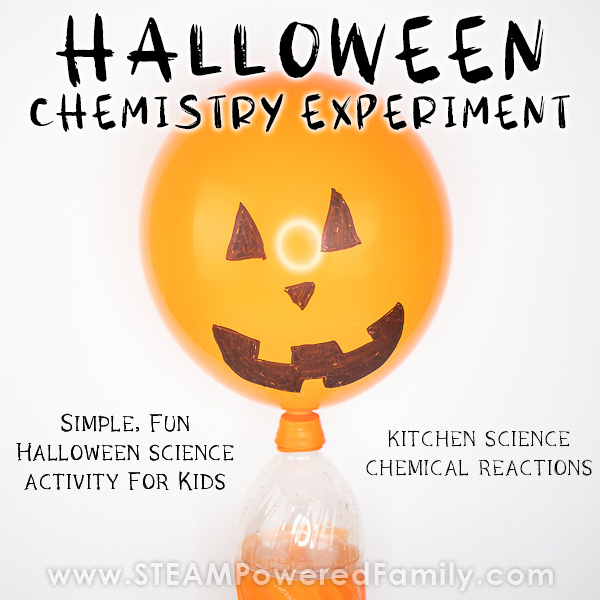
If you enjoyed this activity make sure you check out our Halloween version!
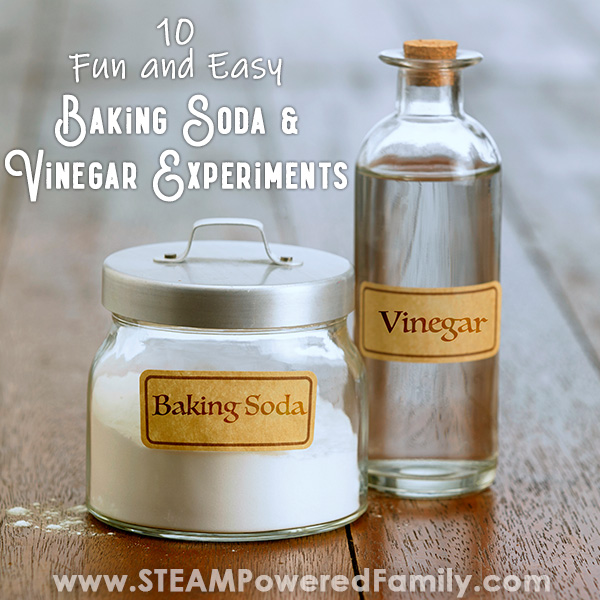
Or explore more innovative ways to use the baking soda and vinegar reaction in your lessons.
More Hands On Learning