

Tessellation Art for Kids: Fall Leaf STEAM Project
Tessellation! What a word. It sounds like a fancy dessert, right? Or maybe a wizard casting a spell. Say it out loud with great enthusiasm: tessellation! It comes from the Latin word “tessella,” which means a small square stone used in ancient mosaics.
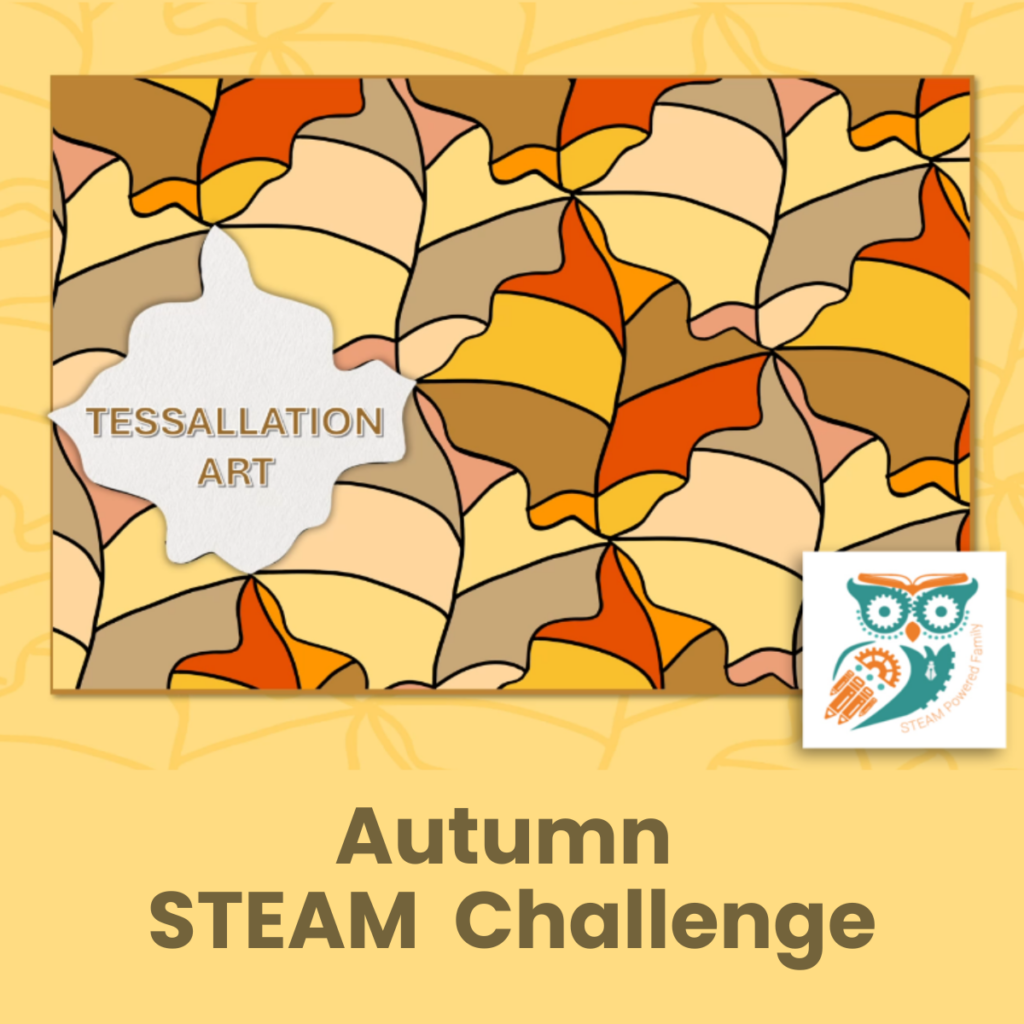
But tessellation art is much more than just a fun word to say. Tessellations are repeating patterns of flat shapes that cover a surface with no gaps and no overlaps. They show up everywhere — in mathematics, engineering, biology, and art — because they reveal something elegant about how shapes fit together. And in this fall STEAM lesson, we’re going to use that idea to create a stunning autumn leaf tessellation from nothing more than a simple square.
This project is ideal for students aged 8–14 and takes one to two class periods to complete.
What Is Tessellation Art?
Table of Contents
Disclaimer: This article may contain commission, paid partnerships, or affiliate links. We independently review everything we recommend. When you buy through our links, we may earn a commission from qualifying purchases.
Tessellation art is created when flat shapes, called polygons, are arranged to cover a flat surface perfectly — edge to edge, with no gaps and no overlaps. Think of it like a puzzle where every piece fits exactly and the pattern can continue forever in any direction.
The shapes that make tessellations work are polygons like triangles, squares, and hexagons. And the reason they work comes down to a beautiful piece of geometry: when you place these shapes next to each other, the angles meeting at any single corner (called a vertex) must add up to exactly 360 degrees. Only certain shapes have interior angles that divide evenly into 360 — and those are the shapes that tessellate.
Which Shapes Can Tessellate (and Why)?
The Three Shapes That Tile Perfectly
Three regular polygons tessellate completely on their own: triangles, squares, and regular hexagons. When you place any of these shapes edge to edge, the corners meet perfectly with no space left over. The pattern tiles seamlessly and can go on forever in any direction.
This is the same principle behind 3D nets and geometry activities — understanding how flat shapes connect and fold is the foundation of spatial reasoning across mathematics and engineering.
Why Pentagons and Octagons Won’t Cooperate
Some shapes are what you might call rebellious tessellators. Pentagons (five-sided shapes, like a house silhouette) and octagons (eight-sided shapes, like a stop sign) simply refuse to tile a flat surface on their own.
Here’s why: the interior angle of a regular pentagon is 108 degrees. If you try to fit three pentagons together at one corner, you get 324 degrees — which leaves a strange 36-degree gap. Try to squeeze in a fourth pentagon and they start to overlap. Octagons run into the same problem with different numbers.
It’s not a design flaw — it’s a mathematical certainty. And recognising why certain shapes fail to tessellate is just as valuable as knowing which ones succeed.
Why Tessellations Matter in Math, Science, Engineering, and Art
Mathematics
Tessellations are symmetrical, and that symmetry is packed with geometric meaning. They show how shapes can reflect (flip), rotate (turn), and translate (slide) while still fitting together perfectly. In geometry, they demonstrate how angles must add up to 360 degrees at every vertex. Exploring tessellations with hands-on geometry challenges is one of the most effective ways to make abstract angle rules feel concrete and memorable.
Engineering
Tessellations have structural strength. Repeating hexagonal patterns, in particular, create materials that are extremely strong while using minimal weight — which is why engineers use them constantly. Builders use tessellation principles when laying bricks, tiles, and paving roads, because a pattern that tiles perfectly leaves no weak points. In aerospace design, honeycomb cores built from hexagonal tessellations are used inside airplane wings to maximise strength without adding unnecessary mass.
Science and Biology
Nature discovered tessellations long before mathematicians did. Honeybees build their honeycombs in hexagonal tessellations, storing honey in the most efficient, space-saving arrangement possible. In geology, when wet mud dries and loses water, it contracts evenly in all directions — the result is tessellating cracks in geometric shapes across the surface.
Imagine tiny building blocks snapping together in a repeating pattern. That’s essentially what happens at a microscopic level in many natural structures.
Art: M.C. Escher and the Tessellation Masters
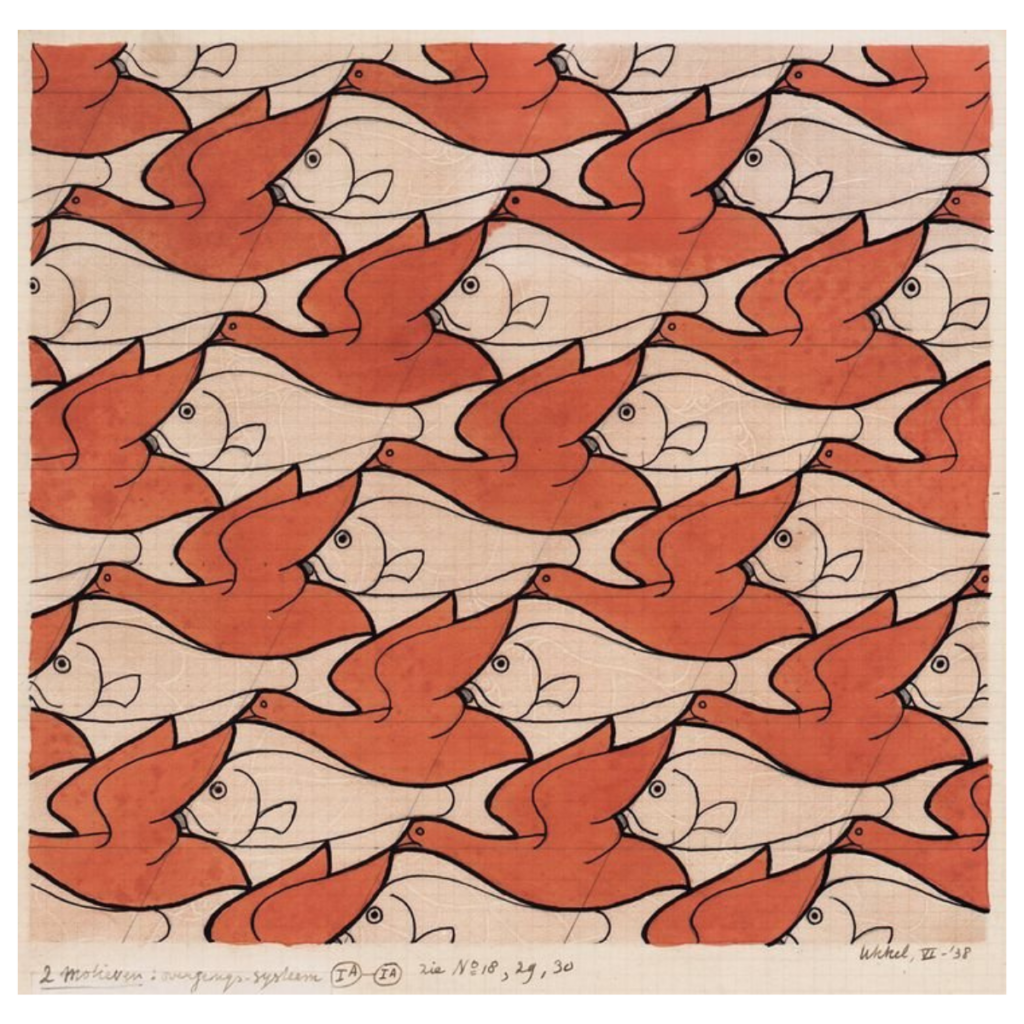
M.C. Escher, a Dutch artist who lived from 1898 to 1972, became one of the most famous tessellation artists in history. He figured out how to transform simple geometric shapes into recognisable figures — birds, fish, lizards, knights — that interlocked perfectly with no space between them.
His drawings play tricks on your eyes. A flock of flying birds gradually transforms into a school of swimming fish. What looks like a positive shape from one angle becomes the negative space of another. His work is a masterclass in how mathematics and art are, at their core, the same thing. Just like reverse perspective art, tessellation art shows how understanding spatial rules can produce something genuinely surprising and beautiful.
How to Make an Autumn Leaf Tessellation Art Project
Students can follow along using the short instructional video, or our classroom PowerPoint – designed to walk the class through each step slide by slide.
This video may be used as a visual example so that the students get the hang of how the project is done. Let them try it on their own or watch and follow along. If you cannot see the video, visit our YouTube Channel here.
In this project, students will transform a simple square into an autumn leaf template, then use that template to tile an entire page. The results look complex, but the process is surprisingly straightforward.
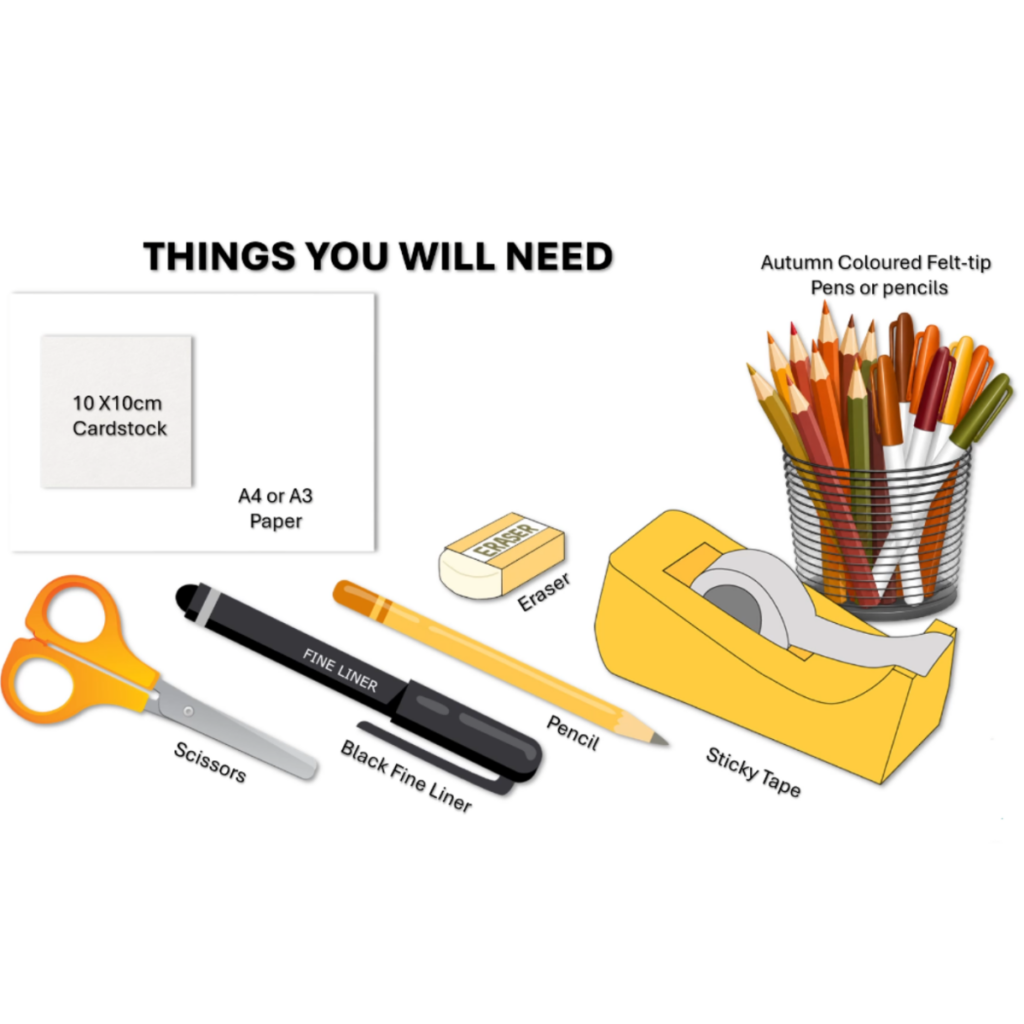
What You Need
- A4 or A3 printer paper
- A 10 x 10 cm piece of cardstock
- Scissors
- Black fine-liner or felt-tip pen
- Pencil
- Sticky tape
- Eraser
- Autumn-coloured felt-tip pens or pencil crayons
- Reference images of M.C. Escher-inspired designs, architecture, and natural patterns (optional but great for discussion)
Step 1: Build the Top and Bottom of Your Template
- Using a pencil, draw a squiggly, organic line across the top of the cardstock square. This will become one edge of your leaf.
- Cut carefully along the line you just drew.
- Without rotating the piece you just cut off, slide it down to the bottom of the square and line up the two flat edges. Tape it in place.
The key rule throughout this process: never turn or rotate the cut piece. Simply slide it to the opposite side.
Step 2: Build the Left and Right of Your Template
- Draw a squiggly line down the right side of the template you’ve just built.
- Cut along that line.
- Without rotating it, slide the cut piece to the left side of the template and line up the flat edges. Tape in place.
You now have a leaf-shaped template that will tessellate perfectly because every cut you made on one side was transferred directly to the opposite side.
Step 3: Create the Tessellation Artwork
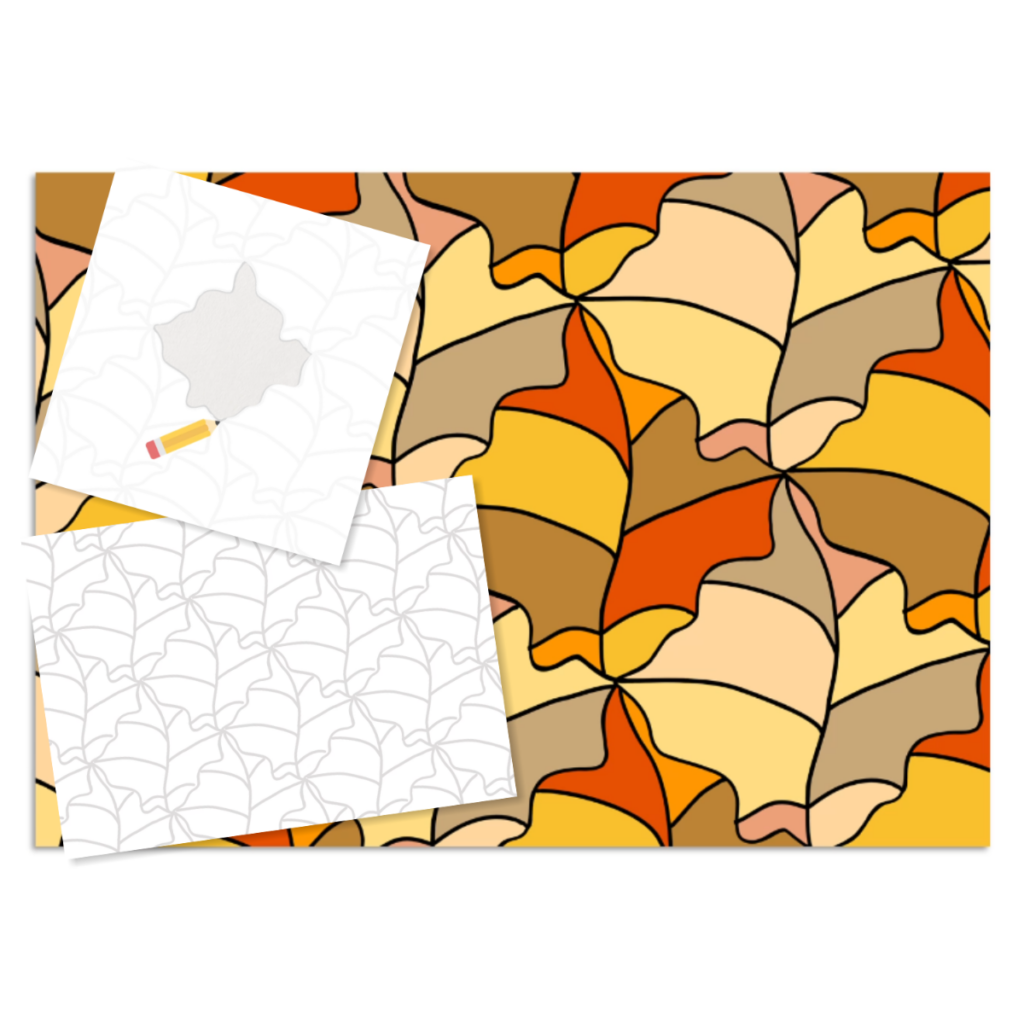
- Using a pencil, trace your leaf template onto the page. Position each new leaf so it fits snugly against the ones already drawn — no gaps, no overlaps. Work across the whole page until it is completely filled.
- Colour in your leaves using autumn colours: reds, oranges, yellows, and browns.
- When all leaves are coloured, add veins to each one using your pencil, keeping the vein pattern consistent across all leaves.
- Outline everything with a black fine-liner or felt-tip pen to make the design pop.
And just like that — you’ve made your first tessellation!
Students can follow process photos, a short instructional video, or a classroom PowerPoint slide-by-slide to guide them through each step.
Why This Is a Great STEAM Activity
Tessellation art sits beautifully at the intersection of every STEAM subject.
Science connects through the study of patterns in nature — honeycomb, crystals, and geological formations. Technology comes in when students use digital tools to create tessellations or research M.C. Escher. Engineering is embedded in understanding why certain shapes create structural strength. Art is central to the whole project — from M.C. Escher’s transforming figures to students’ own autumn leaf designs. And Mathematics underpins everything: angle relationships, geometric transformations, spatial reasoning, and pattern recognition.
This project supports upper elementary and middle school geometry standards covering polygons, angle relationships, symmetry, and transformations. It builds spatial reasoning, creative problem-solving, and the ability to see mathematics as something alive in the world rather than confined to a worksheet.
Classroom Discussion and Exploration Prompts
Use these questions to push thinking further after the project is complete:
- Why do some shapes fit together perfectly while others leave gaps?
- Where have you seen tessellations in everyday life?
- Why do engineers use repeating patterns in their designs?
- How can one simple square become a recognisable leaf shape?
- Which transformation (slide, flip, or turn) was easiest to recognise in the tessellations you’ve seen?
- Can nature create tessellations? Where?
- What happens if one angle in a polygon changes slightly?
- How does art make mathematics easier to understand?
Extension Ideas
- Design a Thanksgiving-themed tessellation using a different seasonal shape.
- Create digital tessellations using free online drawing software.
- Study M.C. Escher’s original prints and identify which geometric transformations he used in each one.
- Compare regular tessellations (one polygon type) with semi-regular tessellations (two or more polygon types).
- Investigate tessellations in architecture: Islamic tile patterns, Roman mosaic floors, modern building facades.
- Create a classroom mural by combining everyone’s individual tessellation designs into one large piece.
- Build tessellations using pattern blocks to explore the concept hands-on before drawing.
- Challenge students to invent an original tessellating creature, starting from a square or triangle.
Give It a Try
There’s something genuinely satisfying about watching a blank piece of paper fill up with a perfectly interlocking pattern of autumn leaves — especially when students realise the whole thing started from a single square and a few careful cuts. Give the project a go, and don’t worry if the first tracing is a little rough. The more leaves that go down, the better it looks. We’d love to see what your class creates!
Frequently Asked Questions
A tessellation is a repeating pattern of flat shapes that covers a surface completely, with no gaps and no overlaps. The shapes fit together edge to edge, like a perfectly interlocking puzzle, and the pattern can continue forever in any direction. Tessellations are found in mathematics, engineering, nature, and art — from honeycombs and mosaic floors to the famous drawings of M.C. Escher.
Three regular polygons tessellate on their own: equilateral triangles, squares, and regular hexagons. These are the only regular polygons whose interior angles divide evenly into 360 degrees, which is what allows them to meet at a corner without leaving any gap or creating any overlap.
Tessellations are created using three geometric transformations: translation (sliding a shape in any direction without rotating or flipping it), rotation (turning a shape around a fixed point), and reflection (flipping a shape across a line of symmetry). In this autumn leaf project, students use translation — sliding their cut pieces to the opposite side of the square — to build a template that tiles perfectly.
Yes — with a guided template approach like the one in this project, students as young as 8 can create impressive tessellation art. Starting from a square, the cut-and-slide technique requires no advanced mathematical knowledge, just careful scissors work and patience with the tracing. The mathematical concepts (angles, transformations, polygons) can be introduced at whatever depth suits the class level.
Students use a simple cut-and-slide technique to transform a plain square into a leaf-shaped template, which they then tile across a full page. The finished artwork is coloured in autumn shades — reds, oranges, yellows, and browns — and detailed with leaf veins to create a rich, seasonal design. The result looks complex but the method is accessible, making it a great fall STEAM project for classrooms or home learning.