St. Patrick’s Day Slime – Slime in a bag
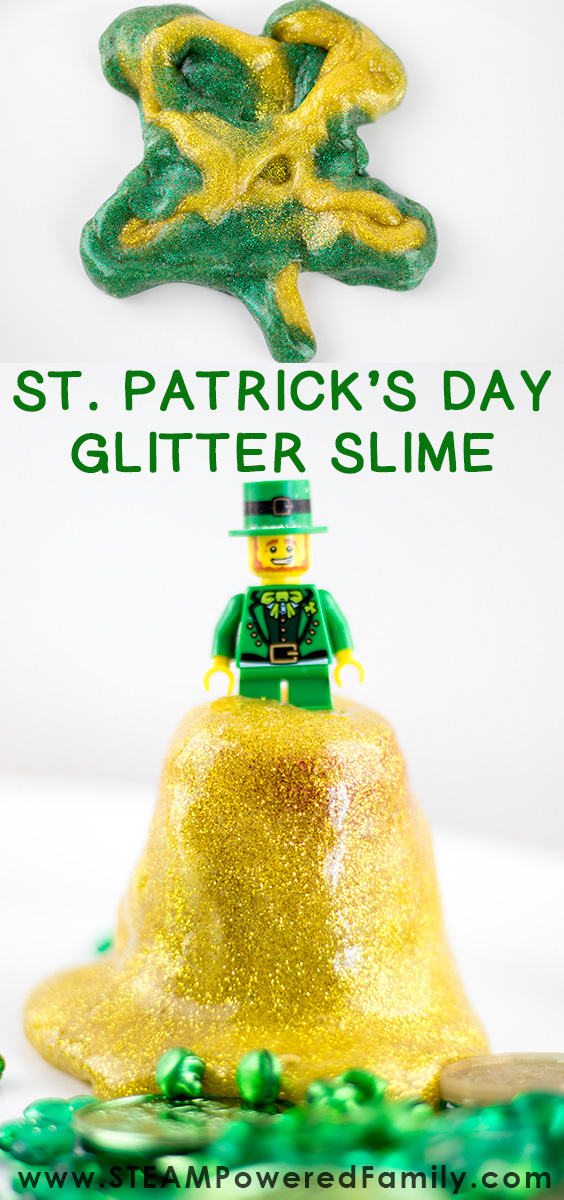
St. Patrick’s Day Activities For Kids – Glitter green and gold slime in a bag. Great technique for sensory sensitive kids who want to make slime.
St. Patrick’s Day is always a fun and exciting day for my kids. I’m not sure what it is about this particular day that they love so much, but every year they look forward to it, almost as much as the big holidays. So this year we decided to celebrate with a little St. Patrick’s Day Slime.
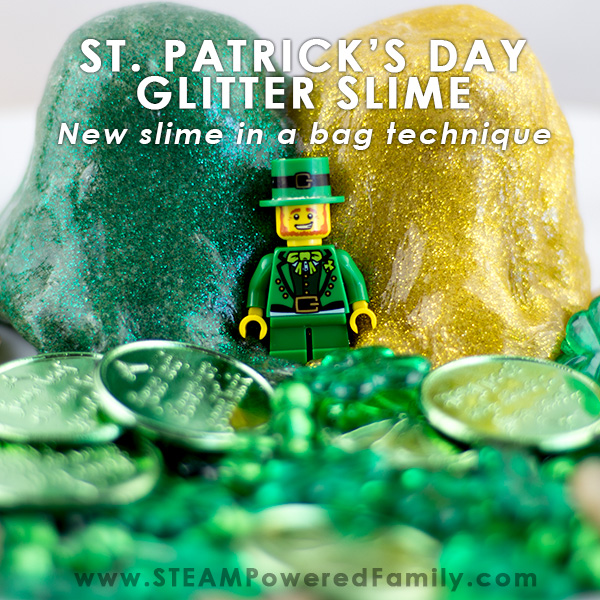
Making up the slime was quite simple and they kids were excited. After all the slime making last year, we took a break and haven’t made slime in a while.
St. Patrick’s Day Slime Ingredients
To make this slime you will need:
Gold sparkle glue
Green sparkle glue
Clear glue
Buffered Saline
Baking Soda
St. Patrick’s Day themed trinkets and toys
Optional – sealable plastic bags
Making Slime in a Bag
For this slime making activity we decided to try something a little different. My kids are not the biggest fans of how sticky the slime is when you first start kneading it, so we decided to try making it in a bag, and it worked!
Pick one of your colours of sparkle glue and add about a 1/4 cup of it to the bag, then add a 1/4 cup of clear glue. Sprinkle in a 1/4 teaspoon of baking soda, then a good squirt of the buffered saline. This recipe is fairly forgiving, the biggest thing is not to over do the saline. If you do your slime will lose its stretchiness and be prone to breaking.
Zip the plastic bag closed (removing most of the air), and start squishing it in the bag and working it together. It takes time, just like when making it in a bowl. In the beginning it will coat the inside of the bag.
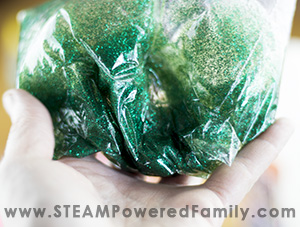
About 5 minutes of squishing, then you should notice it start pulling away from the sides of the plastic bag. Once it does you can put a little saline on your hands and pull it out of the bag and start working and playing with it.
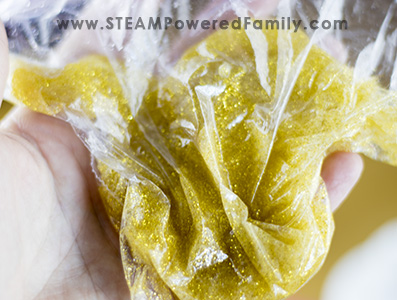
Set it aside and do the same with your other sparkle glue colour.
If it doesn’t seem to want to pull away and is really sticky, unzip the bag and add a couple more drops of saline. Zip it up tight again and start squishing again.
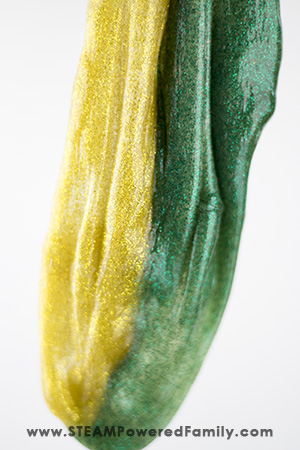
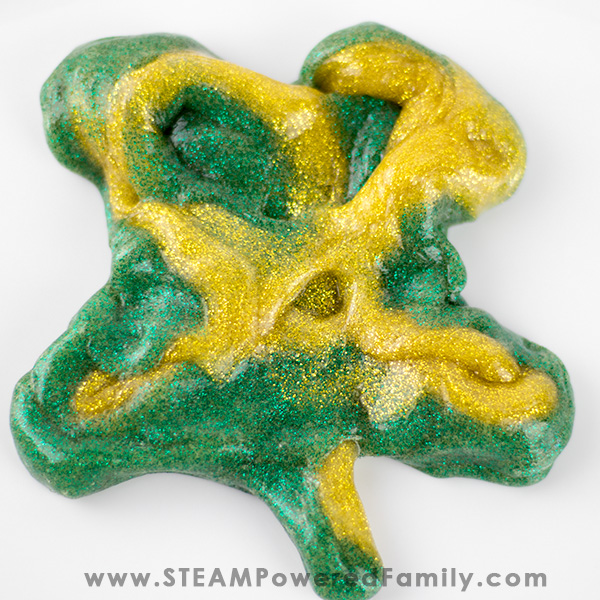
Now you have green and gold sparkly slime! Play with them separately, or combine them to make beautiful green and gold slime. Just be aware that once they mix you won’t be able to get them apart.
We made a slime 4 leaf clover!
The pros and cons of making Slime in a Bag
This was an interesting experiment, making slime in a bag. The kids liked that they didn’t have to deal with all the sticky of the slime during the early stages. However, I found it very easy to over do the saline, and I actually prefer the tactile experience of making the slime and feeling it come together using my usual slime making technique in a bowl. Knowing the moment it is ready. I feel I can make a better quality slime without the bag, but it does give us a fun option. Oh and if you are working with a lot of food dye in your slime, making it in a bag definitely helps keep your hands from getting dyed funky colours.
One tip I would use is to reduce the amount of saline a bit to avoid over doing it and instead use a little cornstarch to remove any final stickiness in your slime. This is a fantastic way to make your slime the PERFECT stretchy without the stick. Check out how to use cornstarch to make fun slime here.
