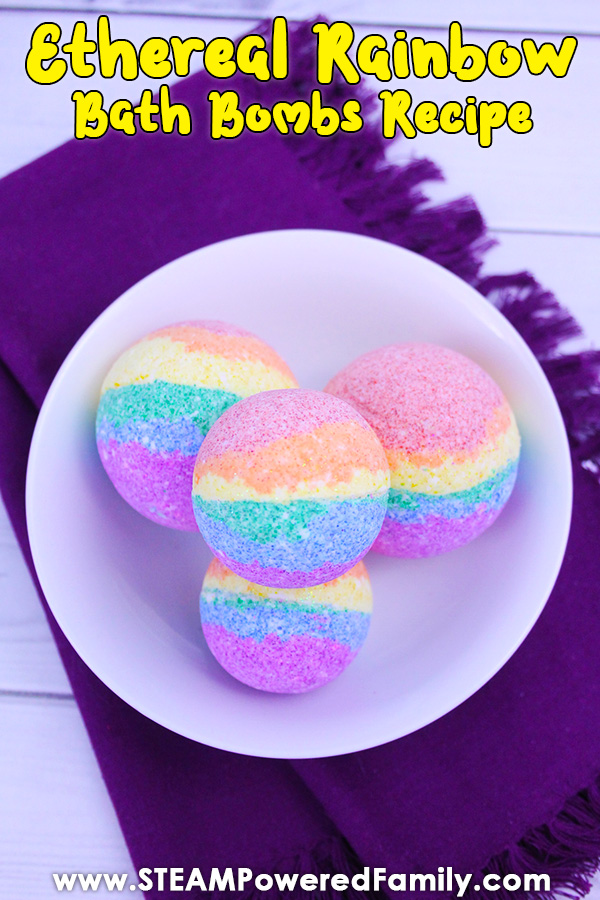
Ethereal Rainbow Bath Bomb Recipe and Science Lesson
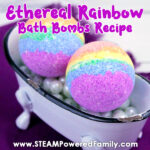
There is something so special about rainbows. One of the first things we learn about colours as children, is all the colours of the rainbow. They appear like magic in the sky and bring happiness everywhere they go. We wanted to capture that colourful magic in a bath bomb, and absolutely love the result! An Ethereal Rainbow Bath Bomb. Delightful!
Rainbow Bath Bomb
Table of Contents

Disclaimer: This article may contain commission, paid partnerships, or affiliate links. We independently review everything we recommend. When you buy through our links, we may earn a commission from qualifying purchases.
Ethereal. It means celestial, heavenly. Extremely delicate and light in a way that seems too perfect. That’s these bath bombs in a nutshell. Absolutely heavenly and out of this world!
Since I started making bath bombs I have tried so many recipes. Some have been failures and other huge hits. One of the things I have come to appreciate is how sometimes simplicity in the colours is better when it comes time for that bath time eruption.
When we set out to make these rainbow colours bath bombs we struggled with how saturated we wanted the colours. In the end I think we found a beautiful balance. Absolutely gorgeous and creates a stunning play of colour in the tub.
If you prefer darker, richer colours in the your bath bombs I will have tips for that below!
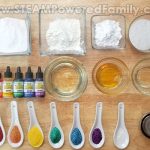
Rainbow Bath Bomb Ingredients
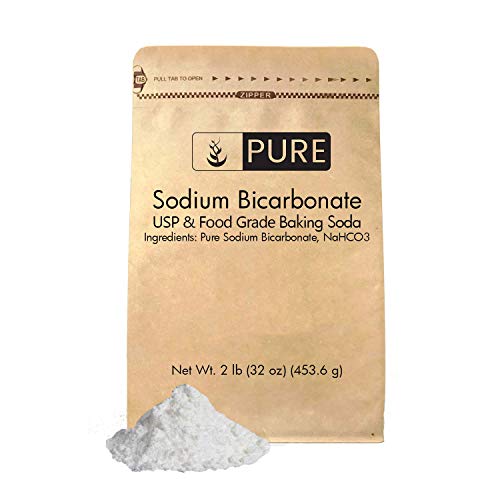
2 cups baking soda
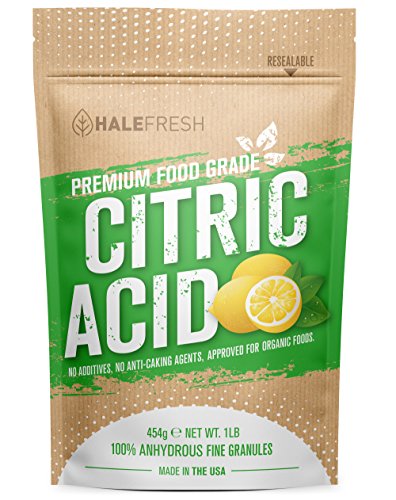
1 cup citric acid
1/4 cup cornstarch
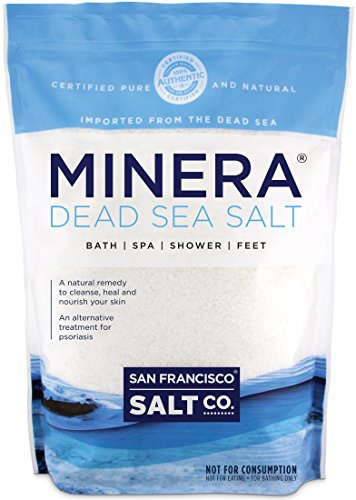
1/4 cup dead sea salts
1/3 cup coconut oil
1 tablespoon polysorbate 80
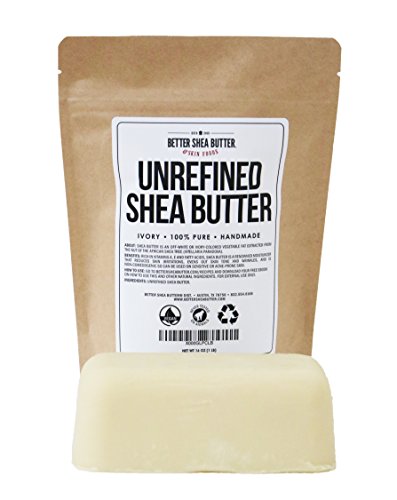
1 tablespoon Shea butter
20 drops each of orange and lemon grass essential oil
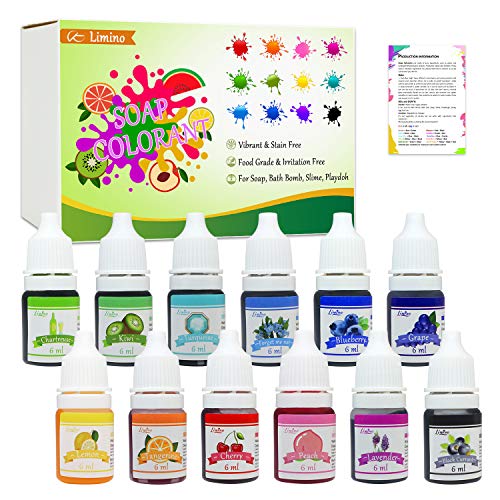
Red, Orange, Yellow, Green, Blue and Purple colorant
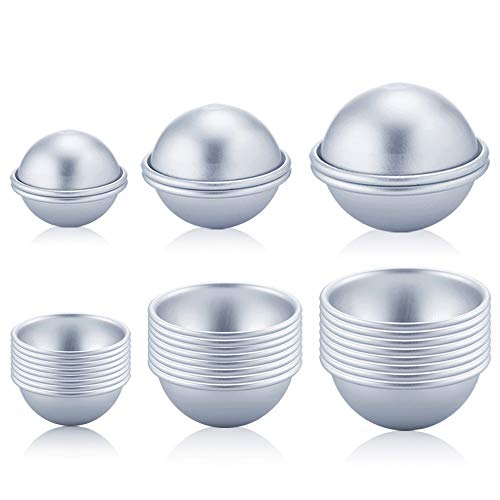
Stainless steel bath bomb molds
Spray bottle filled with rubbing alcohol
1 large mixing bowl
1 microwave safe bowl
6 small mixing bowls


How to Make a Rainbow Bath Bomb with Layered Colours
CREATING THE MIX
Start with your large mixing bowl. Add the baking soda, citric acid, dead sea salts and cornstarch. Mix the dry ingredients together with a spoon or your hands. Make sure you break up any chunks. Use caution with citric acid. It likes to become airborne with enthusiastic helpers and can be a bit of an irritant when inhaled.
In the microwave safe bowl, melt your coconut oil and shea butter in short increments in the microwave. Don’t let it boil, usually about 20 to 30 seconds is enough. Stir.
Add the polysorbate 80 and essential oils to the coconut oil and shea butter. Stir.
Pour the liquid into the dry mix bowl.
Mix it really well with your hands. Really work it all together until it takes on the consistency of wet sand and holds a shape when you squish it with your hand.
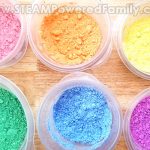
Colouring the mix
Divide the mix evenly between the 6 bowls.
Add 2 drops of red colour to the first bowl. We very careful. Since we are using liquid colours in this bath bomb recipe it will trigger the chemical reaction. If this concerns you, or you want darker colours, see below for tips!
Mix the colour in thoroughly.
Repeat in the next bowl with orange, then yellow, green, blue and purple. Until you finally have 6 coloured bowls.
Packing the Molds
Hold half of the mold in your hand. Add some red mix until it is about 1/3 full. Then add orange mix, then yellow. Make sure it is loosely heaped.
Then repeat on the other side, starting with purple, then blue and finally top it off with green, again making sure it is loosely heaped.
Bring the two halves together and press together firmly. Use a twisting motion to release any excess mix.
Tap the ends and release the mold. Set it on parchment paper in a warm, dry place and let harden for at least 24 hours.
STORING AND USING RAINBOW BATH BOMBS
Once hard and set, place your bath bombs in an air tight container. When you are ready to use the bath bombs, run a nice warm bath, climb in and add the bath bomb to the water. See how it fizzes and colours the bath water!
The Science of Bath Bombs
Bath bombs fizz due to a very basic chemical reaction that all kids love. An acid-base reaction. In this recipe our acid is Citric Acid and our base is Baking Soda (Sodium Bicarbonate). When dry these ingredients don’t reaction, but once water is added the chemical reaction is triggered. That’s why the colourant triggers a bit of a reaction and we need to be very light handed with it.
If you wish to have a darker, richer rainbow coloured mix, I highly recommend using some mica powder in addition to the colourants. This will really enrich your colours making them very vibrant. I actually love the more delicate, ethereal rainbow colours, but the choice is yours!
Another cool piece of science at work here is the role of emulsifiers. As almost anyone can tell you, oil and water don’t mix. Take a look at our ingredients. There is a lot of oil in these bath bombs! And if you add that to your water it will just float on top in a scum-like layer. Not nice at all!
But if you add Polysorbate 80 the oils will blend and mix beautifully with the water. Polysorbate 80 is derived from sugar alcohol and oleic acid, a fatty acid found in animal and vegetable fats. Always make sure you use it when making your bath bombs. It will help with clean up too. If you don’t use it, those beautiful rainbow colours will get stuck all over your bath tub and you. No one wants to have to shower after their bath!
Another project Polysorbate 80 is helpful with is making vibrant coloured Moon Dough!
Happy Rainbow Bath Bomb Making!
MORE AMAZING BATH BOMB DIY PROJECTS FOR KIDS
Rainbow Bath Bomb
Ethereal Rainbow Bath Bomb Recipe that will have you feeling heavenly! Create gorgeous, magical coloured bath bombs with this easy recipe and science lesson for kids.
Supplies
- 2 cups baking soda
- 1 cup citric acid
- 1/4 cup cornstarch
- 1/4 cup dead sea salts
- 1/3 cup coconut oil
- 1 tbsp polysorbate 80
- 1 tbsp shea butter
- 20 drops orange essential oils
- 20 drops lemongrass essential oils
- Red, Orange, Yellow, Green, Blue and Purple soap colorant
Instructions
-
Add the baking soda, citric acid, dead sea salts and cornstarch to a large bowl. Mix.

-
Melt your coconut oil and shea butter in short increments in the microwave.
-
Add the polysorbate 80 and essential oils to the coconut oil and shea butter. Stir.
-
Pour the liquid into the dry mix bowl. Mix together well until wet sand consistency.
-
Divide the mix evenly between the 6 bowls.
-
Add 2 drops of red colour to the first bowl. Mix. Repeat in the next bowl with orange, then yellow, green, blue and purple. Until you finally have 6 coloured bowls.
-
Pack the molds to shape the bath bombs.
-
Let harden for 24 hours.