Phenakistoscope Optical Illusion Project
Have you ever wished that your drawings could come to life, just like a real cartoon? A long time ago, before movies, TV, and the internet existed, people used a special spinning disk called a phenakistoscope to make pictures move like magic. It was an incredible concept that has grown into the images we now know and love on our screens. But let’s get back to basics with this science lesson on the phenakistoscope and a hands on project that is perfect for the classroom or home.
Animation for Kids – A Phenakistoscope
Table of Contents

Disclaimer: This article may contain commission, paid partnerships, or affiliate links. We independently review everything we recommend. When you buy through our links, we may earn a commission from qualifying purchases.
How to Pronounce Phenakistoscope
OK, before we start, how do we say this huge word? It is pronounced: fen-uh-KISS-tuh-scope
Got it? Great, let’s move on to the science!
How a Phenakistoscope Works
You are probably wondering how a phenakistoscope, which is basically a spinning disk, works to create animation.
The disk has short slits cut into the edge of the disk, making little “wedges” or frames for each of the little pictures that need to go into each frame. Each picture changes slightly each time they are drawn, so that when you spin the disk and look through the slots, your eyes and brain work together to turn those pictures into a moving animation.
The phenakistoscope was invented in 1832, by the Belgian physicist Joseph Plateau and was one of the first gadgets people made to make their animations.
So, if you love cartoons and animations, you can thank this spinning wonder for helping start it all!
Animation in the classroom is an exciting way of helping students learn! Teachers can show fun animations to explain ideas, like how plants grow or how the solar system works.

The Science Behind the Phenakistoscope
The phenakistoscope works because of something called persistence of vision—a fancy way of saying that our eyes and brain work together to make pictures look like they’re moving! It is also known as an optical illusion.
Here’s how it happens:
- Your eyes see an image – When you look at a picture, your brain holds onto it for a tiny moment (about 1/16 of a second).
- The disk spins – The phenakistoscope has lots of pictures that change slightly. Your eyes quickly see each picture as it spins.
- Your brain connects the images – Because the pictures change so quickly, your brain doesn’t see them as separate images but rather joins all the images together into one smooth motion, and magically you have an animation!
This is the same science that makes movies and cartoons work. Instead of a spinning disk, movies use lots of pictures or frames, shown quickly on a screen—about 24 every second!
So, the phenakistoscope is like an old-fashioned movie machine that helps us understand how animation tricks our eyes into seeing motion.
Now you have the science, let’s make a phenakistoscope!
Making a Phenakistoscope Tutorial Video
This is a really quick and easy project to do with your students. Watch our video to see us making our phenakistoscope in less than 2 minutes. If you can’t see the video due to adblockers or firewall settings, catch it on the STEAM Powered Family YouTube Channel.
Materials & Tools
Empty cereal box
Glue Stick
Paper straw 8mm
Awl
Thick wooden skewer with a pointed end
19mm brads or split pin
Scissors
Pencil
Ruler
Craft knife
Phenakistoscope Printable Templates
The printable templates for this project are available to STEAM Powered Family mailing list members. Simply enter your email in the form to unlock the printable. We have included a number of different designs including a bird, waving hand, walking person, car and a winking eye! Plus you can make your own designs.
Directions
Print out the template for the cereal box and one of the animation samples provided. Cut each of these out.
Use the blank wheel to trace the shape onto the brown or unprinted side of the cereal box. Cut it out.
Use the wooden skewer or the end of the pencil to make the hole in the middle of the wheel.
Turn the cereal box wheel with the printed side facing upward.
Glue the animation sample you chose to the printed side of the cereal box wheel. This is an important step, as you do not want the printing to confuse your eyes when you use the phenakistoscope.
Use the awl to make a hole 1.5cm away from one of the ends of the straw and then use the wooden skewer or a pencil to make the hole slightly bigger.
Push the split pin through the front of the wheel and then through the hole you made in the straw.
Lay the whole thing, the backside facing up and open the “legs” of the split pin to secure it. Do not make it very tight as you need the wheel to spin freely to see the animation properly.
That’s it! The Phenakistoscope is finished!

Using a Phenakistoscope
Now, take the phenakistoscope to a mirror.
Hold it up to your face, so that you can look through one of the slits and into the phenakistoscope image in the mirror. This means the car images will face away from you towards the mirror.
Gently spin the wheel and watch the magic of animation happen right before your eyes!
You may need to adjust the speed you are turning the phenakistoscope to see the animation smoothly.
I found it easier to see the animation, by closing one eye.
You can also try moving the phenakistoscope further away from or nearer to your eye.
Did you enjoy this fun and easy animation project? Try all the other examples in the templates or print out the blank phenakistoscope and design your animation.
Creation Tips
The best animations for a phenakistoscope are actions that happen again and again in the same order. This is called a loop.
Here are some easy examples to try:
- An animal running,
- a person changing expression from serious to smiling or laughing,
- or a ball bouncing.
An animation for the phenakistoscope should always be at least 8 to 12 steps, with each change in movement representing a single frame. Here is a diagram with 8 steps.

The phenakistoscope in this project uses 8 wedges or frames.
If you would like to make your phenakistoscope with 12 frames, you need to divide the circle you make into more wedges or frames. In this case, each wedge should measure 30 degrees.
The more frames you have, the smoother the animation will look.
Classroom Extension Activities
At STEAM Powered Family we have some fun and easy projects of other amazing animation machines from history that use the science of optical illusion and persistence of vision.
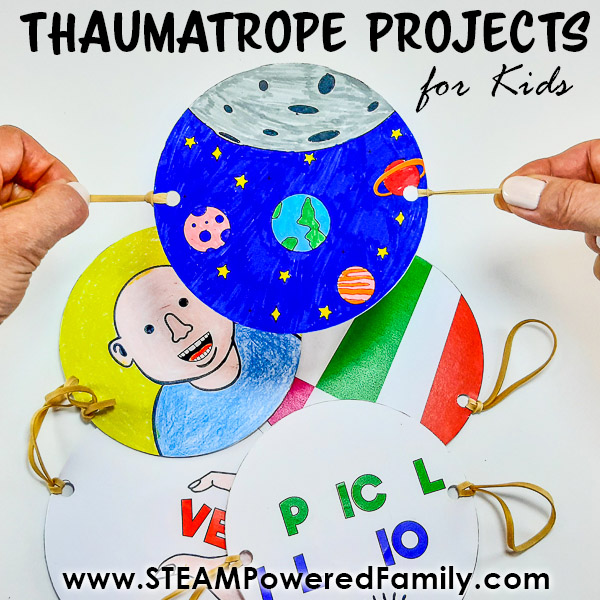
Thaumatrope
A thaumatrope (THAW-muh-trope) is one of the simplest animation toys! It’s a small circular card with a picture on each side and strings or a stick to spin it. One idea is to have a fish ion one side of a circle and a fishbowl on the other When you spin the card quickly, the pictures of the fish and bowl blend and you see the complete picture! Try a Thaumatrope project with your kids.
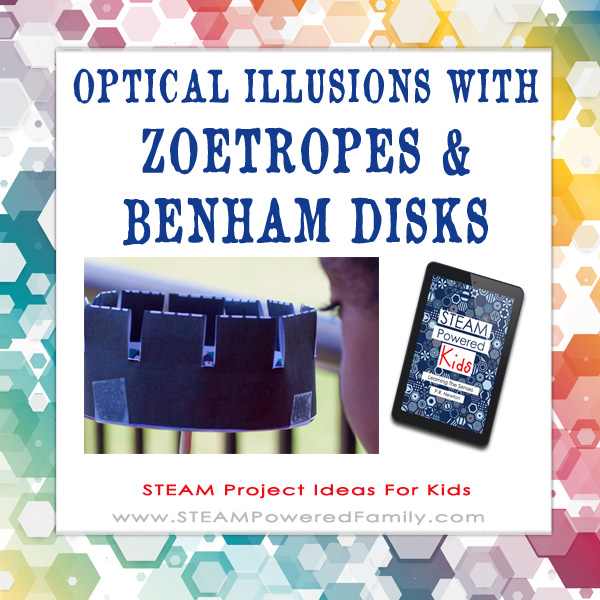
Zoetrope
A zoetrope (ZOH-uh-trope) is a round drum with slits on the side and pictures inside. When you spin the drum and look through the slits, the pictures move like magic! Each picture changes just slightly, so your brain connects them into a smooth animation. Try a Zoetrope project with your class.
Flipbook
A flipbook is like a tiny book with pictures on each page. When you flip the pages quickly, the pictures move! This is called an illusion. This is one of the easiest ways to make your animations. It works the same way as movies—showing lots of pictures very fast to create motion. Try an optical illusion flipbook project.

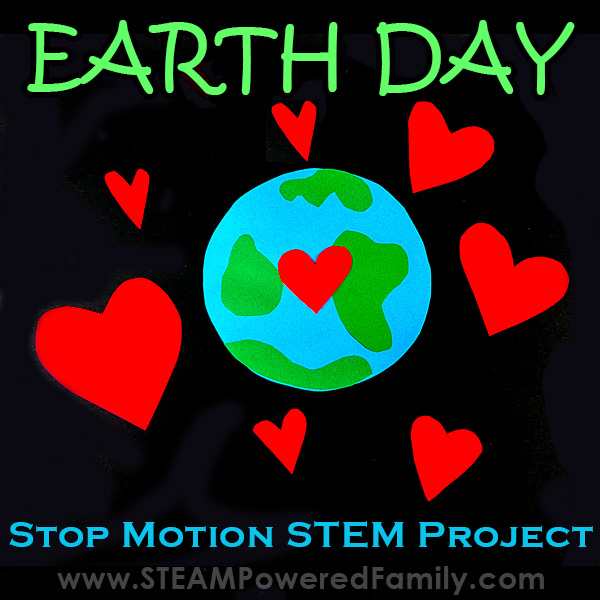
Stop Motion
Stop motion is a way to make real objects move like cartoons! This is how it works:
You take a photo of something, move it a tiny bit, take another picture, and repeat. These photos are called film frames and when you play all the frames quickly, it looks like the object is moving on its own! Movies like Wallace & Gromit use this technique. Try Stop Motion Projects in your STEM class and watch your kids light up!
Each of these animation inventions helped bring stories to life. Today, we have cartoons, video games, and CGI (Computer-Generated Imagery) movies, but it all started with these simple but brilliant machines.
Have fun playing with animation and optical illusions!