

Melting vs. Dissolving Experiment: STEM Candy Lab
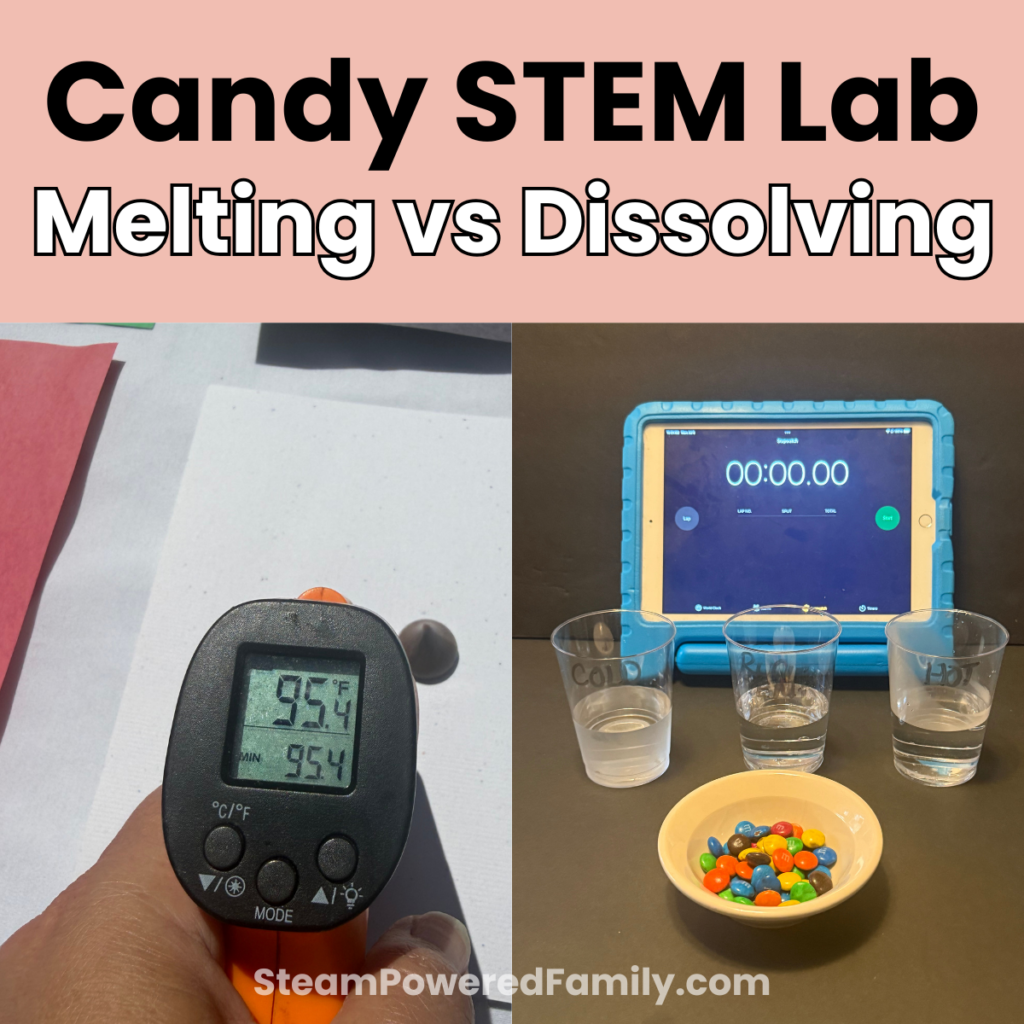
Did you ever leave a candy kiss in the car on a hot day? Or what if you dropped some M&Ms on a wet plate and noticed when you picked one up the candy coating had dissolved into the water? Even though the candy seems to completely change in both instances, they are actually very different physical processes – and this melting vs. dissolving experiment is the perfect way to make that difference click for kids!
We have a really fun STEM candy lab that will definitely make an impression on young minds! In this candy lab we are going to explore the difference between melting and dissolving, the factors that affect the speed or manner in which each occurs, and we are also going to take a look at the colors that make up our favorite candies with a little chromatography experiment. This is sure to be a sweet lesson that your kids will not forget!
Disclaimer: This article may contain commission, paid partnerships, or affiliate links. We independently review everything we recommend. When you buy through our links, we may earn a commission from qualifying purchases.
What Will Kids Learn From This Melting vs. Dissolving Experiment?
Table of Contents
This melting vs. dissolving experiment teaches kids core science concepts through hands-on candy investigations. While completing these activities, kids will:
- Distinguish between melting and dissolving as different physical processes
- Investigate and understand how color can affect heat absorption
- Explore heat transfer and solar energy
- Make predictions and collect data
- Analyze and compare results
- Learn about chromatography and how to separate pigments
- Use scientific reasoning and observation skills
What Is the Difference Between Melting and Dissolving?
Melting and dissolving are two different physical processes, even though they can look similar at first glance. Melting happens when a solid (like chocolate or ice) absorbs heat energy and changes into a liquid. Think about an ice cube in a glass out in the sun. What happens? Does it stay ice? No, it melts and turns to its liquid state: water. Water and ice have the same exact make up; they are just two forms of the same thing.
Something dissolves when it breaks apart and mixes into a liquid, also known as a solvent. For example, if you mix powdered lemonade mix into plain water, it becomes lemonade. The mix dissolves and spreads through the water. There is no part of that water that remains plain water, and no part of the mix that is just mix. When something dissolves it becomes part of a solution with the liquid that dissolved it!
Now that we understand the difference between melting and dissolving, it’s time to put some candy to the test!
What Are the Three Candy Experiments in This Lab?
This candy lab includes three hands-on experiments that explore melting, dissolving, and chromatography.
- Chocolate Kiss Melting Investigation: Explore how color affects heat absorption!
- The Dissolving M&M Experiment: Explore what happens when candy meets water!
- Skittles Chromatography: Reveal the hidden pigments in colorful candy coatings!
How Does the Chocolate Kiss Melting Experiment Work?
In this first experiment, kids place chocolate kisses on different colored surfaces in the sun to discover how surface color affects how fast chocolate melts.
The Question: How does surface color affect heat absorption and melting time?
What Materials Do You Need for the Chocolate Kiss Experiment?
- 6 chocolate kisses
- Construction paper in black, white, red, blue, and green
- Aluminum foil
- Stopwatch
- Observation sheet
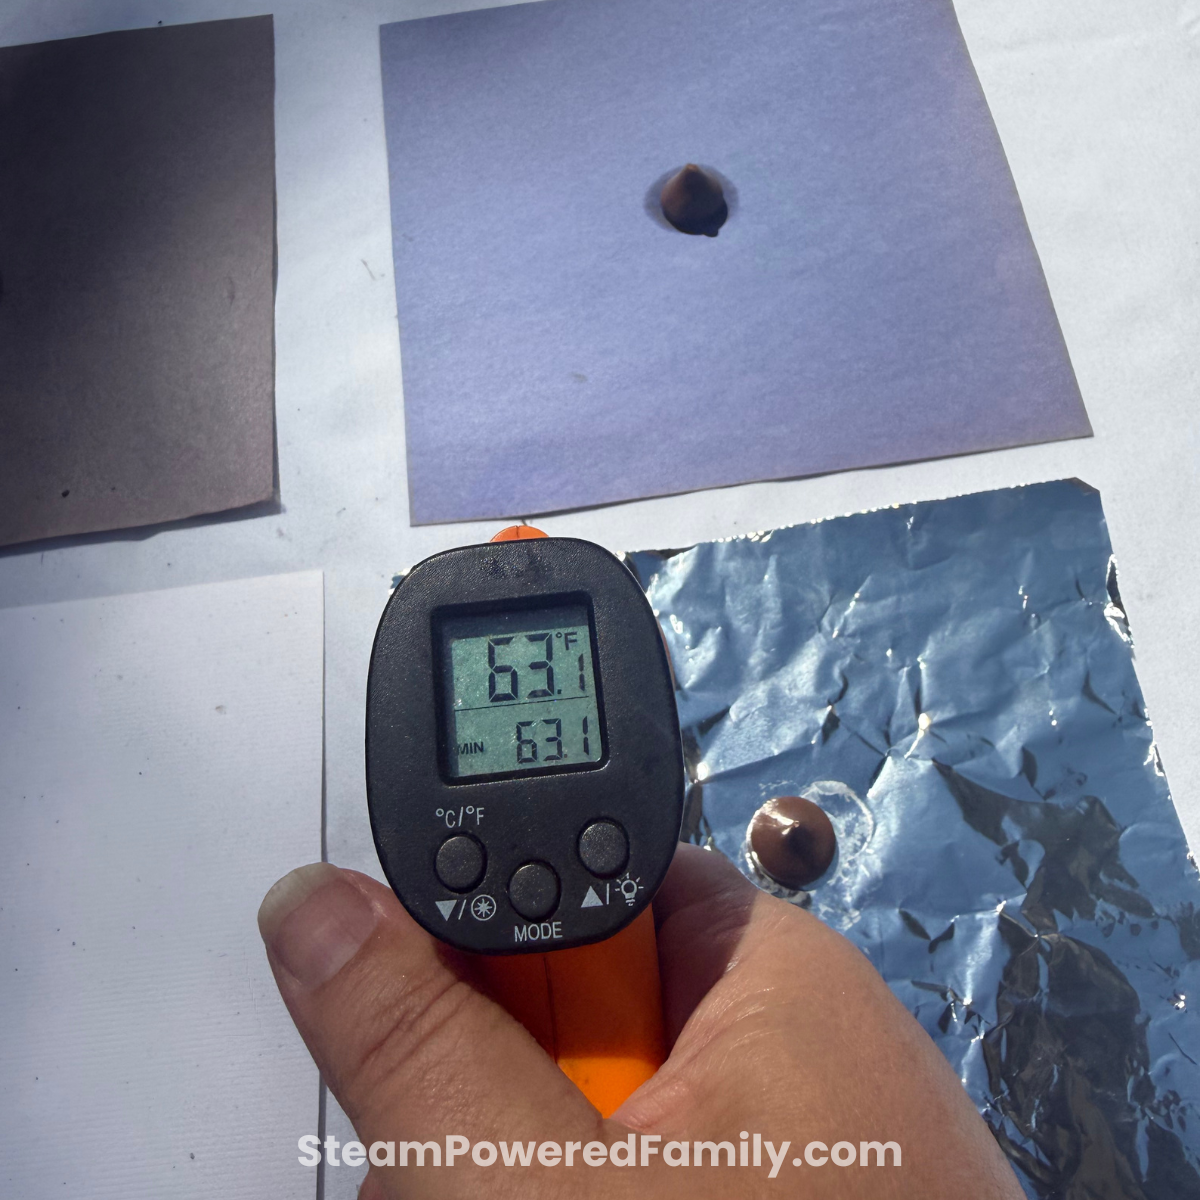
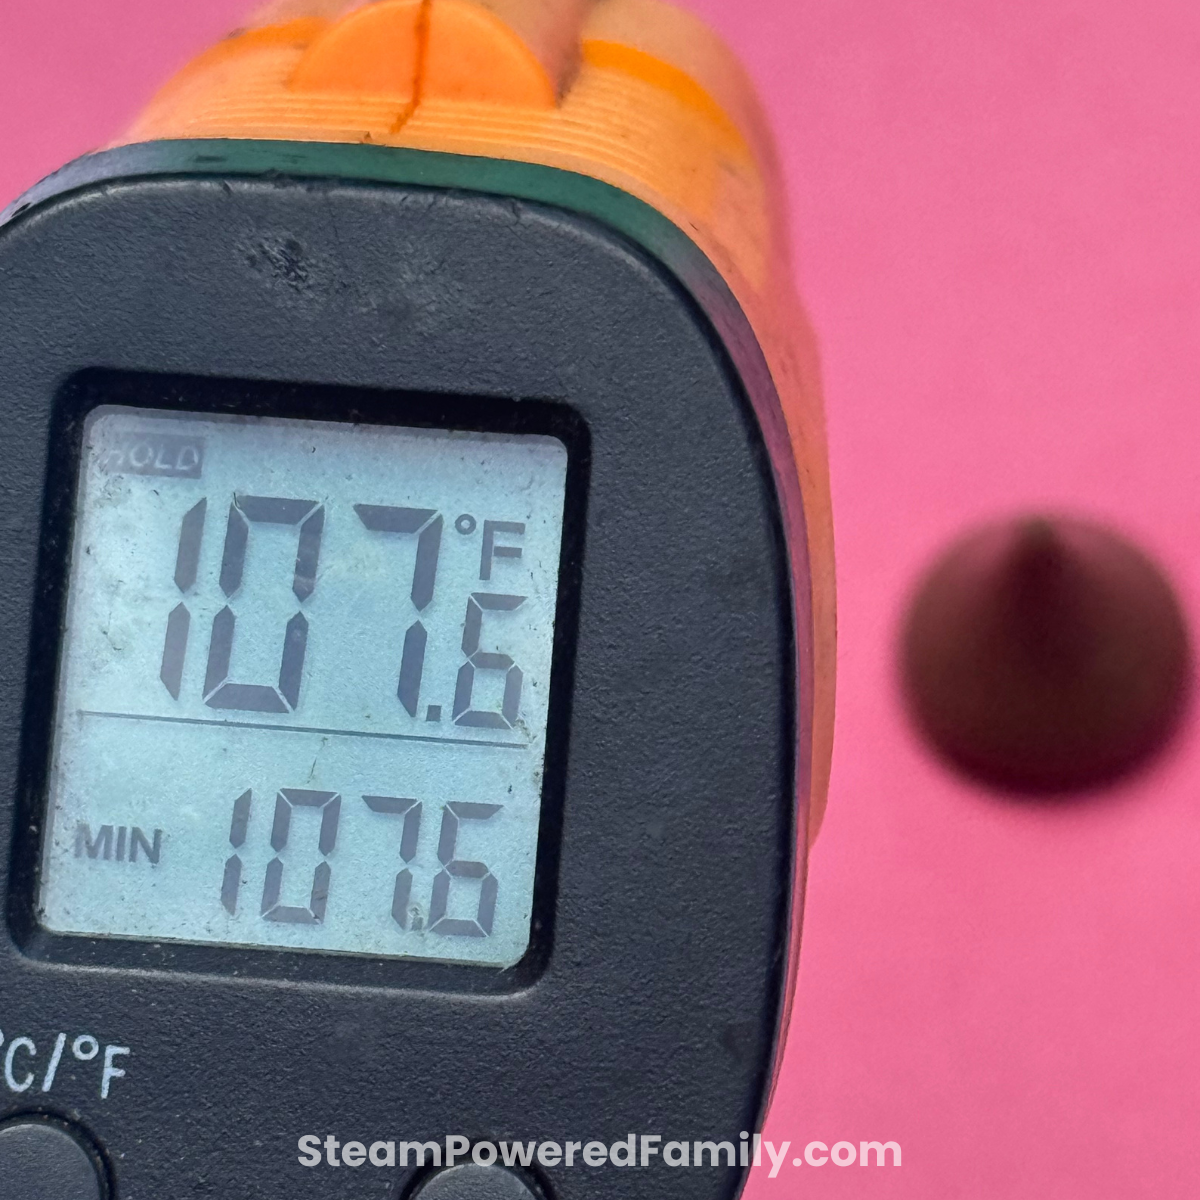
- Infrared thermometer (optional, but a great way to show kids how the surface temperature of each piece of paper differs after sitting in the sun)
How Do You Run the Chocolate Kiss Melting Experiment?
Step 1: Lay out each piece of paper near each other and in direct sunlight.
Step 2: Ask students to make predictions about which color paper will make the chocolate melt the fastest, and why.
Step 3: Place one unwrapped chocolate kiss on each sheet of paper.
Step 4: Start your stopwatch and observe what is happening. Watch for signs of change in sheen or shape, dripping, or pooling.
Step 5: Make a written observation every two minutes until the last piece of chocolate is completely melted or twenty minutes have passed.
Step 6: Make final observations about what happened on each color paper and why you think each color affected it.
Step 7: If you have the infrared thermometer, take a reading right after you put the papers down and then at the very end of the experiment to see the difference in the readings.
Our conclusions: Dark surfaces absorb more light energy and convert it into heat; that heat transfers to the chocolate and speeds up the melting process. This experiment is so visual, even more so than ice and water in my opinion. There is something about watching that chocolate pool up that just captivates the kids!
How Does the Dissolving M&M Experiment Work?
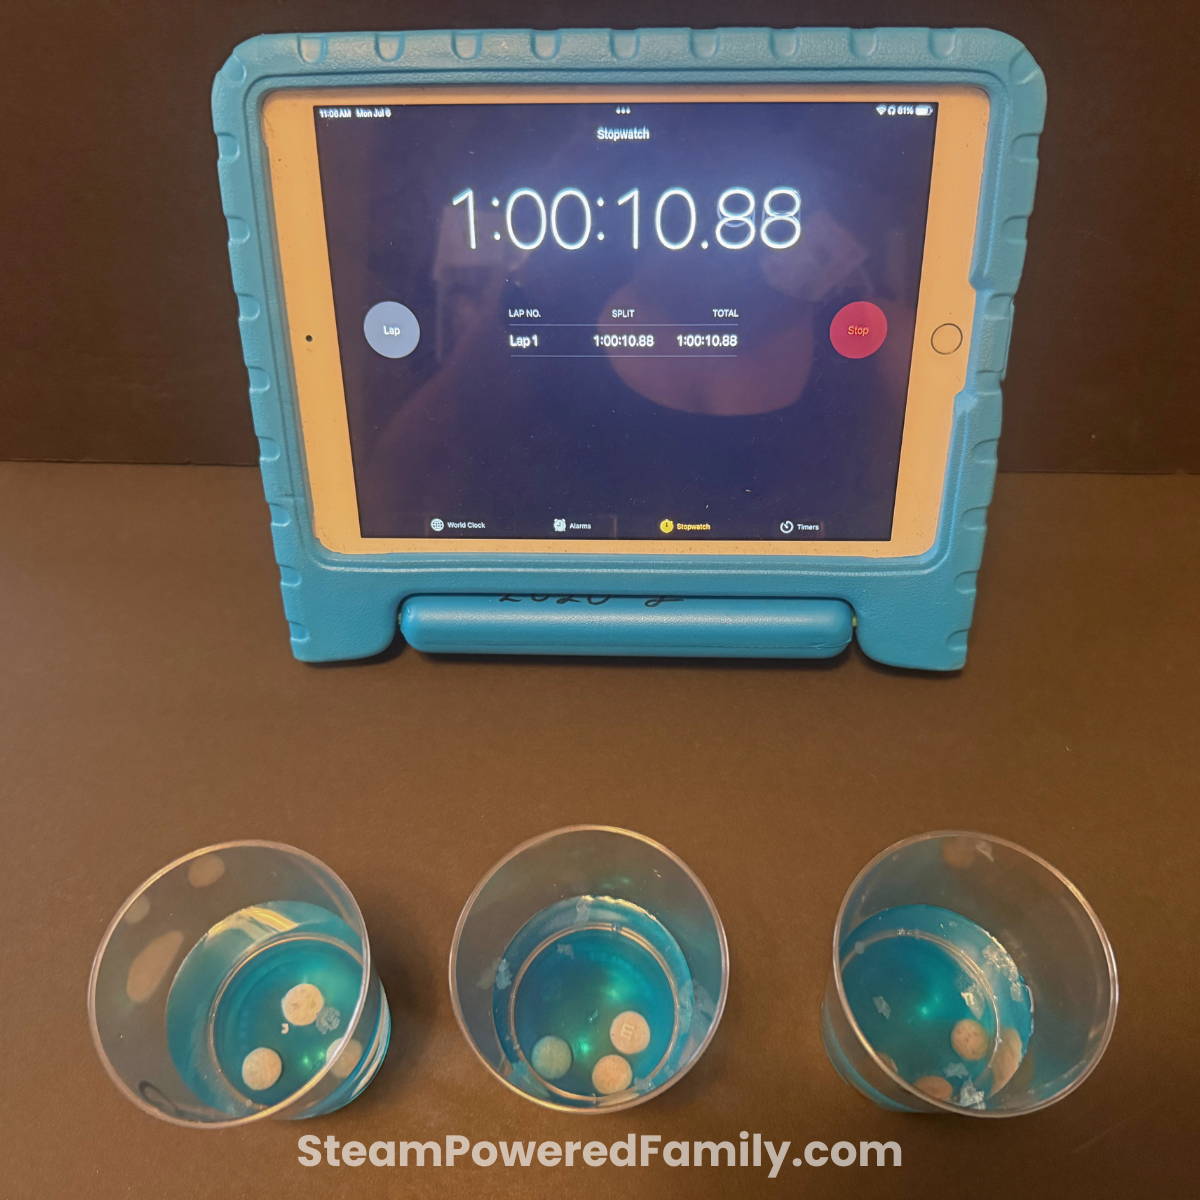
In this experiment, kids drop M&Ms into water at different temperatures to watch the candy coating dissolve and discover how temperature affects dissolving speed.
The Question: What happens when candy coating meets water?
What Materials Do You Need for the Dissolving M&M Experiment?
- 9 M&Ms (all the same color)
- 3 clear plastic cups
- Cold water
- Room temperature water
- Warm water
- Stopwatch
- Observation sheet
- A marker to label each cup, or cards with “Cold,” “Room Temp,” and “Warm” written on them to place near each cup
How Do You Run the Dissolving M&M Experiment?
We are going to be looking at the STEM concepts of dissolving, solutions, physical changes, and scientific observations during this experiment.
Step 1: Label three cups: cold, room temperature, and warm.
Step 2: Fill the cups with the corresponding water.
Step 3: Have the kids make predictions about what they think will happen in each cup when we drop M&Ms into them.
Step 4: Place three M&Ms in each cup.
Step 5: Start the stopwatch and observe.
Step 6: Write formal observations every two minutes: what do they see happening? Continue until the outer candy coating has fully dissolved in all three cups, or you reach 20 minutes.
Step 7: Ask the kids to make observations about what they see in each cup. What do they think happened? What do they notice about the candy coating? What do they notice about the water? What do they notice about the chocolate?
Step 8: Make conclusions: what temperature water was the most efficient for dissolving the candy coating? Why do they think it happened that way?
What Happened?
The water in each cup acts as a solvent to the sugary colored candy on the outside of the M&M. The shell dissolves into the water; you will see the color mixing with the water and the water getting cloudy. It’s different from melting: melted chocolate is still chocolate, but the water is no longer plain water. It is a solution of sugar and water.
Science experiments like this one are a wonderful opportunity to build patience and persistence in kids too. If your kids struggle with waiting through observations, these strategies for teaching children patience can make the process smoother and turn waiting into part of the learning.
How Do You Do the Skittles Chromatography Experiment?
In this experiment, kids use water and coffee filter strips to separate the hidden pigments inside Skittle candy coatings, revealing that many colors are actually made up of multiple dyes.
Now that we have explored melting vs. dissolving, let’s take our dissolving investigation one step further and look at the process of chromatography.
The Question: What happens after something is dissolved? One thing we can do is explore what makes up the color that dissolves off of a Skittle when you rub the surface with a wet cotton swab. Is red just red, or green just green? What colors make up each color in Skittles?
What Materials Do You Need for the Skittles Chromatography Experiment?
- Skittles
- Coffee filters
- Scissors
- Water
- Cotton swabs
- Pencil
- Small clear plastic cups
How Do You Prepare Your Chromatography Strips?
Step 1: Cut coffee filters into 1-inch wide strips.
Step 2: Cut the bottoms so they are straight across.
Step 3: Draw a pencil line one inch up from the bottom of each strip. You will want as many strips as colors you want to test.
How Do You Extract the Color From Skittles?
Step 1: Wet a cotton swab and rub it on a Skittle until it picks up color.
Step 2: Place the dot of color just above the pencil line on your paper.
Step 3: Repeat step two until you have a saturated area of color across the pencil line area.
Step 4: Repeat steps 1 through 3 with each color you want to test.
Step 5: Let all of your strips dry.
Step 6: Pour about 1/4 inch of water into as many cups as you have color strips.
Step 7: Place your paper strips into each cup; the water should touch the paper below your color strip.
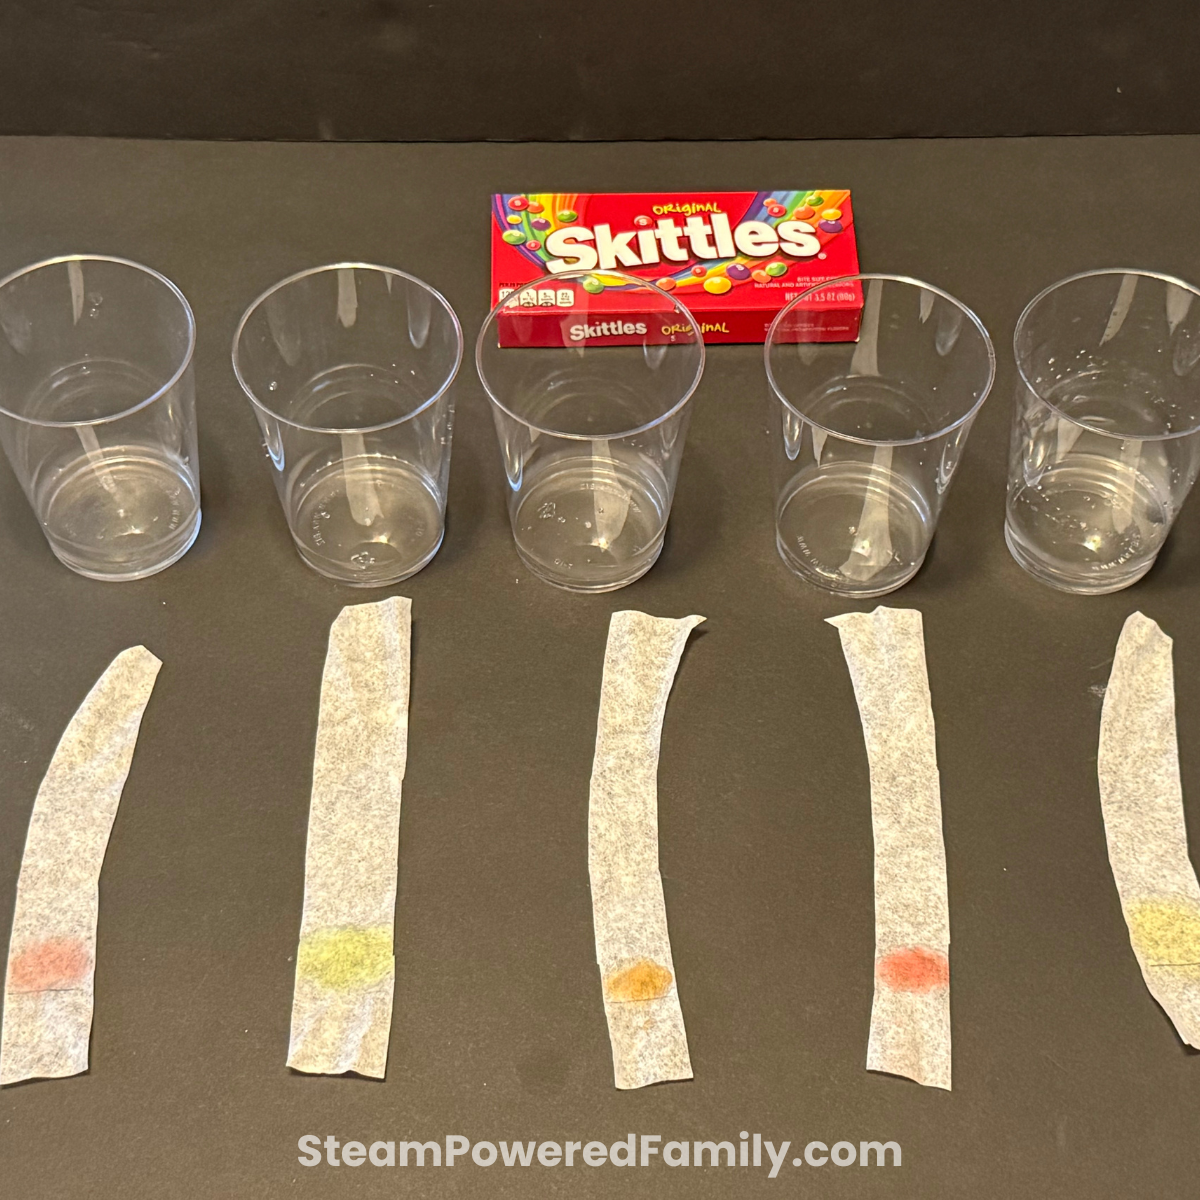
Step 8: Watch the water travel up the strips, through the color.
Step 9: Once each strip is completely wet, remove them from the water and lay them out to dry.
Step 10: Discuss the results. What do they see on each strip? How many colors can they see in the strips? Who is surprised by the results? Why? Which color was made up of the most other colors? The least?
Why Did the Colors Separate?
Different pigments travel at different speeds, so as the water moves through the paper they separate and we can see the variety of colors that make up each candy color. Chromatography helps scientists identify the different components hidden in color.
So What Did We Discover About Melting vs. Dissolving?
When we started we had a key question: what is the difference between melting and dissolving? We watched chocolate melt, and noted changes in shape and appearance, but chocolate is chocolate. It remains the same substance in a different state. As a bonus, we got to see how different colors absorbed heat differently, which was really interesting to watch! With the M&Ms we watched the candy coating mix in with the water, revealing its chocolate center. We learned that different temperatures of water affect the speed that the candy dissolves! Finally, we checked out how a color may not be exactly what it appears to be. Sometimes it’s made up of multiple colors. These experiments worked together to look at melting, dissolving, heat transfer, and chromatography, and it showed us how even a piece of candy can teach us some sweet lessons!
How Can You Extend or Adapt This Experiment for Older Students?
If you’re interested in expanding the learning or adapting for older students, you could:
- Graph melt times and compare averages
- Test additional surface colors
- Compare milk chocolate and dark chocolate melt rates
- Conduct the experiment indoors using lamps
- Perform chromatography with markers and food coloring and compare it to candy
- Compare dissolving rates of different candies in water
- Create a complete science fair project using the investigation
Frequently Asked Questions
Melting changes a solid into a liquid, while dissolving breaks a substance apart into a solution.
Yes, darker colors generally absorb more heat energy than lighter colors.
Chocolate absorbs thermal energy from sunlight until it reaches its melting point.
Dark-colored surfaces typically absorb more heat than light-colored surfaces.
Chromatography is a technique used to separate mixtures into their individual components.
Different pigments travel at different speeds through the paper based on their chemical properties.
No, melting is a physical change because the substance remains the same material.
Candy investigations can teach chemistry, physics, engineering, data analysis, and scientific inquiry.