

How Do Shadows Work? Shadow Science and Shadow Art STEM Activities for Kids
I was sitting in my dining room the other day and noticed the shadow that my light fixture was casting into the corner. It was HUGE. I couldn’t help but go back to being a kid playing with a flashlight and making shadows on the walls with my brothers and sister. Shadows are one of those things that kids may never associate with science, but they are a great way to teach kids about light and how it moves!
I have heard many students ask, “How do shadows even work?” So I figured, why not find out with some easy shadow activities you can do in any classroom or at home? We’ll explore the science of light and shadows through hands-on experiments and a fun shadow art project.
Along the way, we will find out how shadows form, learn how light travels, predict how shadows change, sharpen our observation skills, and finish by making some amazing shadow art.
How Do Shadows Work? The Science Behind Light and Shadows
Table of Contents
Disclaimer: This article may contain commission, paid partnerships, or affiliate links. We independently review everything we recommend. When you buy through our links, we may earn a commission from qualifying purchases.
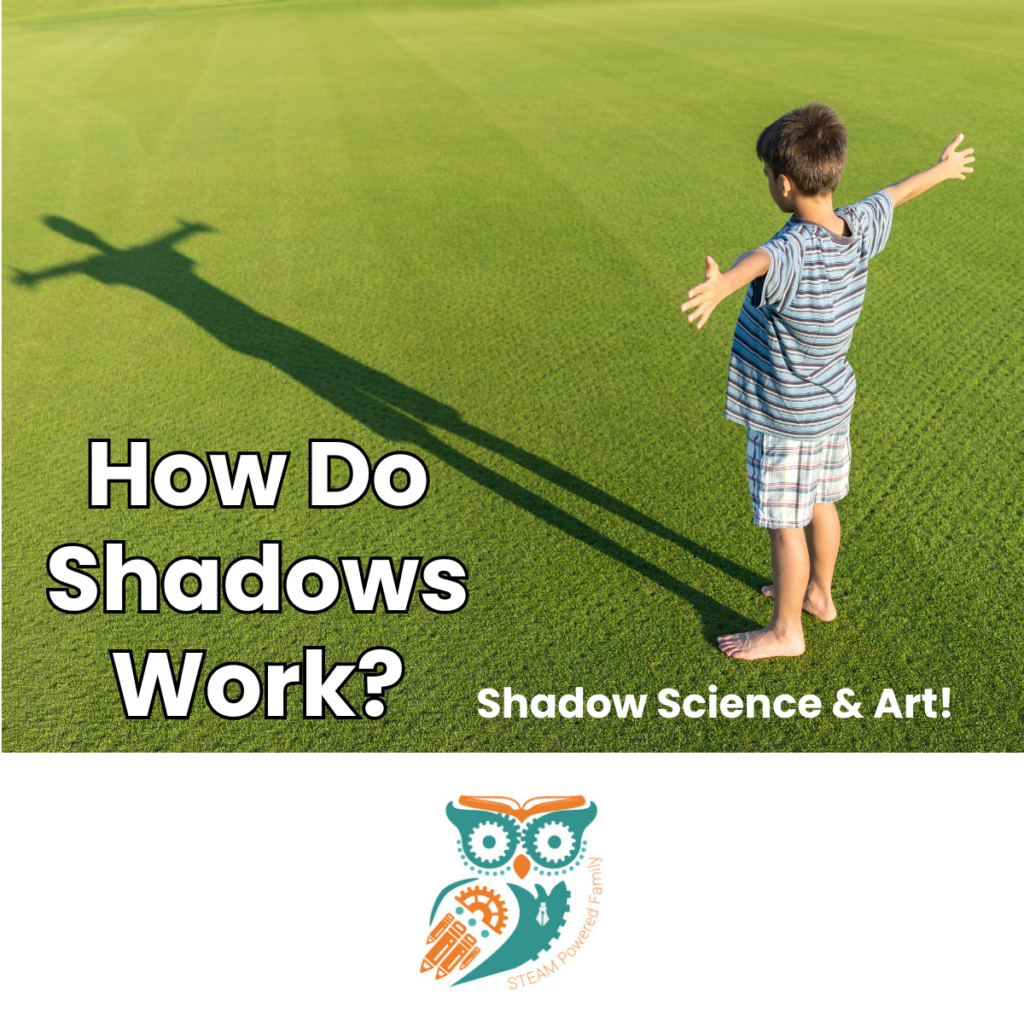
Plain and simple, a shadow appears in an area where light cannot reach. So if you pointed a flashlight at a wall you would see a circle of light, but if you put your hand in front of the flashlight beam you would see a solid outline of your hand. That outline will become bigger and smaller as you move your hand closer to and further away from the light.
Light moves in straight lines, these are called rays, like when someone talks about the sun’s rays. When light rays hit something, a few different things can happen. If they hit a glass or a window they will just travel on through and show up on the other side, if they hit a reflective surface like a mirror or water they bounce off in another direction, but if they get blocked by something solid like your hand the light will go around the outer edges and you will see an unlit dark area, a shadow!
Why Do Shadows Change? Three Hands-On Shadow Investigations
I always say, the best way to learn it is to try it, so let’s make some shadows. We need three simple things to make a shadow: a light source, an object, and a surface.
Some examples of a light source: the sun, a flashlight, a lamp, a projector. Some objects? Toys, flowers, people, paper cutouts, building blocks. Some surface ideas? How about a blank wall, the ground, a piece of poster paper.
Have kids pair up, one holds the light source and one manipulates the objects.
Investigation 1: How Distance and Movement Affect Shadows
Start by placing your object about a foot in front of the light source. Then ask some questions so the kids can do some thinking and predicting.
- What do you think will happen if we move the object closer to the light? Why?
- What if we move it further away? What do you think will happen? Why?
- What if we put it right in front of the light? What do you think will happen? Why?
- What do you think would happen if we roll the light past the objects? Why?
Now that you have had some discussion and predictions, go ahead and move the objects. Have the kids record on a sheet of paper what happened for each question you posed to them.
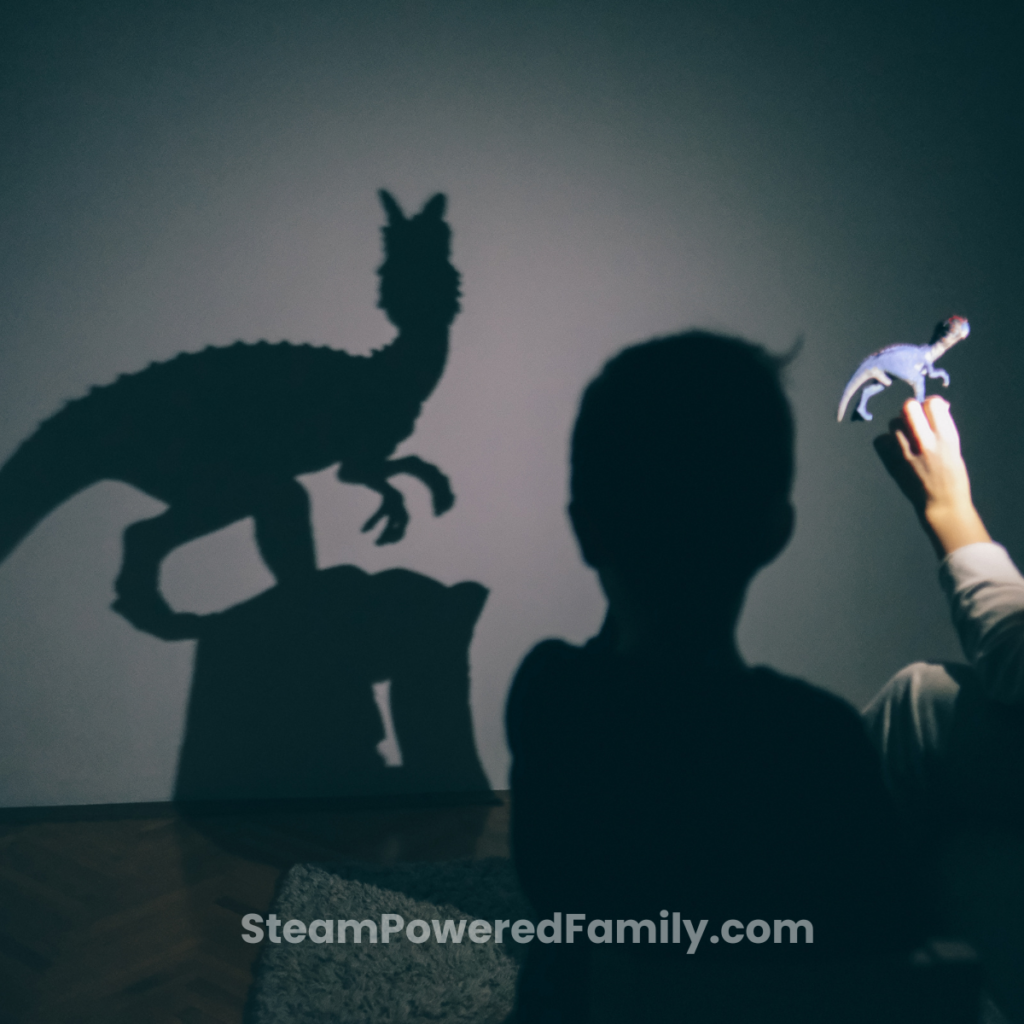
They should notice that the closer the object moves toward the light, the bigger the shadow will appear on their surface. The further away the object moves from the light, the smaller the shadow will appear. The really fun one? When you roll a light past an object it makes it look like the object is moving.
Investigation 2: Opaque, Translucent, and Transparent Materials
Now that they know how shadows are made, ask the question:
Do you think shadows appear differently through different materials?
Let’s Investigate. A good question to ask the kids is:
What do you think will happen to the shadows if they pass through a material that isn’t solid? Let’s try to make the same shadows we just did, but put different materials in front of the light to see what happens.
What do you need?
- Plastic wrap
- Wax paper, Parchment Paper or Tissue Paper
- White Printer Paper
- Construction Paper
Set up your shadows the same as the first experiment, about a foot away from the light source. Then ask the kids, what will happen if we put these different materials in front of the light?
Observe
Ask questions like:
- What do you notice?
- Which shadow is darkest?
- Which lets light pass through?
- Which shadow looks blurry?
Add in some new vocabulary! Opaque, Translucent, and Transparent
Opaque: Blocks most light. Some examples of opaque materials would be the construction paper. Other examples, a book, a block or a toy. Something opaque will make dark shadows.
Translucent: Lets some light through. Some examples of translucent materials would be wax paper, parchment paper, tissue paper. Something translucent will create lighter shadows.
Transparent: Lets most light pass through. Examples of transparent materials would be plastic wrap, glass or clear plastic. Something transparent will create very light shadows.
Investigation 3: The Shadow Shape Changing Challenge
Ask children to move the objects:
- Turn an object
- Tilt an object
- Stand it upright
- Lay it flat
Then, ask the children to move the light:
- Tilt it up
- Tilt it down
- Shine it from either side
With each movement have the kids observe and explain what they see. This is a great buddy exercise so that they can talk it over together and then share their findings as a group later.
How does the shadow change?
Discuss with the kids: How does the position of the object and the light affect the shadow? Does the object change shape or only the shadow? What do you think is making the shadow look so different when you move the light?
These inquiry exercises build scientific skills in a simple and low-stakes environment and it’s easy to make real world connections because shadows are all around us every day! One of my favorite things about this Shadow Lab is that kids from toddlers right up to teenagers love shadows, and you can easily adjust the inquiry and observation questions based on the age group you’re working with!
STEAM Project: Shadow Art for Kids
Shadow science art is always a fun exploration activity for the kids, and as a bonus it is low prep so you can have it on hand any time. I love to turn this one into a storytelling exercise and have the kids set up a scene to trace and then tell the story of their shadow art.
Materials Needed for Shadow Art
- Paper for drawing on
- Pencils
- Small toys
- Paper and scissors
- Binder clips
- Flashlight or sunlight
- Markers or crayons
Step-by-Step: How to Make Shadow Art
- Place your paper where you can cast a shadow, but still easily draw on the paper.
- Place your object or scene on the edge of the paper. It’s fun to have the kids create their own characters on a dark cardstock and prop them up in a binder clip to create shadows too! As a bonus, it ties in some fine motor skills creating and clipping!
- Place your light behind the objects to create a shadow on the paper.
- Trace the shadow outline.
- Fill in your shadows with markers or crayons.
Shadow Art Tip: In the past, I’ve noticed that kids will often accidentally move the flashlight or object while tracing. To make it easier and often less frustrating, place the object and light source on one side of the paper and have children sit on the opposite side. This way they can trace the shadow upside down without disturbing the shadow scene.
Shadow Art Extension: Silhouette Portraits for a Special Gift
If you schedule your shadow lab around a holiday like the December holidays or Mother’s Day or Father’s Day, you could do silhouette shadow art of the kids for a special parent gift. Just have the kids sit in front of a piece of paper and shine a projector on them. Then paint and cut out the silhouettes. A timeless gift that every family will love!
If you’re looking for even more shadow fun, check out these fun shadow puppet theater ideas! Shadow Puppet Theater and the Halloween Themed Shadow Puppet Theater. Shadow inquiry is really a timeless STEAM project any time of the year, and one that all kids absolutely love every time.
Where to Find Shadows in Everyday Life
If you want to start a discussion with your kids about shadows, get outside and go for a walk. Shadows are everywhere. You can see trees create shadows and shade on a hot day. Buildings cast shadows on the road. Your own shadow changes size depending on the time of day and where the sun is in the sky. Looking for shadows outdoors is the perfect opportunity to continue your shadow science investigation past the initial lesson to keep the learning fresh in the kids’ minds!
Frequently Asked Questions About How Shadows Work
Shadows form when an object blocks light from reaching a surface.
Changing the distance between the light, object, and surface changes the shadow.
The angle of the light source affects shadow length.
Most shadows appear dark because they receive less light.
An opaque object blocks the most light.
It is a hands-on investigation that teaches how light behaves through experiments.