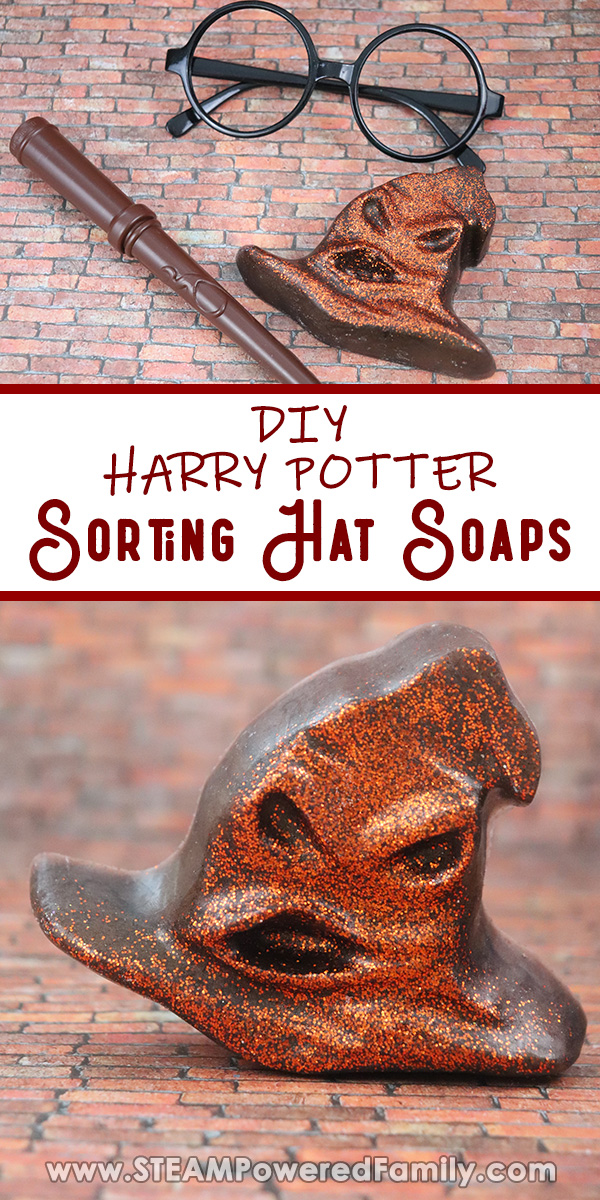
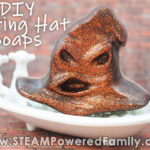
Harry Potter Sorting Hat Soap DIY Project
Remember we made those amazing Sorting Hat bath bombs in cauldrons that revealed your Hogwarts House? Then we found the perfect mould and made Sorting Hat bath bombs that looked like the Sorting Hat. Well we never like to have a mould sitting around, so we put it to use today making awesome Sorting Hat Soaps in a fun DIY Project for kids and Harry Potter fans.
BUTTERBEER SORTING HAT SOAP MAKING PROJECT
Table of Contents
Disclaimer: This article may contain commission, paid partnerships, or affiliate links. We independently review everything we recommend. When you buy through our links, we may earn a commission from qualifying purchases.
When your love of Harry Potter runs deep, you want to celebrate and indulge in all things Potter as much as possible. So it only makes sense that we want to use all of our Harry inspired goodies as much as possible.
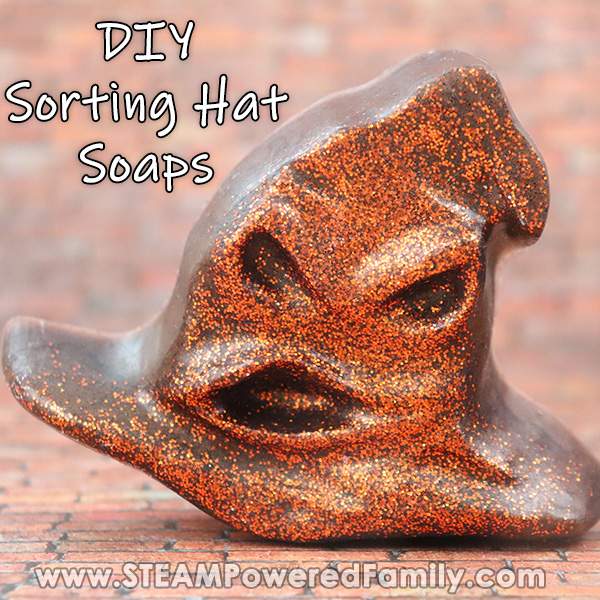
I’ve talked before about my love of silicone moulds and how I stock pile them for all sorts of different projects. Well I couldn’t let a Harry Potter Sorting Hat mould sit around for too long! So we broke it out to make ourselves some Butterbeer scented (yum!), Sorting Hat Soaps.
This soap making process is super easy and a great project for young witches and wizards. The melt and pour technique makes is safe and simple for kids of a wide variety of ages and abilities to make these soaps. As long as the kids can safely use a microwave and handle the warm to hot soap when it is liquid, they are good to go for soap making!
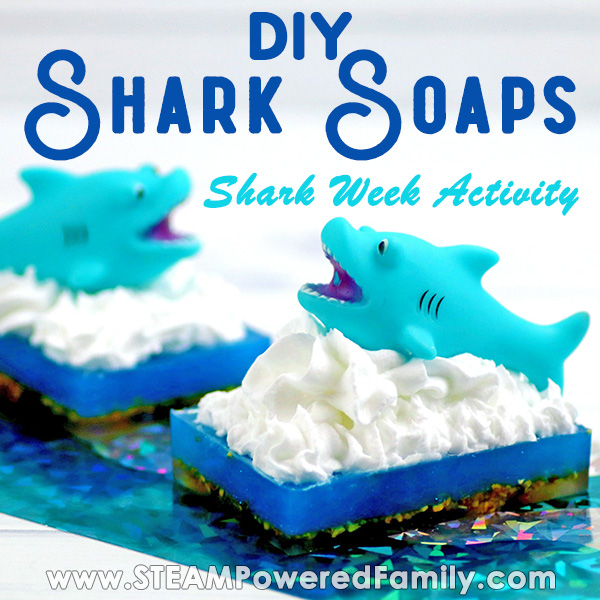
I would also recommend they have a love of Harry Potter for this specific soap making project but we have many more ideas for other interests including Shark Soaps!
Butterbeer Sorting Hat Soap Supplies
Clear Melt and Pour Soap Base
1 teaspoon Butterbeer scented oil
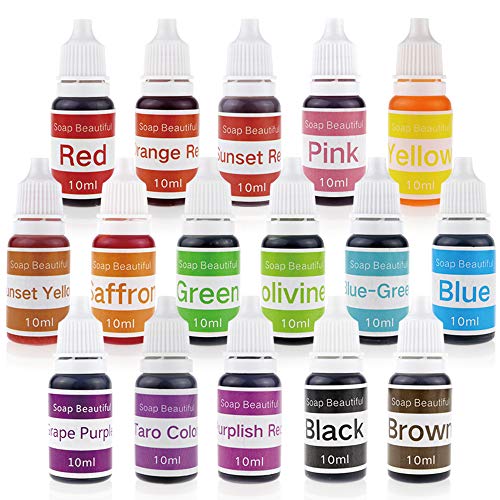
2 teaspoons brown colorant
1 teaspoons biodegradeable cosmetic glitter
Sorting Hat mould
Spray bottle filled with rubbing alcohol
Microwave
Mixing spoon
Measuring spoons


HOW TO MAKE HARRY POTTER SORTING HAT SOAPS
In a small microwave safe bowl, add 8 ounces of the melt and pour soap base cut into cubes. The melt and pour soap comes in bars with marks for cutting. Each cut should give you about 1 ounce of soap.
Melt for 30 seconds in the microwave. If not melted, continue to heat for 15 seconds until mixture is completely liquid. Don’t boil!
Add the brown color, biodegradable cosmetic glitter and butterbeer scented oil. Whisk ingredients together.
Place mould on a plate and spray the empty mould with rubbing alcohol and pour the liquid soap mixture into the mould until it is almost full.
Spray the top of the soap with rubbing alcohol. The rubbing alcohol helps prevent bubbles forming in your soap.
Allow the soap to dry completely. I let mine dry for 24 hours.
To release, place a large plate or cutting board over the bottom of the mould and flip over. Gently tap each area of the mould and gently lift. If the soap remains in the cavity, gently tap 1-2 more times to release. Do not force the soap out or it could break. Gently coax it out.
I hope you have a magical time making your soaps!
MORE DIY PROJECTS FOR THE KIDS


Sorting Hat Soaps With Butterbeer Fragrance
A fun and easy project for young witches and wizards who love Harry Potter, make your very own sorting hat soap that smells like butterbeer.
Supplies
- 8 ounces Clear Melt and Pour Soap Base
- 1 tsp Butterbeer scented oil
- 2 tsp brown colorant
- 1 tsp biodegradeable cosmetic glitter
Instructions
-
In a small microwave safe bowl, add 8 ounces of the melt and pour soap base cut into cubes.
-
Melt for 30 seconds in the microwave.
-
Add the brown color, biodegradable cosmetic glitter and butterbeer scented oil. Whisk ingredients together.
-
Place mould on a plate and spray the empty mould with rubbing alcohol and pour the liquid soap mixture into the mould until it is almost full.
-
Spray the top of the soap with rubbing alcohol.
-
Let set completely. 24 hours recommended.
-
To release, place a large plate or cutting board over the bottom of the mould and flip over. Gently tap each area of the mould and gently lift. If the soap remains in the cavity, gently tap 1-2 more times to release. Do not force the soap out or it could break.