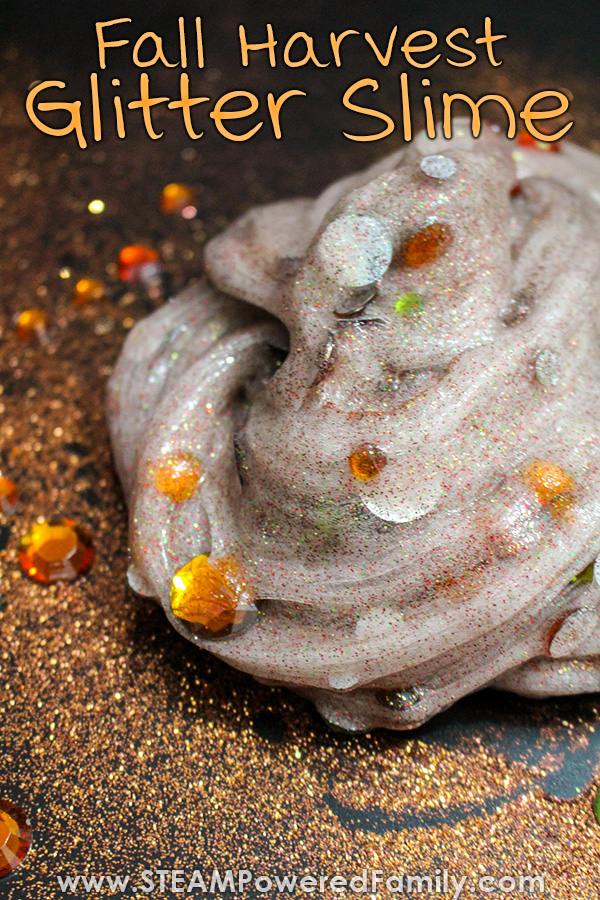
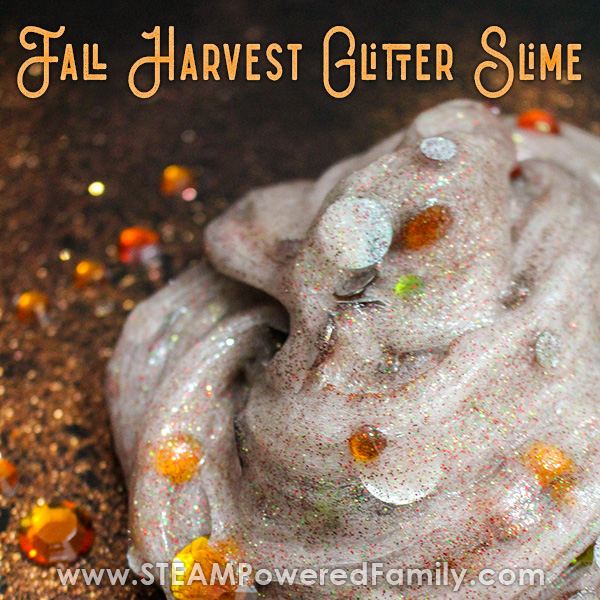
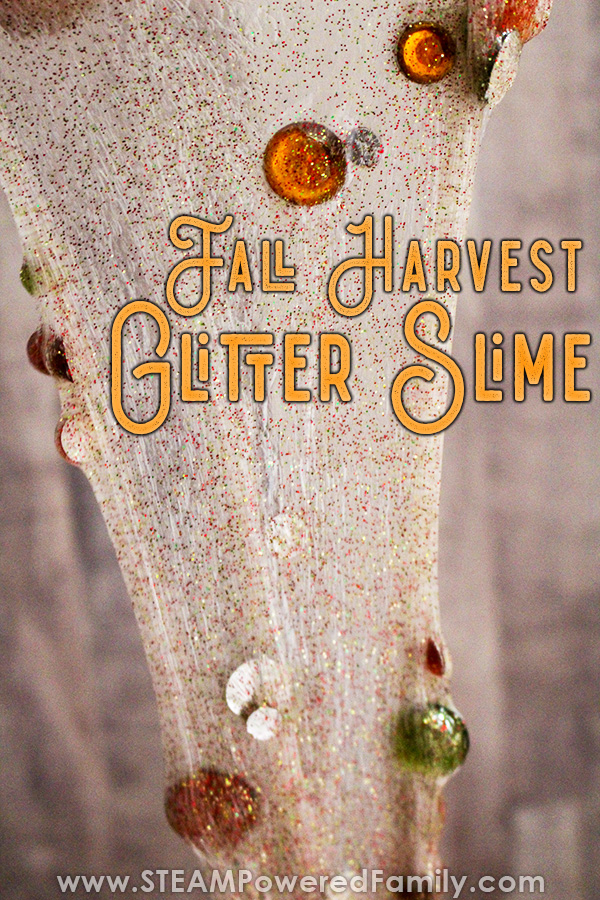
Fall Glitter Slime – New slime recipe!
Fall is coming and what better way to celebrate than with this fall harvest glitter slime recipe? It smells like a crisp fall morning and looks like the sunshine streaming through the colourful autumn leaves. An absolutely perfect slime for fall!
Disclaimer: this post contains affiliate links
We have our favourite way of making slime. It is our tried and true method that works every time. But sometimes you need to try new things. You never know when you might find something even better! So this time we tried a slightly different recipe and technique for making the slime. It still uses contact lens solution and baking soda for all of us outside of the USA, plus that means it is extremely gentle for my sensitive skin. Which is important. When making slime it is about indulging your senses and it doesn’t do anyone any good if it sets off an allergic reaction and covers you with rashes.
A New Foolproof Slime Recipe
What I like about this new technique is that it is a very set method with precise portions. I tend to be a “go with the flow” and “create it by feel” type of person, but many of my readers prefer more exact instructions. Especially because it is easy to over do the contact lens solution with my usual technique if you aren’t careful. Many of my readers have asked for very exact directions and measurements, and with this technique and recipe, you’ve got them!
Check out this step by step video of our new slime recipe technique:
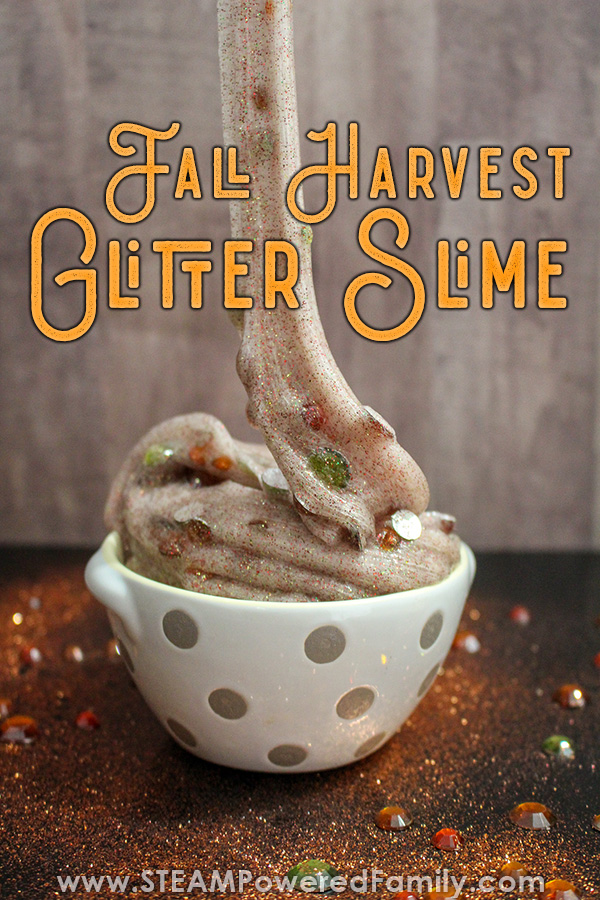
Just be aware it will still require kneading! And it will start out super sticky, but keeping working it and the stickiness will eventually go away.
OK, ready for a splendid, crisp fall morning experience for your senses with slime? Then let’s do this!
Fall Harvest Glitter Slime Ingredients
5 oz bottle of clear glue
½ cup water
½ tsp baking soda
1 tbsp contact solution
Glitter – we mixed red, green and gold
Fall colour rhinestones
Harvest Spice fragrance oil
Small bowl
Glitter Slime Directions
This slime reminds me a lot of our Crystal Gemstone Slime. Feel free to use real crystals and stones if you wish!
In a bowl, pour the entire 5 oz bottle of clear glue. Now add a ½ cup of water and ½ tsp baking soda. Mix well.
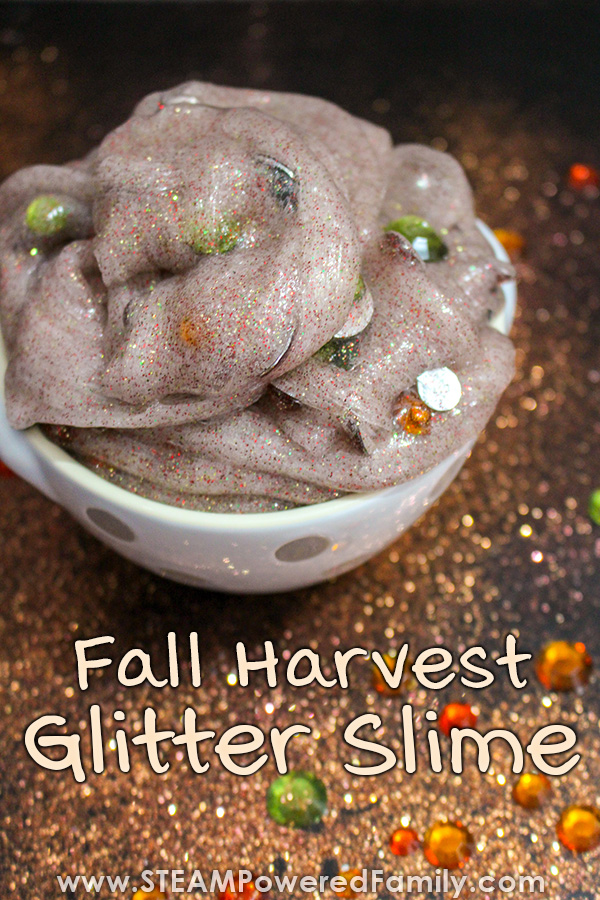
The next step is to bring some of that fall season crispness and freshness with some sparkles! So add in the glitter. Don’t be shy! We want the slime to glitter and shine! Then add a handful of our fall coloured rhinestones. Finally top it off with 3 or 4 drops of harvest spice fragrance oil.
Now it is time for the magic, we need to add the activator which is the contact lens solution. Add 1 tbsp contact solution and watch the slime instantly start to form into a blob. Stir gently so it forms a nice sized chunk of slime. Then pull it out and begin kneading. It will be sticky, but don’t panic. Simply keep kneading it and the stickiness will go away leaving you with gorgeous stretchy slime.
Store in an airtight container. I recommend never keeping slime for longer than a few days.
What To Do If Your Slime Breaks Or Gets Hard
One of the most common questions I get asked about making slime is what to do if your slime breaks or gets hard. This can happen if you use too much contact lens solution. Hopefully with this new technique that won’t be an issue, but if it is, there are two things you can try to save your slime.
First up you can try dipping your slime in warm to hot water. You want it almost too hot to touch. Definitely have an adult do this. Simply dip it in the water, then work the slime. You might need to dip and knead the slime a few times but this should hopefully bring back some stretch.
Another option is to try adding a squirt of hand lotion to your slime. It should help bring back some stretchy but it can make the slime a bit more “slimey” than normal. But if you need to save a batch of slime, it’s worth a try!
Happy slime making!