Desalinization Science Experiment – Exploring Saltwater Properties
Desalinization. It’s a big word and when my son said it the first time he stumbled over the syllables. The word may have caused him to fumble but the concept fascinated him. One day I asked him, how can we remove salt from saltwater? This launched our Desalinization Science Experiment.
As a lover of marine biology, saltwater is a popular topic around here. So when I proposed the question: How do you remove the salt from saltwater? My kids looked puzzled. Then, they jumped to the most logical conclusion: boil it.
It made sense, in previous water lab experiments we boiled water to help purify it and clean it.
So we boiled saltwater and the water became more salty!
I suggested we try a different technique for our desalinization science experiment. After talking about what happens when we boil water (steam is created), we hypothesized that the steam should be plain water without the salt. We simply needed to capture the steam and cool it so it would return to a liquid state.
Supplies for Desalinization Science Experiment
Bowl
Large pot
Salt
Water
Spoon
Boil safe mug or container (like a camping mug)
Tinfoil
Ice
Stovetop
Directions for Desalinization
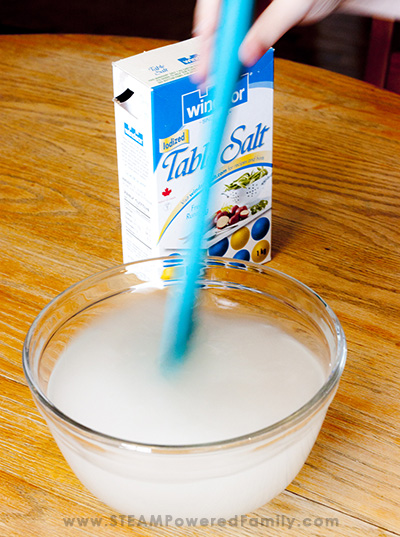
Start by having the kids mix salt into a big bowl of water. Using warm water will help with the dissolving process. Keep adding salt and stirring until you have some left on the bottom of the bowl that simply won’t dissolve.
Have the kids dip their fingers in and taste a couple of drops of saltwater compared to regular water. They should notice a big difference.
Pour the saltwater into a large pot on the stove.
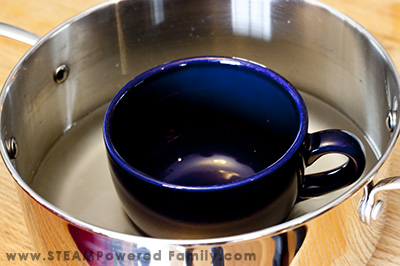
Place your boil safe mug into the pot, being careful not to get any of the saltwater into the mug.
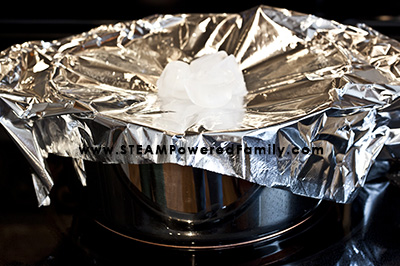
Cover the pot with tinfoil sealing the edges, leaving just enough slack to provide a slightly lower point in the middle. In this lower point place some ice cubes. Turn on the stove to bring the water to a boil.
Watch carefully and once it starts to boil set it on low medium heat to maintain a simmer.
Let simmer for about 10 minutes or until the ice cubes melt. Don’t let it boil dry!
Turn off the heat and let the whole thing cool without touching it for 20 to 30 minutes.
Once cool, carefully remove the tinfoil. You may need to use some paper towel to soak up the melted ice cubes.
You will notice there is now water in the mug, and a lot less water, that may be cloudy, in the pot.
Testing the Properties of Saltwater
One way to test the effects of the experiment is to repeat the taste test. Have the students dip a finger in the mug of “evaporated water”, what do they notice? Now dip a finger in the remaining water in the pot. You should see a big reaction here. This water is going to be REALLY salty!
Another way to test the difference between the water in the mug vs the water in the pot is to try layering the water to explore the density differences.
First add a bit of food coloring to each batch of water. Make sure you use different colors. The idea is that you can visually see which water is which.
Now add a bit of saltwater to a test tube or small container, then using a pipette add some of the water from the mug to the test tube. Go slow, one drop at a time and for best results put the pipette against the wall of the test tube so the water slowly flows down. You should notice that the freshwater layers on top of the saltwater.
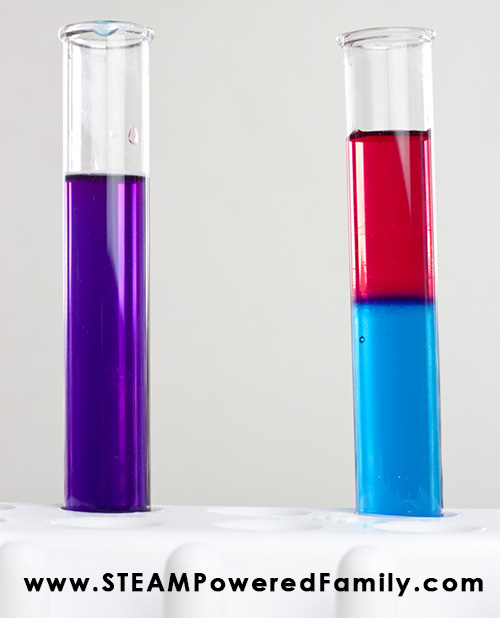
What happens when you try putting freshwater in first, then saltwater? This is our results!
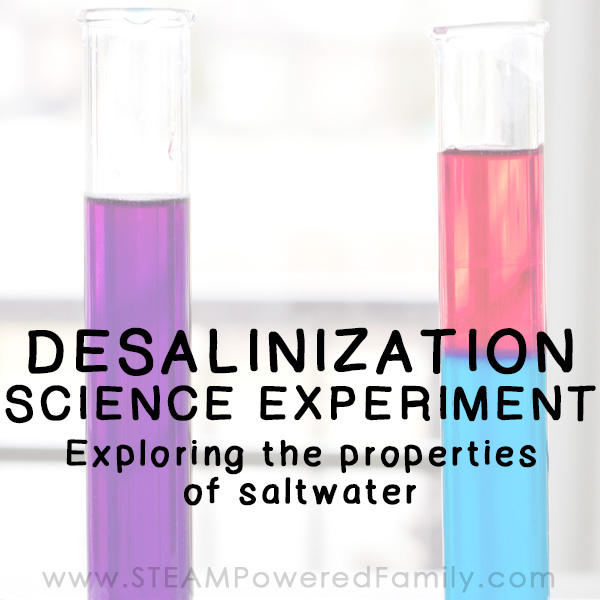
On the left is the result when we put the fresh water in first, then saltwater. They mixed! But when we put the more dense saltwater in first, then the freshwater, we were able to layer the waters.
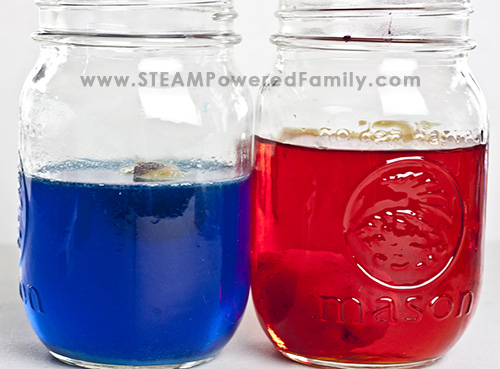
Now, let’s try testing the buoyancy and density properties of our waters another way. Try adding a potato to the waters and watch what happens.
The potato floats in the saltwater but sinks in the freshwater.
The Science Behind Desalinization and Saltwater
So what is happening here?
When you create the mixture at the beginning, the salt (NaCl) dissolves in water (H2O). There is no chemical reaction between the molecules. They retain their individual structures simply mixing together.
When you boil saltwater it creates steam or water (H2O) in gaseous form. This gas rises during the boiling process, usually escaping into the air. When we cover the pot we capture that steam. The ice causes the steam to rapidly cool and being a lower point directs the cooled water to drip into the mug.
All the NaCl or salt is left in the original water, but becomes even more concentrated during the boiling process as molecules of H2O escape through evaporation.
Saltwater is heavier or more dense than freshwater. So when you carefully layer the two waters, they will remain separate with the freshwater floating on the more dense saltwater. But when you reverse the order you put the water into the test tubes the waters mix because the more dense saltwater sinks immediately into the lighter freshwater.
In our potato experiment the high density of the saltwater makes the potato float. This is also why it is easier for people to float in saltwater like the ocean, compared the water at the pool.
Interested in doing this activity with your class or homeschool? I’ve packaged up everything you need including material lists, instructions, science explanations, lab sheets and more.
Grab your copy from our store:
Also available on TpT


