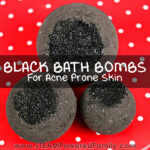
Black Bath Bombs with Charcoal DIY Project
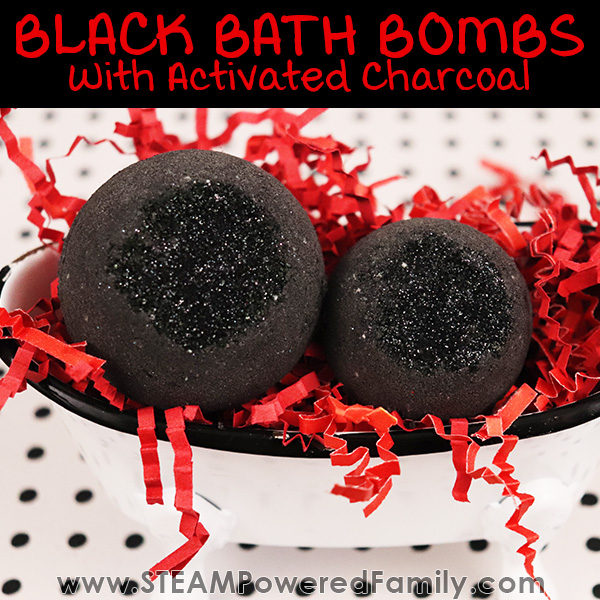
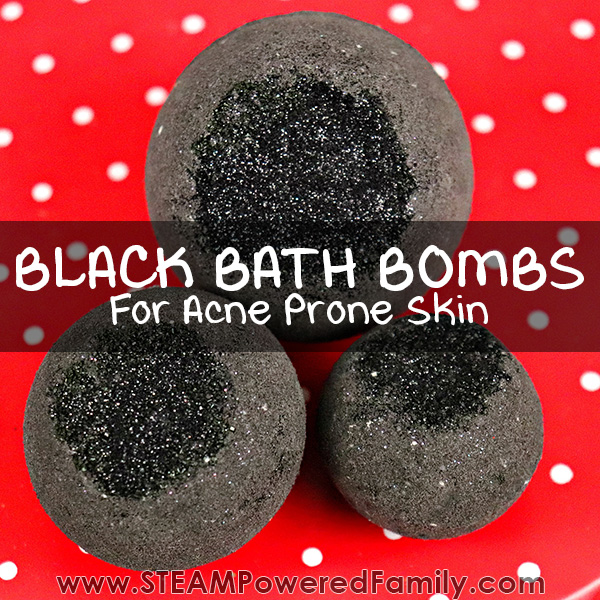
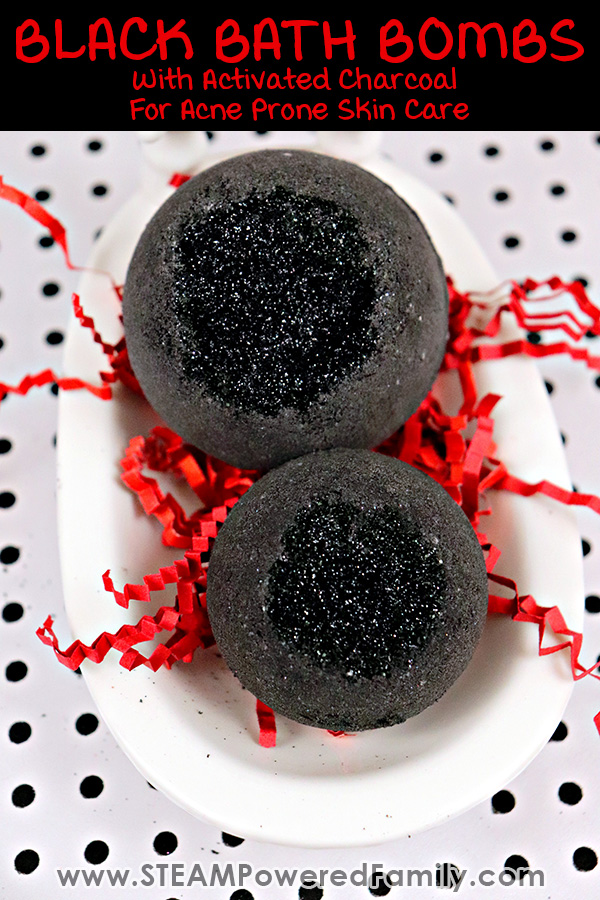
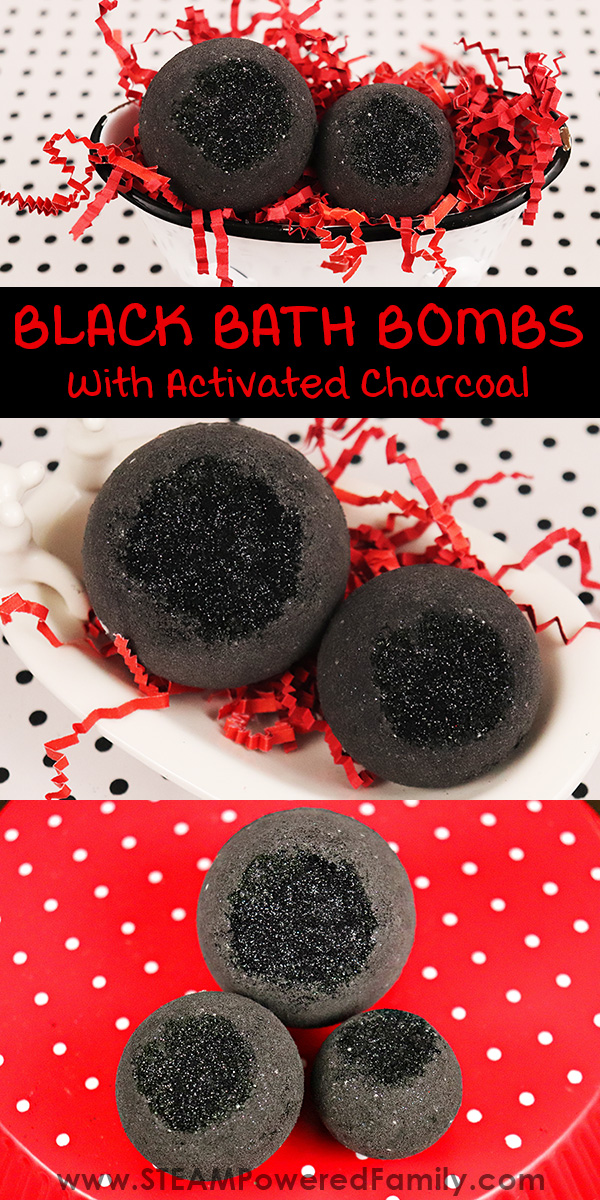
These black bath bombs are so much fun for my teens, and they are great for their skin! We love making bath bombs, it is a fantastic project for teens and they love using their creations. The best part is that we have packed these black bath bombs with lots of great ingredients for their acne prone skin. And since they are black, I’ve been assured by my teens that makes them ultra cool.
DIY BLACK BATH BOMBS WITH CHARCOAL
Disclaimer: This article contains commission and affiliate links.
One of the things I have discovered as my kids are growing up is how much their skin is changing. They are starting to struggle with acne and oily skin. I live with skin that is very much at the other end of the spectrum, my skin is very dry, so I don’t recommend this bath bomb for those with dry skin. It is meant to help calm inflamed, oily, acne prone skin.
My kids just care that it looks super cool since it’s black. And apparently, just like when I was a teenager, black is the cool colour.
Harry Potter Bath Bomb
An unexpected surprise with these bath bombs was when my kids used them and said the swirling black water was like Dementors! Can you tell we love Harry Potter around here? So yes, this could be a Harry Potter bath bomb recipe too! We shall call it our Dementor Bath Bomb!
Skin Benefits of Black Bath Bombs
The benefits for my teens skin with these bath bombs are quite extensive. No teen loves acne, especially when they are getting breakouts on their backs and shoulders. A soak with these bath bombs will help calm those break outs!
How? Activated charcoal is great at helping wash oils from the skin (I use it in my blacksmith soap we use to clean our hands after working in the forge). We also use coconut oil which will not clog pores and has wonderful anti-bacterial properties to help with those little infections.
If you want to up the skin care punch of these bath bombs you can add in other ingredients like: Evening Primrose Oil which helps with skin inflammation and eczema or Grapeseed Oil which has some astringent properties which help with acne prone and oily skin. I keep both of these ingredients on hand and included them as needed when the kids need a little extra skin care. You will need to adjust your recipe accordingly if you add these oils to ensure your ratio of oils to dry ingredients still works.
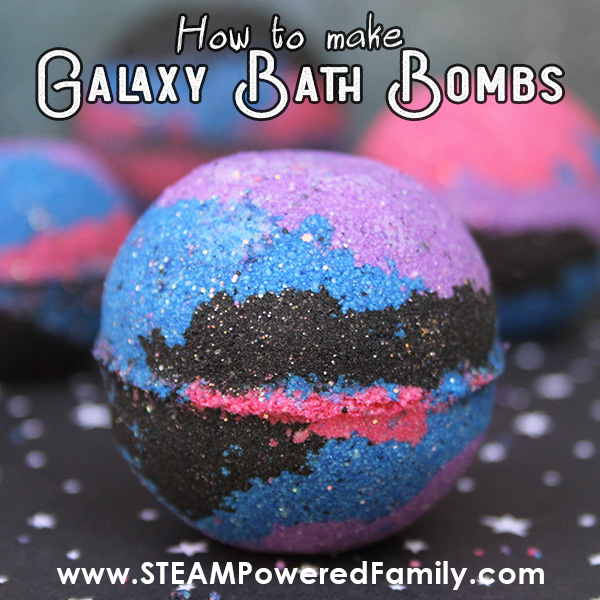
For now though I will share our basic black bath bomb recipe. Make sure you also check out our Galaxy Bath Bomb Recipe that also uses activated charcoal.
Black Bath Bomb Recipe and Supplies
2 cups baking soda
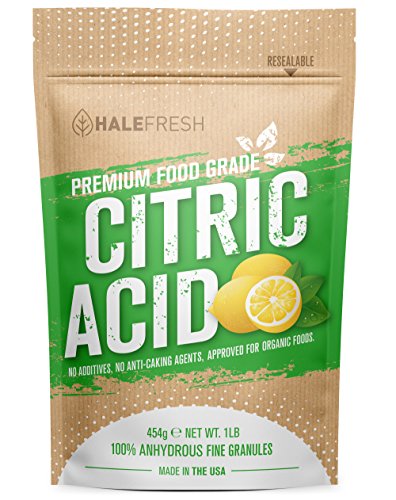
3/4 cup citric acid
1/4 cup SLSA
1/4 cup cream of tartar
1 cup cornstarch
1/3 cup coconut oil
2 tablespoons polysorbate 80
10-20 drops each of cardamom and rosemary essential oil
Activated charcoal powder
Black biodegradable cosmetic glitter (optional)
Black decorative sugar
Spray bottle of rubbing alcohol
1 large mixing bowl
1 small microwave save measuring cup or bowl
Measuring cups and spoons
Bath Bomb Molds
Disposable gloves
Parchment paper
How To Make Black Bath Bombs With Charcoal
First, whenever I have kids helping me with any project I like to protect my table. I like to grab parchment paper and just lay it over my table before setting out supplies for bath bomb making. This step is especially important when working with activated charcoal which really likes to get into everything. Trust me, taking a moment to prepare your space will save you a lot of headaches with clean up.
Put on your disposable gloves.
Start out by adding the baking soda, citric acid, SLSA and cream of tartar to a large bowl. Mix well, but be gentle. Citric acid can be very irritating if you inhale it. If it bothers you make sure you work in a well ventilated space and consider using a face mask. My youngest skips helping with this step because he really can’t stand citric acid in the air (and his enthusiastic mixing really likes to launch it into the air!). Once it is mixed with our oils he helps with all the other steps.
Add your coconut oil to your microwave safe bowl and melt in the microwave for a few seconds until it is liquid. And polysorbate 80 and your essential oils. If you decide to add in Grapeseed Oil or Evening Primrose Oil, add it in during this step as well. Mix well.
Add the oil mix to the dry mix and blend everything together.
Add in the activated charcoal powder. Remember this stuff likes to get everywhere! So move gently and slowly. Start by adding one tablespoon of activated charcoal to your mix. Once it is blended, if you want it darker, add a bit more.
Now you can add in your glitter if you wish to use it and mix everything together.
Use your hands to really mix it in well and make sure there are not clumps or lumps. You will know when the mixture is perfect when it feels like wet sand and you can press the mixture together in your hands and it stays together.
If you find the mix is not getting to the wet sand stage despite extensive mixing, it may be that you need a bit more moisture in your mix. I find in our Canadian winters I need to use a bit more oil in my mixes because our air is so dry. Just remember a little goes a LONG way. So if it is dry, just add a little drizzle of coconut oil and mix well until you get the right consistency.
Sprinkle a bit of black edible sugar into one of your molds. Carefully add your mixture to both sides of the mold. Make sure they are overflowing and heaped up, don’t pack them tightly, just heap it into the mold sides. Bring the molds together and press firmly. Use a grinding/rotating motion to get rid of the excess mixture. Tap the bomb gently on each end and release.
Pro Tip! While packing your molds you may notice the mix getting a bit too dry. Simply spritz it with rubbing alcohol if it gets too dry as you are adding it to your mold. Give a few spritzes and mix together until it has that wet sand feel again.
I like to set mine on parchment paper and let them sit in a warm, dry area for at least 24 hours. This allows them to harden. Make sure you keep them away from curious hands and curious cats! I learned that messy lesson the hard way!
Once they are hard store them in an airtight container until ready to use. I keep mine in a locking airtight container in the bathroom so the kids can take one when they are having their bath. It is very important that they are kept sealed if you are keeping them in the bathroom as the humidity in the air can cause them to prematurely erupt or degrade the chemical reaction causing them not to be as fizzy.
Bath Bomb Science
There is a fascinating lesson here for teens in chemistry. Not only are these black bath bombs beneficial for their skin, but there is some fascinating chemistry behind the fizzy reactions.
Bath bombs are an acid base reaction. This particular recipe has 2 acids, Citric Acid and Cream of Tartar. It also has one base, Baking Soda. While dry we can mix these ingredients and no reaction will occur. It is only once we add water that the chemical reaction is triggered causing the release of CO2 gas which form the fizzy bubbles.
If you have issues with your bath bombs prematurely erupting it is because there is either too much liquid in your recipe or your environment is too humid. Yes, water in the air will cause the chemical reaction to start! This is also why you should use your bath bombs while they are still fairly fresh. Over time bath bombs will lose their fizz.
Another very important ingredient in this bath bomb recipe is Polysorbate 80. I don’t recommend ever making bath bombs without polysorbate 80 but it’s even more important with this recipe that uses activated charcoal. If you don’t use it, you will end up with black sticking to you, your tub, floating in a black scum on the water… it won’t be pleasant at all. And since the activated charcoal and oils are not mixing with the water, your skin is not getting all the benefits.
Polysorbate 80 is an emulsifier. Which means it forces water and oils to mix. This is what creates a really nice bathing experience with everything nicely mixed into the water, and helps reduce the amount of charcoal sticking to the sides of your tub. You may still get a bit of black residue on your tub, but it should wash off easily with regular cleaner.
MORE BATH BOMB MAKING ACTIVITIES AND TIPS
Black Bath Bomb DIY With Activated Charcoal
A fun black bath bomb packed full of ingredients to help acne prone skin
Supplies
- 2 cups baking soda
- 3/4 cup citric acid
- 1/4 cup SLSA
- 1/4 cup cream of tartar
- 1/3 cup coconut oil
- 2 tbsp polysorbate 80
- 10 - 20 drops cardamon essential oil
- 10-20 drops rosemary essential oil
- 1 tbsp activated charcoal adjust to taste
- 1 tsp biodegradable glitter
- 1 sprinkle black sugar
Instructions
-
Start out by adding the baking soda, citric acid, SLSA and cream of tartar to a large bowl. Mix well.
-
Add your coconut oil to your microwave safe bowl and melt in the microwave for a few seconds until it is liquid. And polysorbate 80 and your essential oils. Mix.
-
Add the oil mix to the dry mix and blend everything together.
-
Add in the activated charcoal powder. Adjust amount to suit your taste.
-
Add in your glitter if you wish to use it and mix everything together.
-
Use your hands to really mix it in well and make sure there are not clumps or lumps. You will know when the mixture is perfect when it feels like wet sand and you can press the mixture together in your hands and it stays together.
-
Sprinkle black edible sugar into one of your molds. Loosely heap the mix into both halves of the mold. Bring the molds together and press firmly. Use a grinding/rotating motion to get rid of the excess mixture. Tap the bomb gently on each end and release.
-
Let set and harden for 24 hours.
-
Store in an airtight container.


