Interactive Arm Model Biology STEM Project
Biology is a fascinating subject to study in science class with students. We love to learn how our own bodies work! Today we are focusing on the arm. For this hands on biology STEM project we are building an interactive model of the arm. We will learn the parts of the arm: including muscles, tendons, bones, joints and even talk about the role the brain plays in how we use our arms! This is a fantastic project for science class or the science fair. Have your older students build their own models, or build a model for the whole class to use and learn from. Let’s start lifting and learning!
Interactive Arm Model Project
Table of Contents

Disclaimer: This article may contain commission, paid partnerships, or affiliate links. We independently review everything we recommend. When you buy through our links, we may earn a commission from qualifying purchases.
When you bend down to pick up your school bag, bring a spoon to your mouth to eat, or scratch your nose, have you ever wondered how and what makes your arm move in this manner? Your arms and other parts of your body have many important parts that work together in groups and pairs, with the brain, which is like a team captain, to get your body moving.
Parts of the Human Arm
Let’s take a look at all the parts inside your arms that make it work.
Bones
The bones in your arm, the humerus, radius, and ulna, work to keep your arm in shape and give it support.
Joints
The elbow and wrist are the joints in your arm. They are like door hinges that allow your arm to swing up and down and rotate left and right. They are like simple machines called levers.
Muscles
The muscles in your arms, help to raise and lower your arm. They work like the strings on a puppet. There are two main muscles, that work in a pair to lift and lower your arm. These muscles are in your upper arm and they are the biceps and the triceps.
The biceps pull your arm upwards. This action is called flexion or contraction and the triceps pull your arm straight again. This action is called extension or relaxation.
Other muscles that help our arms move are:
Extensor and flexor muscles – these muscles are in your forearm and help to move your wrist around in a circle.
Deltoid muscles – these muscles are in your shoulder and allow you to move your whole arm, up and down, around and around, and forwards and backward. The other muscles that help with all these movements are the pectoralis major in the front of your chest and the latissimus dorsi in your back.
Tendons
The tendons are like stretchy rubber bands. They work in pairs with the muscles and connect the muscles to the bones. So when you damage or “pull” your tendons, it becomes painful for you to flex and relax your arm.
Brain
The brain is like the body’s team captain! It is constantly sending messages to your muscles, telling them when to move and how hard to pull.
Remember, every time you move scratch your nose, or give someone a high-five, it is a team effort between your bones joints, muscles, tendons, and brain that allows you to do this!
DIY Interactive Arm Model STEM Activity Video
This is a fun project with lots of moving parts (See what I did there?💪😁), and it can be helpful to watch someone else do it first. So we created a video of us building our arm model. You can watch it hear, or if you can’t see the video due to adblockers or firewall, check it out on the STEAM Powered Family YouTube Channel.
How to Build an Interactive Arm Model
In this project, we will make a cardboard model of the arm to help you understand how the arm moves.
Materials & Tools
A small piece of thin, corrugated cardboard – from a small postage box
Glue stick
Pencil
Black marker
Exacto knife
Scissors
Awl or push-pin
Thin wooden skewer with pointed tip
500ml bottle filled with water, lid screwed on tight
Plastic bobbins – you will need 4
4 X 19mm (0.75 inches) Brads Paper Fasteners
4 X 24mm (1 inch) Brads Paper Fasteners
1 X 20cm (8 inch) Cable tie
1 X 30cm (12 inch) Cable tie
1m (40 inches) length of soft cord
Red felt-tip pen or pencil crayon
The Printable Template
We created a template based on our build. This is available to all STEAM Powered Family mailing list subscribers. Simply enter your email in the form to unlock it.
Directions
Prepare the Parts
Print the template on cardstock and cut out all the pieces.
Trace pieces 1,2 and 3 onto the corrugated cardboard.
Use an awl or push-pin to mark all the holes on each piece. I used the pointed side of a wooden skewer and it didn’t leave a good mark! You will use the skewer to make the holes bigger in a second.
Cut out all three pieces with a scissors.
Now, use that skewer to make all the holes bigger. The holes should be big enough to fit the brads through.
Using the template as a guide, draw the fingers on the hand with the black marker.
Color the bicep and triceps pieces, in red.

Assembly
Using the glue gun, glue the middle pieces onto the sides as follows:
First, glue the bottom middle piece onto one of the sides, then the top part onto the same side you are working on. Now, glue this piece onto the other side, starting with the top and then gluing the bottom.
Glue the ring you cut out of the box cardboard onto one of the ends of the tube.
Now we are sticking on all the muscles and bones. All the labels should be facing the same direction.
- First glue the “humerus” onto the middle part of the arm( piece #2).
- Next, glue the “bicep” slightly over the “humerus”.
- Now, glue the “tricep” opposite the “bicep”.
- Glue the “radius & ulna” piece onto the forearm, just below the middle hole.
PRO TIP! Try not to cover the holes. If you do, push the awl or push-pin from the front through to the back to make a small hole, then use the skewer from the front to make the hole bigger.
Cut the cord into two equal pieces. Make a loop knot at the end of each of the two pieces of cord. This loop will fit around the heads of the brads, so don’t make the loops too small.

Putting the Pieces Together
Start with the forearm (piece #1).
Push and open out two small brads through the two outside holes at the top. The cord you cut will go around the heads of these two brads.
With the help of the pointed side of the wooden skewer, place the cord around each of the two brad heads on the front of the forearm. Ensure that they can both swing around easily.
Now, place the forearm (piece #1) over the middle piece (piece #2). Match up the holes and push a small brad through both pieces. Ensure that the brad is in well, but allow for easy rotation.
Join these two pieces to the shoulder piece (piece #3).
Heads Up – Video Oops Moment!
Pro Tip! Do not put the small middle brad in first. I did this in the video and it is incorrect, I had to redo that step.
Using a large brad, push it through a plastic bobbin and one of the outer holes at the top of piece #2. Open the brad legs out at the back.
Repeat this step with another bobbin on the other outer hole of the same arm piece.
Now we can safely join the two complete pieces to the shoulder piece (piece #3) using the last small brad.
Push the small brad into the middle hole of (piece #2) and through the single hole at the end of the shoulder (piece #3). Open out the brad on the back.
Pro Tip! Ensure that all the brads are pushed in correctly and that the pieces can move freely.
The brads holding the bobbins should be in tight. You don’t need them to move freely.
Add the last two bobbins to the shoulder piece (piece #3) in the two middle holes as you did for the other two bobbins.
Double-check that all parts are moving freely.
Final Steps
Fill the empty bottle with water and close the lid tightly.
Get the two cable ties. Thread the large cable tie through both holes at the bottom of the shoulder piece, starting from the back and coming out to the front.
Reminder: Always remember that the smooth side of a cable tie must always be facing you. The “teeth” should always be on the inside.
Thread the smaller cable tie into the top two holes of the shoulder piece, staring from the back.
Loosely attach the whole arm onto the bottle at the neck of the bottle. Do not pull the cable tie tight. You can adjust it later.
Now wrap the large cable tie around the body of the bottle and close it loosely.
Adjust the position of the arm on the bottle and only only when you are happy with the positioning, then tighten the large cable tie and the small cable tie to the bottle. Do not make it too tight as this will bend the arm model and prevent a smooth movement of the arm.
Cut off any excess cable tie with scissors.
How to Thread the Cord Around the Bobbins
The top cord is for the bicep. The cord should go around the two bobbins in a clockwise direction (over the top of the bobbins first).
The bottom cord is for the triceps. The cord should go around the two bobbins in an anti-clockwise direction (around the bottom of the bobbins first).
See the diagram below:

Your arm model is finished!
Using the Arm Model
It’s time to test your arm model.
To make the arm move upwards (contract or flex the bicep muscle), pull the top string downwards gently, and to make the arm move back down (extend or relax the triceps muscle), pull the bottom string downwards gently.
Each movement is to be done separately.
Practice this to get the hang of this motion.
It’s amazing how such a simple model can help you understand how your arms move, right?

EXTENSION LESSONS
What other muscles in our bodies can you find that work in pairs? Here’s a hint: How are we able to flex and bend our feet or bend and straighten our knees?
Did you notice that this project works on a Pulley System? These simple machines are amazing! Why not do a Pulley System build with your kids next?

FAQ
This STEM activity shows how the human arm functions as a lever system, with joints serving as pivots and muscles using the force to move.
This would be a great option for a science fair. It’s a simple way to have your child work in a hands-on learning environment and then explain their creation.
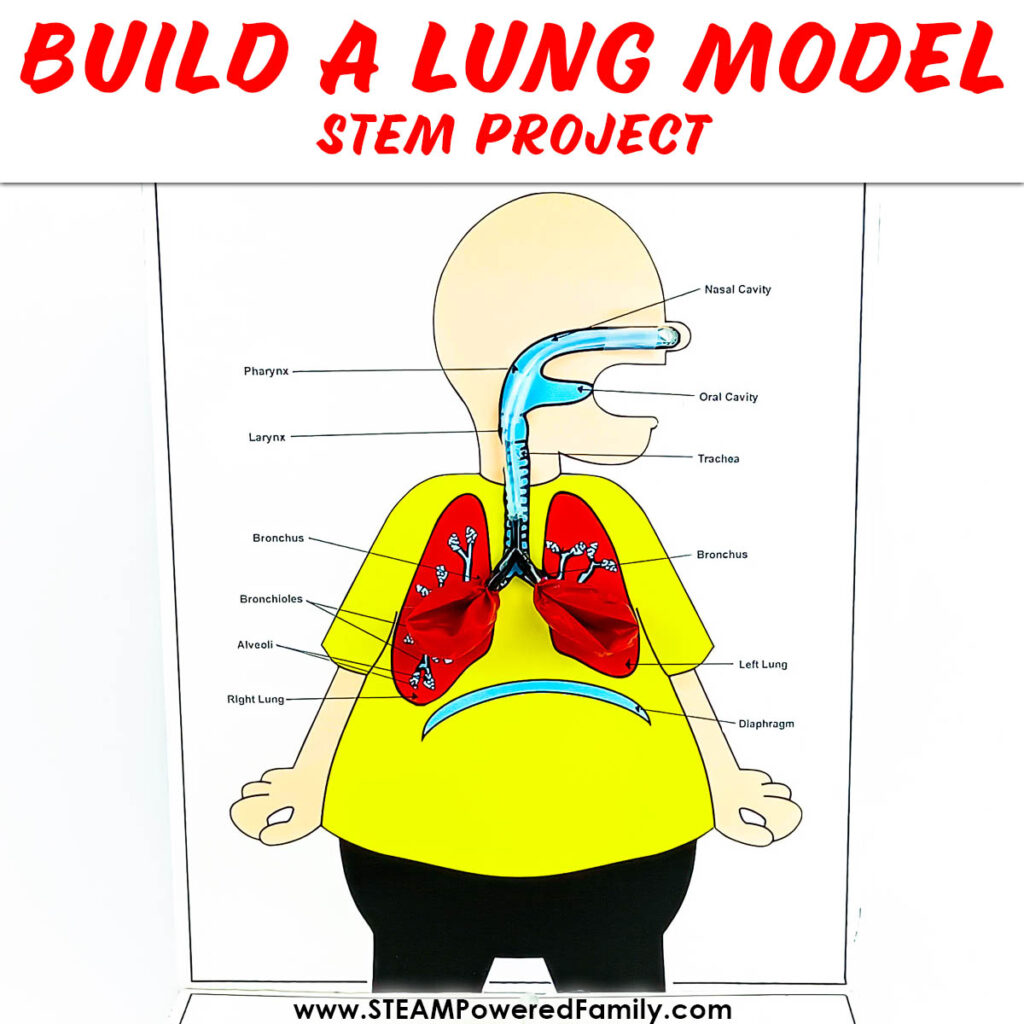
Want more biology lessons? Check out our other biology STEM projects.
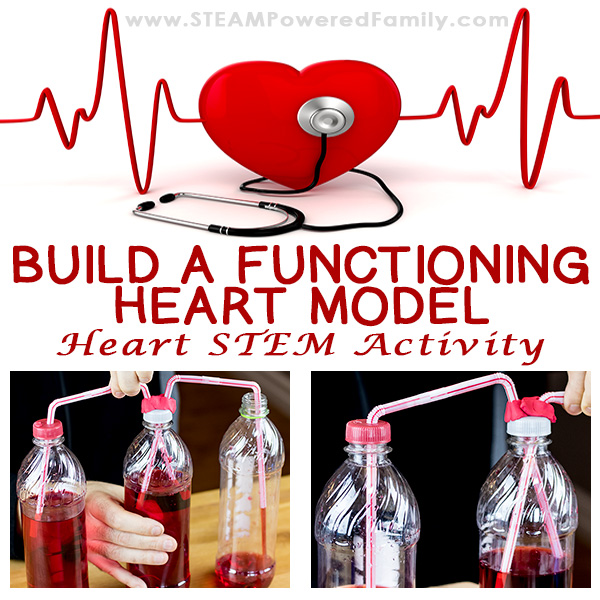
Build a Functioning Heart Model