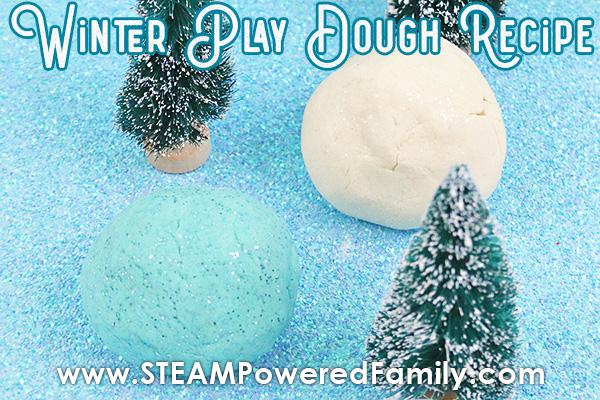
Winter Play Dough Recipe
With the snow flying outside we are looking for fun indoor activities to keep us busy and one that is always a hit is play dough! This no cook Winter Play Dough recipe will bring hours of fun on a chilly winter day, while also developing finger strength and coordination skills.
No Cook Playdough Recipe – Winter Themed Activity
Table of Contents

Disclaimer: This article may contain commission, paid partnerships, or affiliate links. We independently review everything we recommend. When you buy through our links, we may earn a commission from qualifying purchases.
When it gets cold out and playing outside becomes less appealing, I often look for fun ways for us to explore and play indoors. Things that will keep the kids busy and entertained while having fun.
From the time they were very small, play dough was always a go to activity, and recently we have started making our own playdough. It is incredibly easy and so much fun!
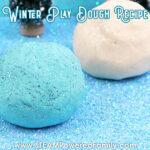
One of the ways to make play dough even more interesting is to make your batches around a theme. Since it’s been snowing and blizzarding here, we decided to embrace the cold and create a Winter Wonderland inspired play dough.
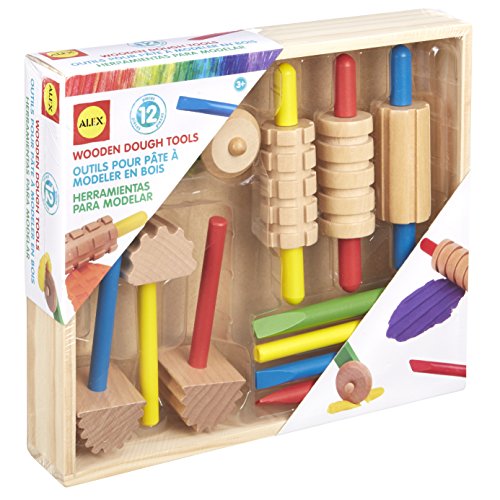
Not only does this involve special colours, but we also like to add some essential oils that suit our themes, plus sometimes we will add glitter, sequins, buttons and various play dough toys (like snowflake and snowman cookie cutters), to really round out the theme of our play dough.
You can do this with any theme to keep kids engaged and having fun!
Winter Play Dough Recipe (No Cook)
SUPPLIES
1 1/2 cups flour
1/2 cup salt
2 teaspoons cream of tartar
1 cup hot water
2 tablespoons vegetable oil
Light blue food coloring
White and blue biodegradeable glitter (optional)*
Essential oil (we used peppermint) (optional)
*A NOTE ON GLITTER – Glitter has become very controversial due to the negative impacts on the environment, but I know many of you still love a little sparkle in your projects! When it comes to glitter, I believe it is always optional. None of my projects require it. But if you decide you do want a little sparkle and shine in your creations, I highly recommend using a biodegradeable glitter. There are lots of fantastic options available.


DIRECTIONS
In a large bowl, add flour, salt and cream of tartar. Whisk well.
Mix in the vegetable oil, essential oil and water. I add the water in about 1/4 cup at a time.
We love adding a bit of essential oil to our playdough, it adds so much to the experience of playing with it. For this recipe we used peppermint so it smelled like a candy cane. Only a few drops is needed.
Split mixture evenly into two bowls.
Add blue food color (start with 3 drops and add more if necessary) and glitter (about 1/2 teaspoon) to one and white glitter to the other.
Take one of the play doughs and knead on a flat, hard surface until smooth. Repeat with the other one.
Play!
Store in an airtight container or plastic bag. It should last about a month, however if your children are sick or it is being used in a classroom situation, I recommend changing your play dough batches more frequently.
THE SCIENCE OF PLAY DOUGH
In any recipe, every ingredient serves a purpose. And the same is true for our playdough recipe.
First let’s look at the steps and some scientific terminology.
With playdough recipes, the dry ingredients, salt, cream of tartar and flour, are physically combined through mixing to produce what we call a ‘mixture.’
Next we add our liquid ingredients, water and vegetable oil, and combine them with the dry ingredients. This new mixture is called a ‘solution.’
Heat from the hot water causes a chemical reaction to occur which changes the solution into a new substance, play dough. You can also cook the play dough like we did with our Sunflower Play Dough.
The chemical reaction in play dough making
Now, let’s dig into the chemical reaction happening with our ingredients to form that final substance we all know and love, play dough!
Adding water to the flour allows long chain like molecules in the flour (called proteins) to stick together. We learned about this process in our Bread Science activities. This helps to hold the water in place and keep the dough together.
Salt helps in this process by encouraging the proteins to stick together with stronger bonds (it also helps to stop your dough going bad by acting as a preservative).
The oil coats the other ingredients and helps keep the play dough from drying out.
The molecules from the food dye spread out throughout the dough as you knead and give it a colour.
Pretty cool science! Now go and make some winter play dough and have some winter fun!
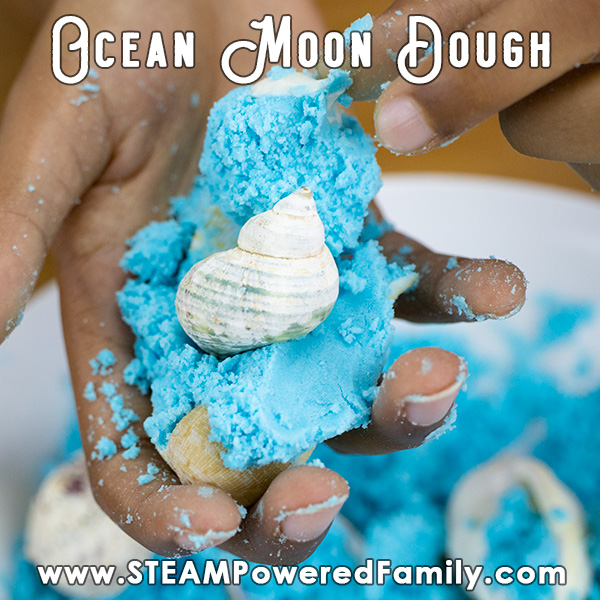
Once you are done that, try out our Snow Dough Recipe. A taste safe version of our Moon Dough, perfect for making Snowmen!
MORE SCIENCE AND SENSORY FUN!

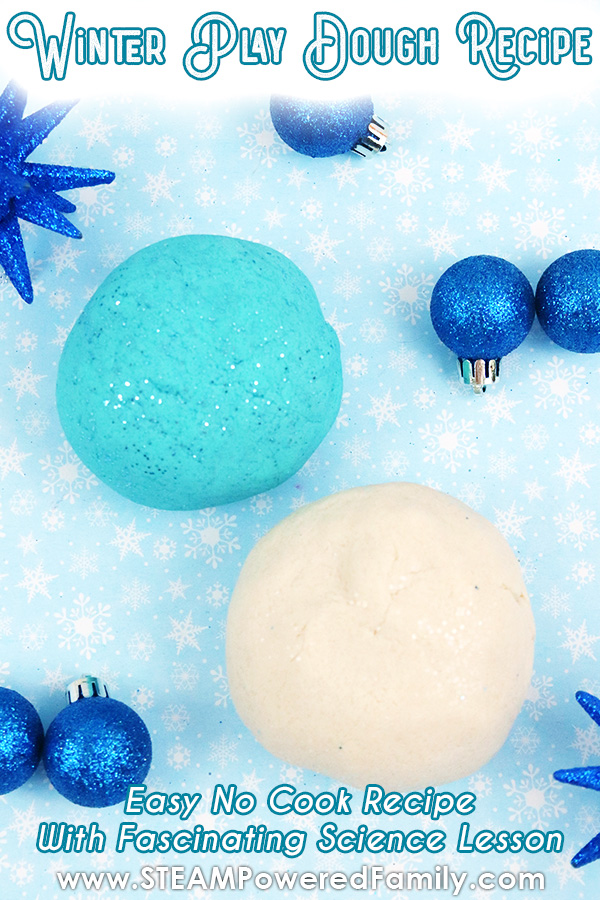
Winter Play Dough Recipe
Embrace the beauty of winter with this gorgeous no cook winter play dough recipe. Plus dig into the science of creating play dough from simple ingredients. Learn terminology such as mixture, solution and substance, plus the chemical reaction between the ingredients and how they work together to create the fun play dough we all know and love. Keep kids learning and having fun with this hands on activity as they create their own winter playdough recipe.
Supplies
- 1.5 cups flour
- 0.5 cup salt
- 2 tsp cream of tartar
- 1 cup hot water
- 2 tbsp hot water
- light blue food colouring
- glitter optional
- essential oil optional
Instructions
-
In a large bowl, add flour, salt and cream of tartar. Mix well.
-
Mix in the vegetable oil, essential oil and water. I add the water in about 1/4 cup at a time.
-
Split mixture evenly into two bowls.
-
Add blue food color and glitter to one and white glitter to the other.
-
Take play dough from each bowl and knead on a flat, hard surface until smooth.
-
Play!