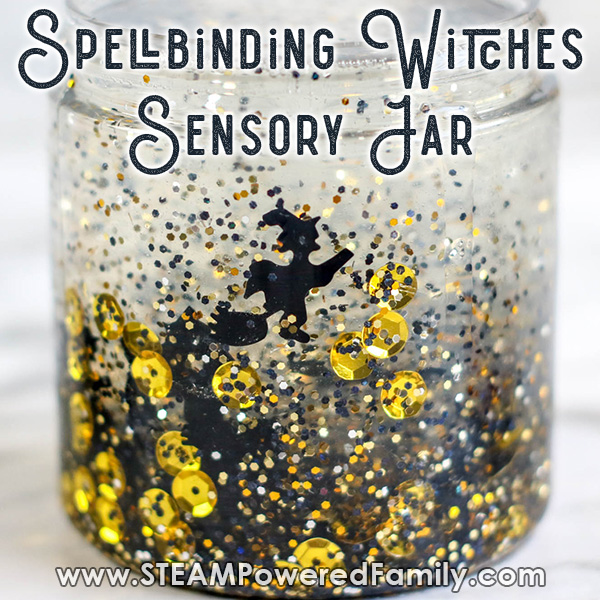
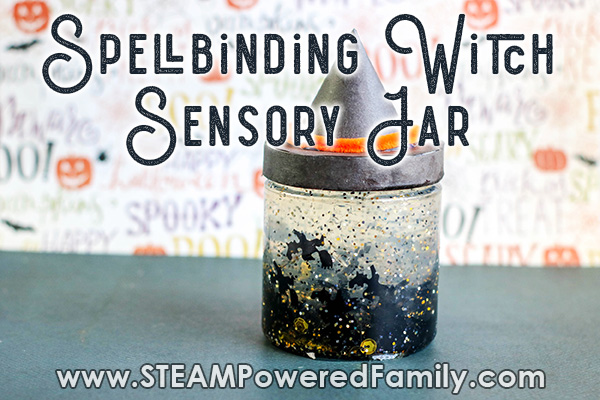
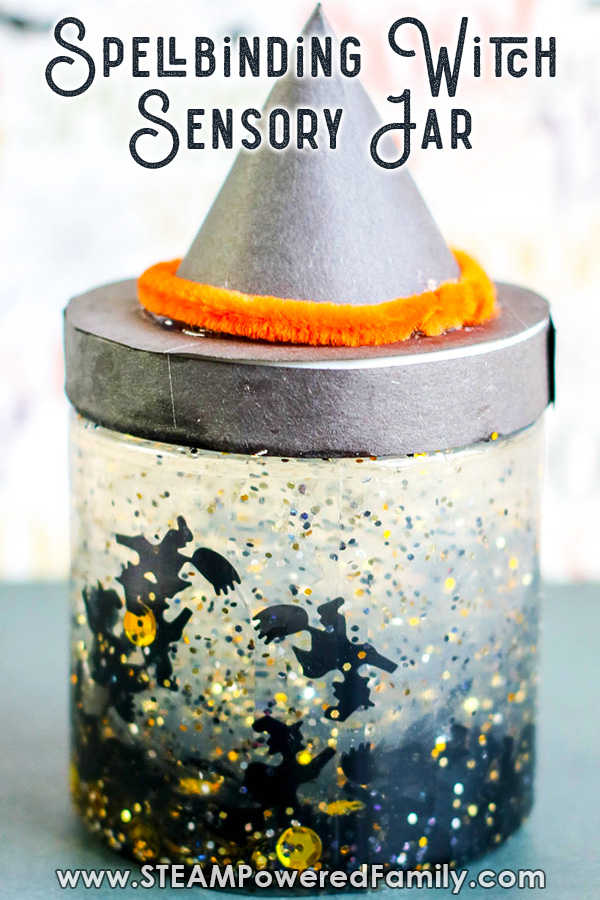
Spellbinding Witches Sensory Bottle
Have you ever made sensory bottles? Not only do they provide a calming effect for kids, they are also fun and educational! Best of all they are very easy to make and budget friendly. Making them a wonderful class project or an activity to do at home. Best of all you can make any theme, including this magical witches sensory bottle.
MAGICAL WITCH SENSORY BOTTLE PROJECT
Disclaimer: This article may contain commission or affiliate links. As an Amazon Influencer I earn from qualifying purchases.
Not seeing our videos? Turn off any adblockers to ensure our video feed can be seen. Or visit our YouTube channel to see if the video has been uploaded there. We are slowly uploading our archives. Thanks!
This project can be done by students as young as preschool, but trust me, even your elementary and older kids will love making sensory jars. It is also a great project to do as a classroom so you can compare liquid density changes and how it affects your bottles.
Below we chat about some of the exciting STEM lessons included in this activity as we use our math knowledge and explore some fascinating science, all while making sensory bottles.
Ready for an easy, fun and budget friendly activity that is simply magical? Let’s make some Witchy Sensory Bottles!
Witchy Sensory BOTTLE Supplies
1 (8 ounce) plastic storage jar
1 (6 ounce) bottle Elmer’s Glue in clear
About ½ cup warm water
About 1 tablespoon glitter or confetti or sequins (We used: Halloween foil confetti, Black and gold glitter, Gold sequins)
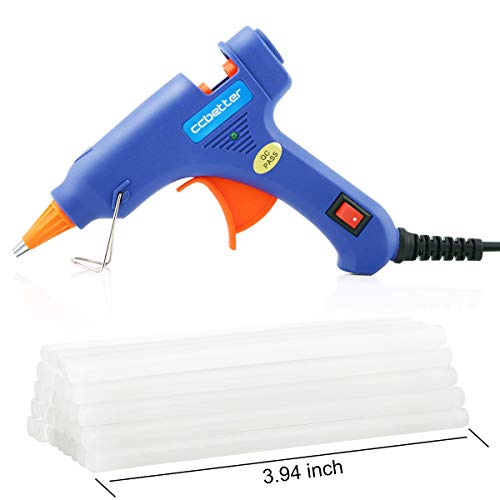
Hot glue gun (optional)
SENSORY BOTTLE DIRECTIONS
First up we need to empty the entire bottle of clear glue into the jar. Squeeze the bottle really well and get it all in your jar.
Now fill the empty glue bottle about half way with warm-hot water. You want it as warm as possible while still being safe to touch. It works out to about 1/4 cup of water. Put the lid back on the glue bottle. Now SHAKE! Shake it up! You want to combine any left over glue with the water. Now pour everything into the jar. Stir it all together.
Add the Witches, glitter and sequins. Mix it all together.
PRO TIP!
If you only have one jar, take the lid and make the Witches Hat Topper now, before sealing everything together.
Put the lid on the jar and test it (make sure that lid is on tight before you start shaking!). If the contents do not move easily, add a bit more warm water. If they move too quickly, add a bit more clear glue. Adjust until you get the perfect floaty, flighty movement for your witches!
Now seal the jar lid to the jar. I recommend doing this with a hot glue gun if you have one. Simply add a bead of glue around the inside of the lid (in the threads), and screw it on tightly. Let sit while the glue sets.
Now it’s time for our Witch Hat Topper!
WITCHES HAT CRAFT SUPPLIES
For the hat, you will also need:
1 sheet black construction paper
Glue stick or hot glue gun
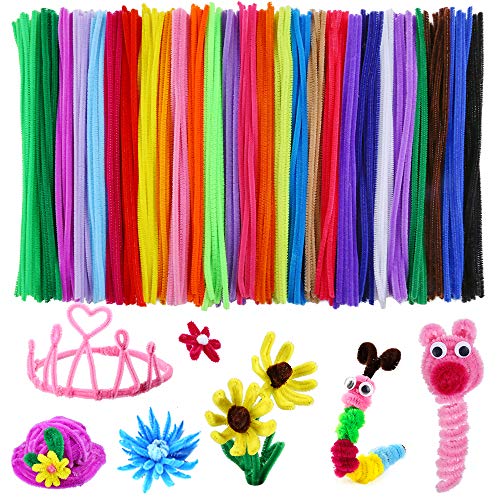
Orange pipe cleaner (also known as a chenille stick)

CRAFTING A WITCHES HAT TOP
Now it’s time to make our Witches Hat!
Start by tracing the circumference of the lid on a piece of black construction paper. Cut it out and glue it onto the lid top.
Now measure the width of the lip of the lid. You can use a ruler or just hold the paper to it and mark the paper. Cut a strip of paper the width of the lid edge, with enough length to go all the way around with a bit of overlap. Carefully glue it around the lid.
Cut a large circle. About 50% bigger than the circle you created when you traced the lid. A 28 ounce can is about the right size if you have one available for tracing. Then cut it along the middle diameter line, cutting it in half.
Discard one half (or share with a neighbour student or sibling!).
Twist the half circle into a cone shape. Test the size on your lid until you get the correct sizing. Use tape on the inside or a bit of glue to secure it.
Apply a bead of glue to the lid, and attach the cone to the lid.
Take your pipe cleaner and form it into a circle. Use the hat as a guide to size it correctly. It will sit at the base of the cone to form a nice accent on the hat. Once you have the correct size of circle, snip off any extra and glue it into place on your witches hat.
You have completed your Spellbinding Witches Sensory Bottle! Now shake it up and enjoy the flying witches!
STEM LESSONS FROM MAKING A WITCHES SENSORY BOTTLE
There are some wonderful learning opportunities with this sensory bottle activity. First we used some great math terminology while crafting our witches hat. We explored circumference and diameter.
The actual science behind the sensory bottle is equally fascinating. It’s all about liquid density and fluid dynamics. If you are doing this in a group you can compare how density affects the behaviour of the sensory bottles. The thicker the liquid mix (water and glue), the slower the items will go. But if you make the mix thinner, and less dense, the items will move much faster. Altering your glue to warm water ratio will change your liquid density allowing your students to see this scientific phenomenon in action.
Want to explore more fluid dynamics? Try playing with Oobleck, the non-Newtonian Fluid that is absolutely fascinating. Kind of like these magical sensory bottles!
MORE SENSORY FUN AND LEARNING