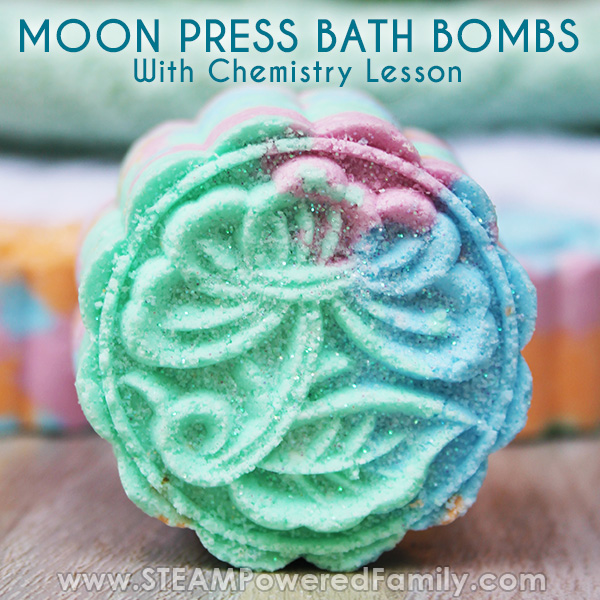
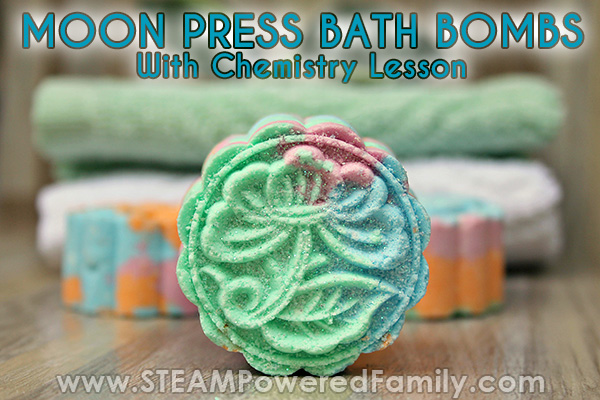
Colorful Moon Press Bath Bombs – Chemistry Lesson for Teens
Making bath bombs is a fantastic way to create something really practical in chemistry class. Recently we decided to try a new technique with our DIY Bath Bombs using a press. Press bath bombs are a great fine motor coordination and strength building exercise too. Plus there are some gorgeous patterns available. This particular homemade bath bomb is especially popular with teens who love the ability to create beautiful patterns.
Disclaimer: This article contains affiliate links
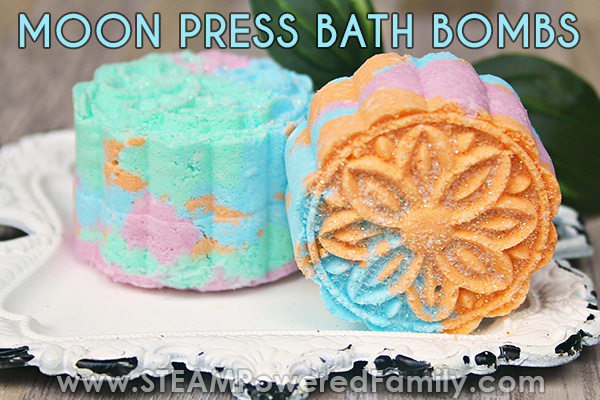
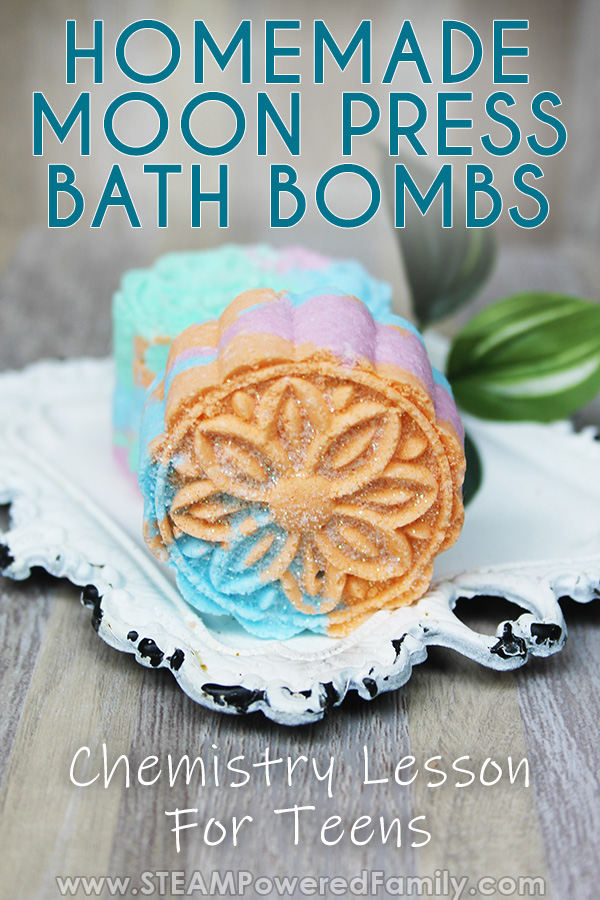
In the past we have made our bath bombs using molds that required we pack the mixture. But did you know there is also a press technique for making bath bombs? It takes a bit of coordination and practice, but you an create some gorgeous bath bombs with a press. In this activity we used a beautiful press that creates gorgeous flower imprints on the bath bombs.
What is a Bath Bomb?
Table of Contents
If you ask my kids, they say that bath bombs are the best thing ever at bath time! A bath bomb is simply a puck or ball that you add to your bath. When it comes in contact with the water it triggers a chemical reaction (which I will explain in a moment). The chemical reaction causes the bath bomb to fizz and bubble releasing wonderful fragrances and, depending on the bath bomb, luxurious skin care ingredients.
Sometimes we even make bath bombs that have hidden surprises inside! But that’s an activity for another day.
What is the Best Way To Make a Bath Bomb?
I know many people will have their own answer to this question, but since we like to make bath bombs as part of our science studies, I believe there is no such thing as the best way. We love to experiment. Trying different ingredients to see: changes in the chemical reaction, the ability of the ingredients to dissolve in the water, or to create little pieces of art work (that self destruct like a Banksy piece)!
In this activity we tested a new bath bomb making process that uses a press rather than a mold. It was a great way to shake up our lessons to create some new looking pieces. It also gave the kids some fine motor skill practice.
What Is The Science Behind Bath Bombs
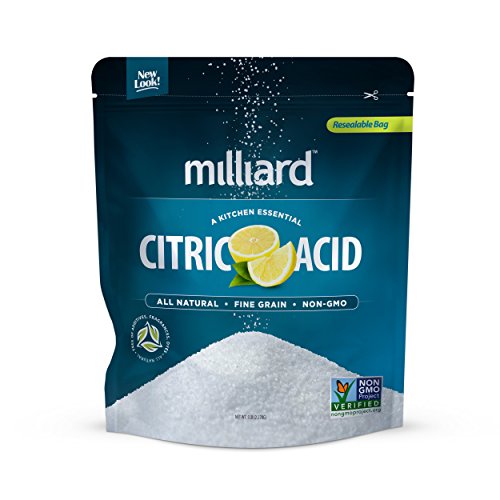
Bath bombs work due to a simple acid-base reaction. We have two acids in this recipe: Citric Acid and Cream of Tartar. Our base is baking soda. Since these ingredients are dry powders, they can mix without reacting. They need water in order to react.
The biggest struggle most people face with bath bomb making is water. These powders will pull moisture from the air and will start reacting with even a little bit of moisture. If you experience premature eruptions or expansion if your mix, it is because there is too much moisture.
On the opposite hand, if your bath bombs are crumbly, you need to add a touch more moisture. Just remember, a little goes a long way!
PRESS BATH BOMB MAKING SUPPLIES AND RECIPE
1 cup baking soda
1/2 cup citric acid
1/4 cup cream of tartar
Glitter
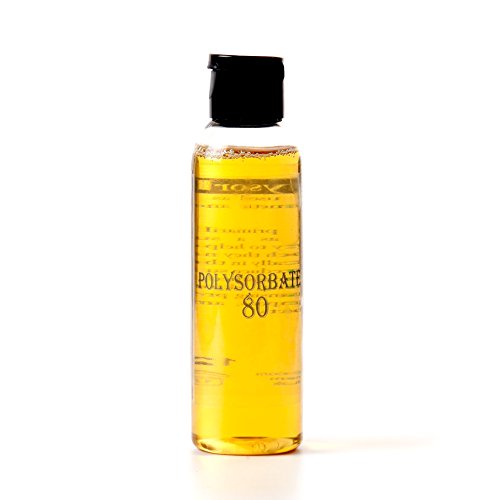
1 teaspoon polysorbate 80
3 tablespoons coconut oil
Patchouli essential oil (or the oil of your choice, we also love citrus)
Gel food coloring
Spray bottle of rubbing alcohol
1 large mixing bowl
5 smaller mixing bowls
Moon Press mold
Parchment or wax paper
Baking sheet, large tray or plate

DIRECTIONS FOR BATH BOMBS MADE WITH A PRESS
In a large mixing bowl, add baking soda, citric acid, and cream of tartar. Using a sifter, mesh strainer, or your hands, remove any hard pieces of the dry ingredients.
Add polysorbate 80, coconut oil, and essential oil to one of the small bowls and mix well.
Take the oil mixture and add to the large bowl. Mix completely. You will know when the mixture is perfect when you can press the mixture together in your hands and it stays together.
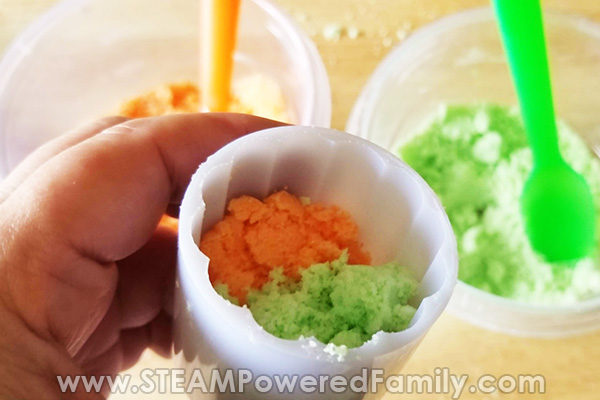
Separate the mixture evenly into three bowls.
Add your colors to each bowl; orange in one, purple in another, blue in the third, and green in the last one. Mix the coloring thoroughly in each bowl.
Add glitter as desired and mix.
A Note on Glitter in Bath Bombs – For the protection of our planet we recommend a biodegradeable glitter be used in bath bombs. Adding microplastics to our waters is not something we want to do. Want to learn more about plastics? Check out one of our chemistry experiments exploring plastics.
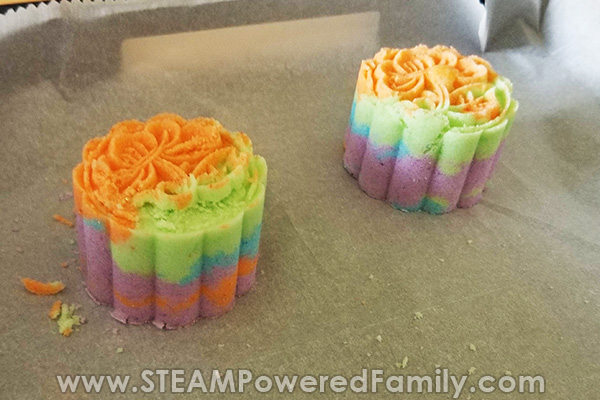
Get your three bowls together and keep your bottle of rubbing alcohol handy. You will need this if your mixture begins to dry out. Add the first color into your Moon Press and layer each color in any combination you like. If you don’t have a moon press, you can use a traditional bath bomb or silicone mold. Pack in very well. Press firmly with a spoon.
Place moon press as shown in photo. Press down firmly once or twice to further pack in the mixture. Hold your moon press about 1/2 inch above the tray or plate and carefully push down on handle of the press. While pressing on the handle, slowly lift the press up and release the bath bomb.

Note – If you aren’t happy with how the bomb came out, you can put it back into the mixture and try again. We had to practice a few times before we got the hang of it!
Allow your bath bombs to dry overnight on the tray or plate.
HOW TO USE YOUR NEW BATH BOMBS
The most important part of using bath bombs is storing them appropriately. Moisture will set off the chemical reaction. So ensure you are storing them in an air tight container (or sealed in plastic) in a dry place until you are ready to use them. If you want to gift them, place a couple in a mason jar or in a plastic gift bag tied tightly with a ribbon.
Once you are ready, run your bath. I recommend you fill the tub, turn off the water and climb in first. Then drop your bath bomb into the warm water. This way you get to enjoy the full effect of the reaction and can enjoy the luxurious bath you created for yourself!
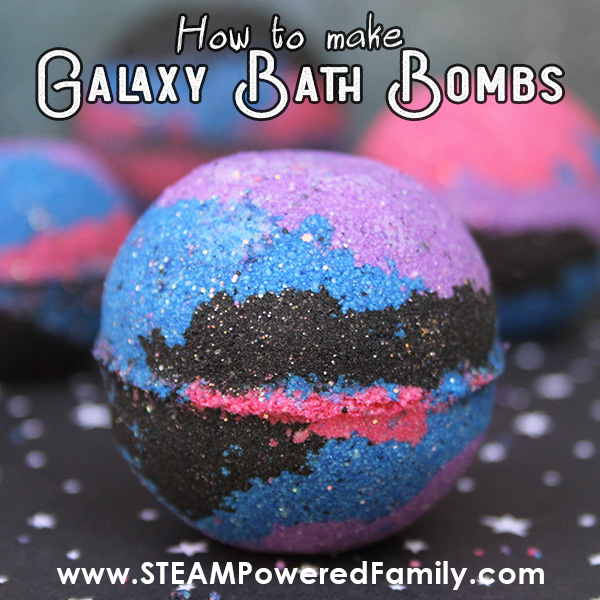
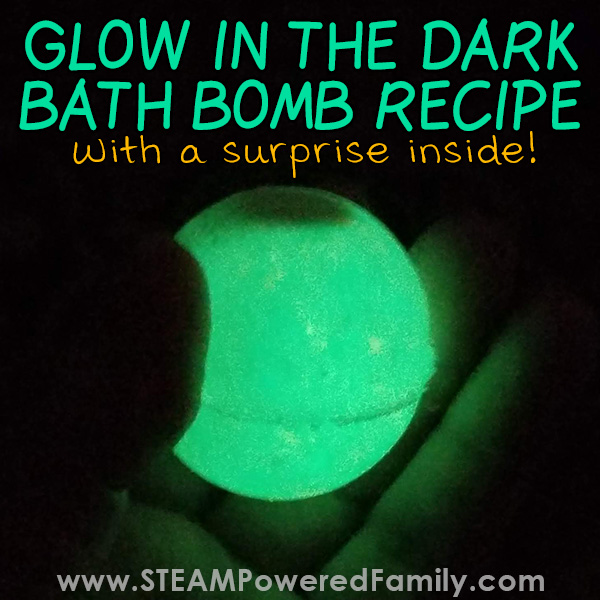
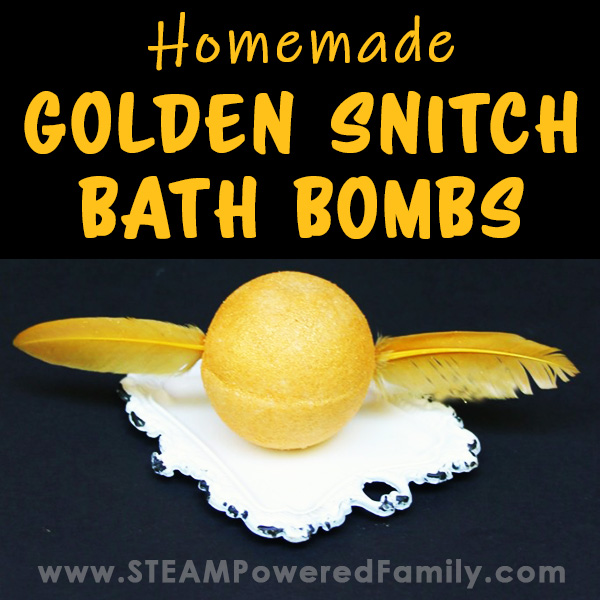
MORE BATH BOMB SCIENCE LESSONS AND PROJECTS FOR KIDS