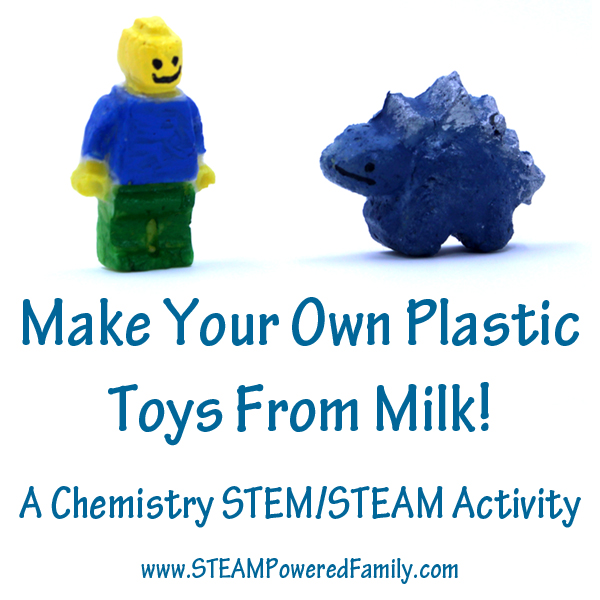
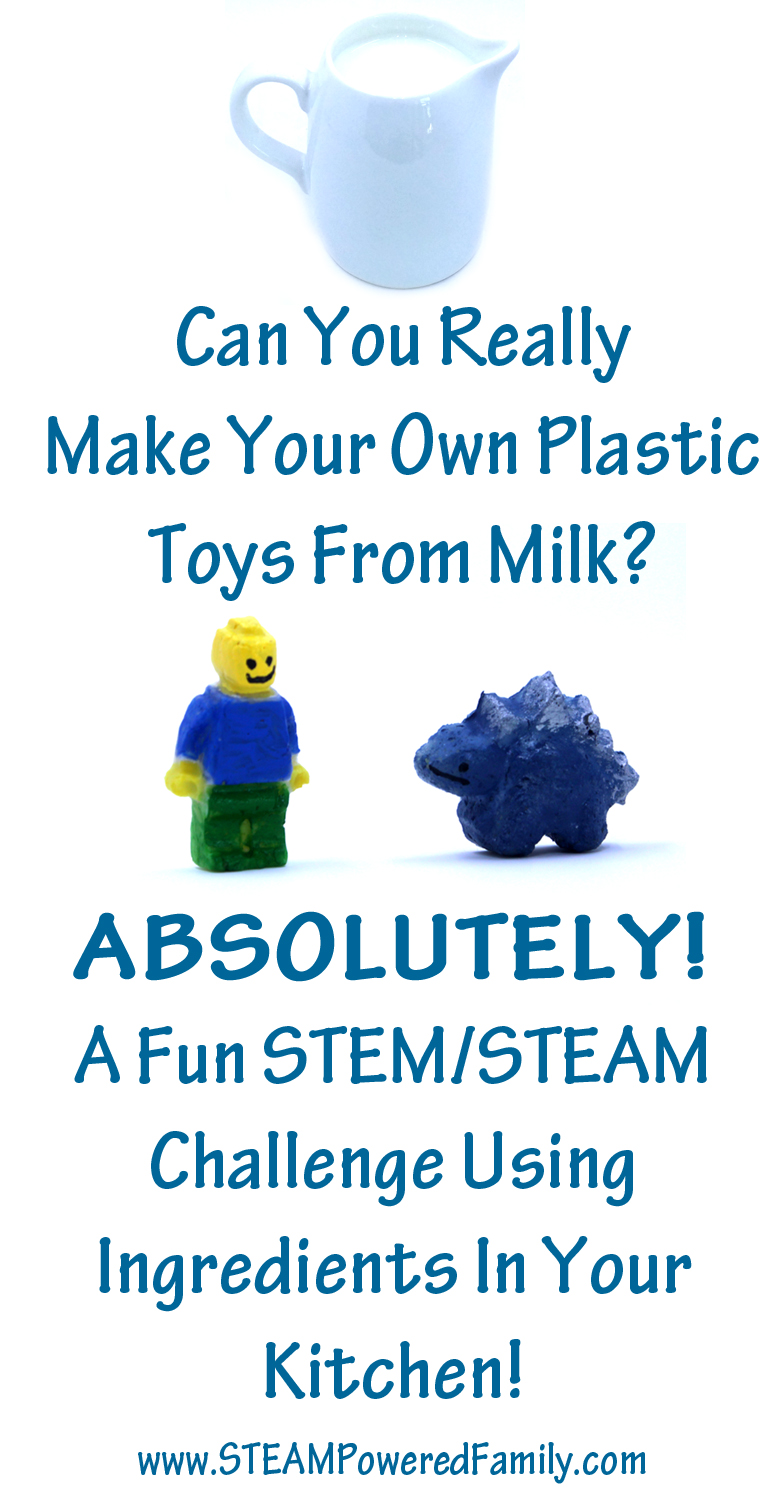
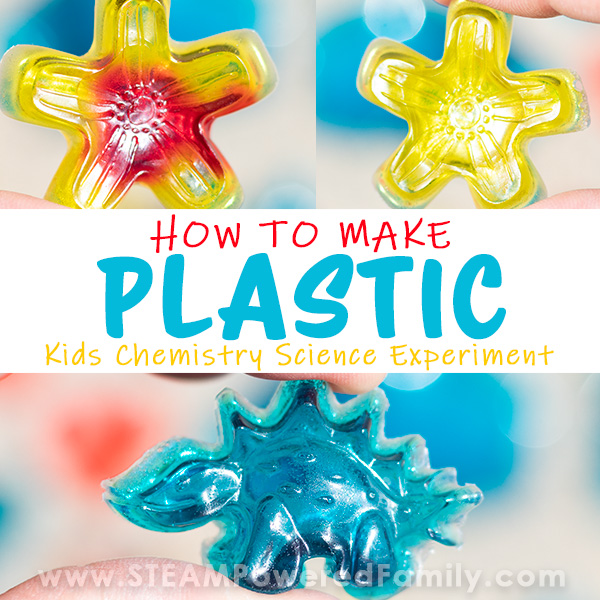
Make Plastic From Milk
Make plastic from milk? It seems like some sort of lactose intolerant horror story, but it’s actually a really cool science process. Create your own toys, beads, jewelry, and more, with ingredients you have right now in your kitchen. It’s so easy and super cool!
Turn Milk Into Plastic Toys!
Table of Contents
Disclaimer: This article may contain commission, paid partnerships, or affiliate links. We independently review everything we recommend. When you buy through our links, we may earn a commission from qualifying purchases.
Also known as casein plastic, this process has been used for over 100 years and is the way they used to make plastics before 1945 when synthetic plastics were introduced. Even royalty wore jewelry made from milk plastic many years ago. How cool is that?
With this simple process you can make toys, beads, jewelry, decorative pieces and more. This is a great, budget friendly experiment, with spectacular results that will have your students pumped with excitement for science!
Supplies
A stove top or microwave to warm the milk
Milk (we used 2%, lower fat content is better)
White Vinegar or Lemon Juice
Bowl
Spoon
Strainer (or can create your own using cheese cloth or similar)
Paper towel
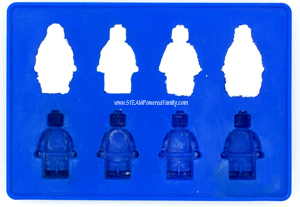
Molds (we loved using our Lego minifigures and Dinosaur molds) or other tools for shaping.
Time: 30 to 90 minutes for the experiment, then 2 days for drying. Add in a little extra time for painting once dry!
Directions for Making Milk Plastic
Measure out 1 cup of milk (you can also use chocolate milk and the end result smells amazing!), this makes about 4 minifigures or 4 dinosaurs. Heat on the stove top in a pot or in the microwave in a heat resistant bowl. You want it to just start steaming. Remove from the heat. Add 4 tsp of vinegar or lemon juice and stir gently.
The amount of vinegar is not exact. We used 4 tbsp by accident and it was fine, just made for a more intense vinegar smell!
You will notice that it immediately begins to curdle. You’re making curds and whey!
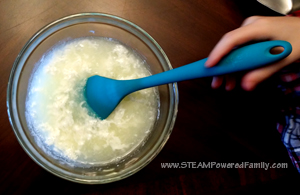
Stir gently for approximately one minute for the full reaction to finish and all the curds to form. Don’t stir aggressively. Be gentle.
Strain off the whey using a strainer or you can use cheese cloth (or similar). Let drip for a few minutes until most of the liquid has drained off. Gently smoosh the curds around in the strainer if needed.
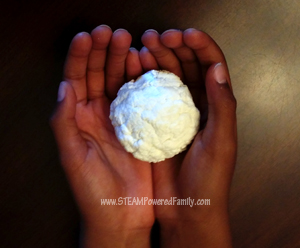
Now remove the curds and place them on a few layers of paper towel. Carefully pat and squish to remove more liquid. You may need to replace the paper towel and repeat a few times. The goal is to remove as much liquid as possible.
You will notice it is kind of crumbly and squishy, but you can smoosh and shape it.
Now you can put it in your molds at this point but we discovered that if you put the curds in a jar or bowl, soaking in vinegar for an hour, you will get a much smoother final product. Plus they are more white if you do this extra step. If you do the extra vinegar soak, once the hour is up, repeat the straining, and paper towel drying process again. This time you will notice it is smoother in texture and no longer crumbly.
How to Colour Milk Plastic
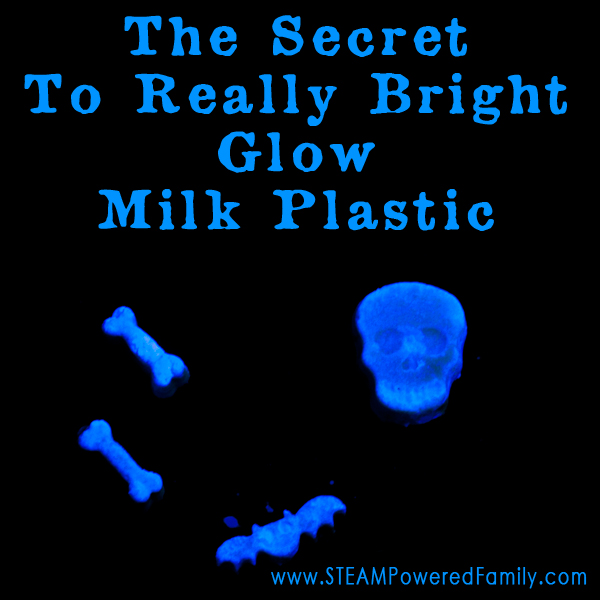
During the vinegar soak you can add some food colouring if you want. Just put a few drops in with the vinegar while it is soaking and it will colour the curds. Or make yours glow in the dark with our favourite trick!
Creating Milk Plastic Toys
Now squish it into your molds. We used silicone molds to make Lego minifigs and dinosaurs.
You can also shape it by hand. Roll it to create beads, then use a skewer to put a hole through it before setting it aside to dry. Or flatten it and use some cookie cutters.
The drying process takes time, approximately 2 days depending on your natural humidity levels and how much moisture you removed with the paper towels. But you can remove it from the silicone molds after 24 hours and this will help speed up the drying time.
Once dry, clean up the edges a bit if necessary, just like you would with any other casting. You can do this with just your fingers, a piece of sand paper or other tools. It will be hard plastic now, so it might take a little extra work!
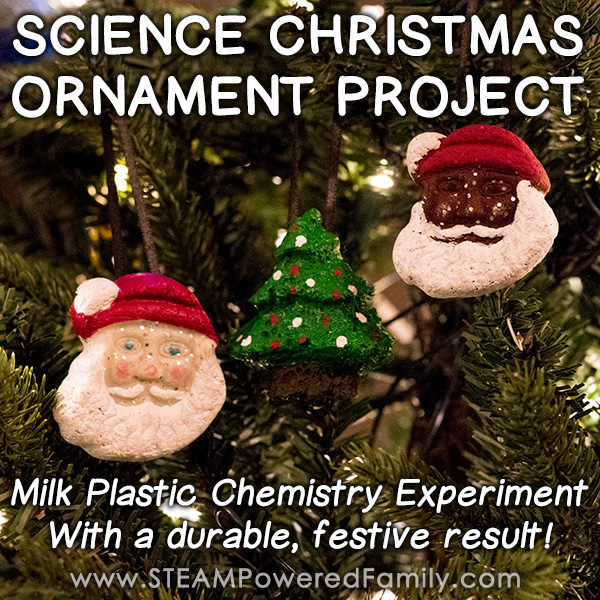
You can paint the final products with either acrylic paints or markers. I used acrylic paints and a sharpie for the faces on mine. Spray them with a clear coat to give them a nice shine once you are finished.
VOILA! Who knew it was so easy, and so much fun, to make plastic from milk!
How Long will Milk Plastic Last?
Our oldest Milk Plastic Toys are over 2 years old now and show no signs of degrading. But we have to be very careful to keep them dry. Why? Because although they are very durable under the right conditions, they are also full compostable!
Breaking Down Milk Plastic
When you are done with your creations, turn it into a science experiment to discover the best method for breaking down milk plastic. Simply set out a bowl of water, a bowl of vinegar, and a bowl of saline solution (salt water). Set some of the pieces in each bowl and compare how they break down to find the best way.
Milk plastic will also break down in a regular compost system within 30 days.
Milk Plastic Chemistry – The Science of How Milk Becomes Plastic
This is a chemistry experiment working with polymers.
Polymers are molecules that have formed a regular chain structure. Milk contains molecules of a protein called Casein. During this reaction between warm milk and acid the casein molecules unfold and form long chains called a polymer. The polymer can be molded and shaped which makes it a plastic. In this case it’s called casein plastic or milk plastic because of the type of molecules that created the plastic.
Learn more in our dedicated resource: What is a Polymer?
Make Milk Plastic Christmas Ornaments
Make Glow In The Dark Milk Plastic
MILK ISN’T THE ONLY WAY TO MAKE PLASTIC
More STEM activities