Learning Ancient Egypt Hieroglyphics
My boys love Ancient Egypt! We’ve been studying and learning all about their civilization, history and discoveries. Jackson in particular is really obsessed with hieroglyphics, so we came up with a cool way to studying hieroglyphics by creating our own cartouche.
Disclaimer: This post contains affiliate links
For our studies in history we are using R.E.A.L. History Odyssey from Pandia Press. It is a teaching spine system and we love the way it is laid out. It is extremely adaptable to our interests and abilities, plus it makes lesson planning so much easier for me!
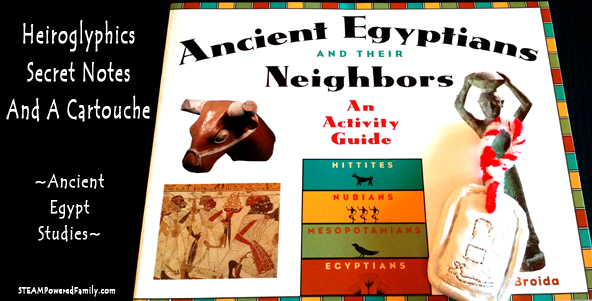
One of the recommended books is Ancient Egyptians and their Neighbors. It’s an activity guide that has already given us some wonderful projects. Who knew learning how the Mesopotamians did math could be so interesting for my math anxious kids?
During our study of Ancient Egypt we started focusing on their written language, hieroglyphics. Jackson has been interested in hieroglyphics since we went to an Indiana Jones and Adventures in Archeology exhibit.
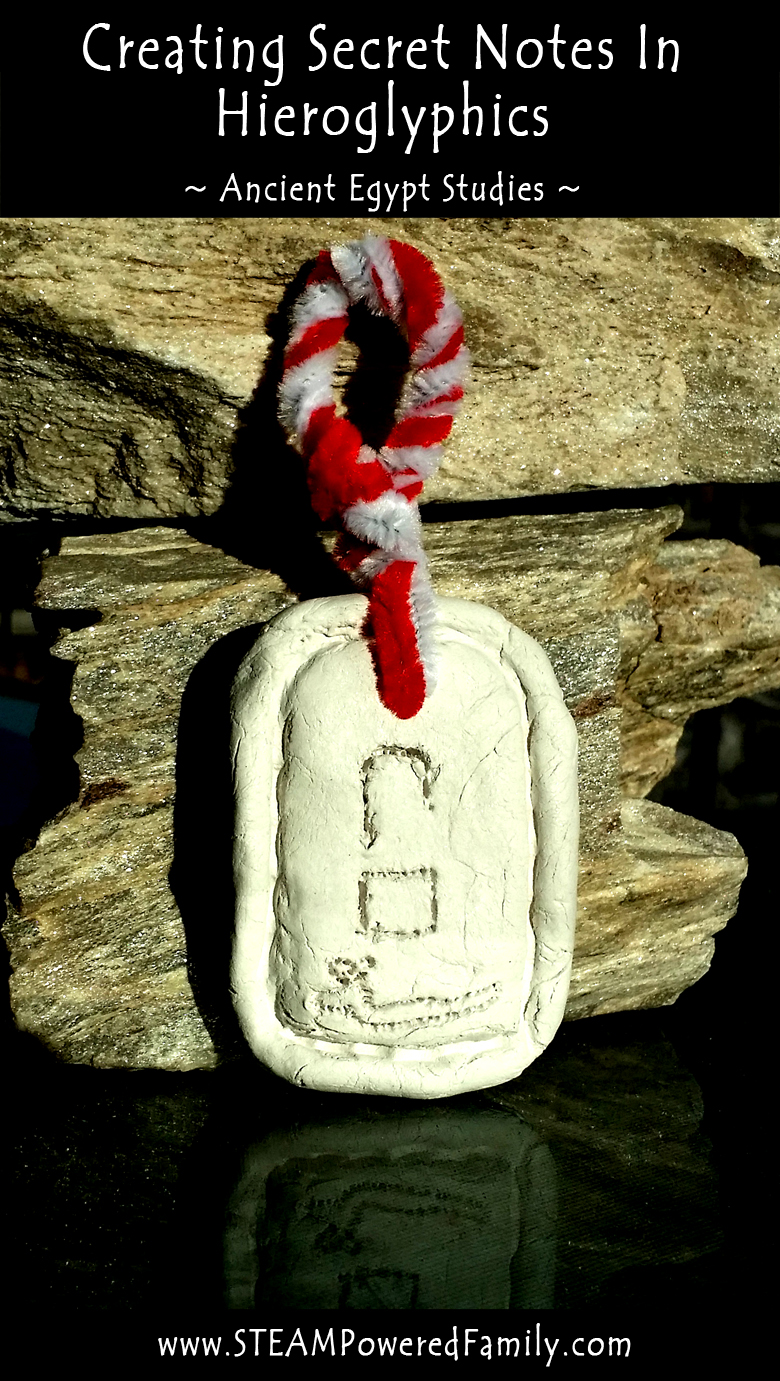
I wanted to tap into this interest so we decided to make a cartouche. A cartouche is an oblong tablet on which hieroglyphics were carved.
This is what you will need to make a cartouche with Ancient Egypt hieroglyphics:
A copy of Ancient Egyptians and their Neighbors (or google for a translation from hieroglyphics to English letters)
DAS Air hardening clay
Toothpicks
Crafting Sticks
Pipe cleaners and/or rope/string/leather lacing
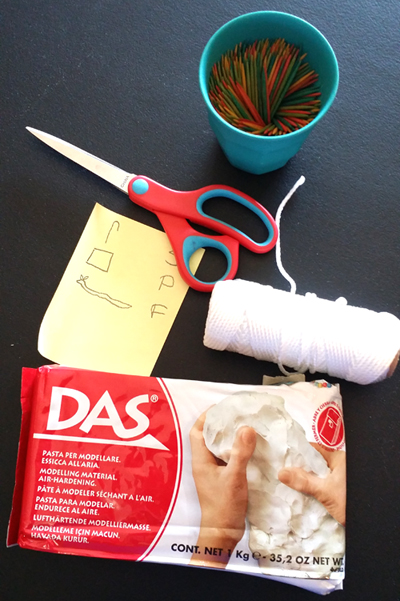
The first thing we did is decide what words or messages we wanted to write. Then we had to translate into hieroglyphics. This wasn’t easy. The Ancient Egyptians didn’t use vowels or even all the same letters as we did, so it took some critical thinking to determine which symbols to use for our messages so they would make sense.
Next we took some clay and rolled and shaped it into our oblong tablet form. We wanted ours to be small enough to wear around our necks.
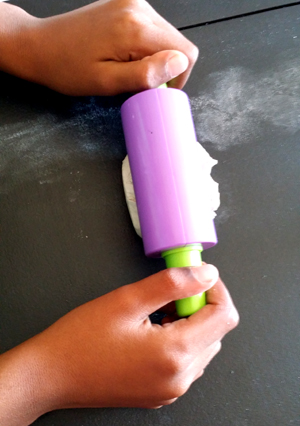
Once shaped we used a toothpick to pierce a hole at the top for our string, then very carefully we poked the toothpick into the clay to create the shapes we needed. With this style you start with the first letter at the top, then go down.
After letting it dry for a few days, it was ready to wear.
Before Ancient Egypt was united as one, it had two separate rulers (Upper and Lower Egypt). One used Red and one used White as their royal colour. When Egypt came under one ruler it was decided to use Red and White as the royal colours to show the unification of Egypt. So we decided to use red and white pipe cleaners as the link at the top of our cartouche. Then to wear it around our necks we simply add some string or thin rope.
Mine says S P F or STEAM Powered Family!
This would be a really fun way to create clues for an Ancient Egypt inspired game or name tags for a toga party. So many cool ways it could be applied.
Happy exploring Ancient Egypt!