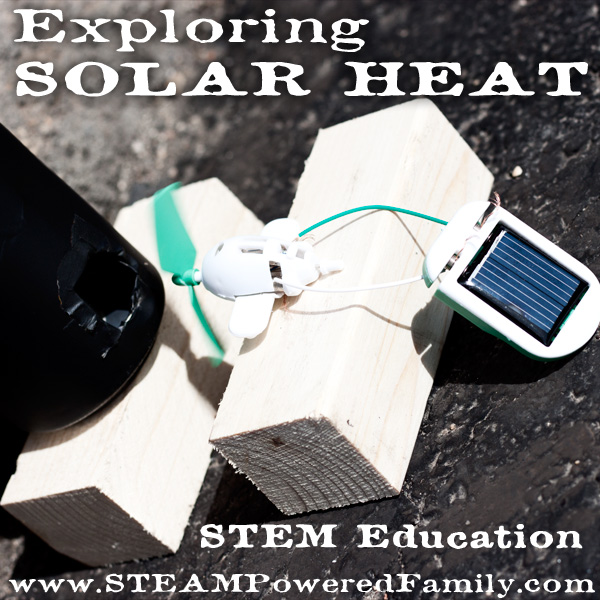
Exploring Solar Heat – STEM Education
Solar heat is all around us. It’s the most natural form of heating our Earth has, so exploring this natural heat source is a perfect STEM education challenge now that spring is in full swing.

Disclaimer: This post contains affiliate links
For all my Northern hemisphere friends, I’m sure you are with me when I say I’m so glad to see winter over and the warmer days of spring arriving! We don’t have much green yet here, but mother nature is teasing us with hints as the leaves start to bud out and the grass takes on a greenish hue. My boys even took off outside with bare feet yesterday! It’s been many, many moons since we were able to do that for even a few moments.
So with all this new found glorious weather, I felt it was time for an experiment I’ve been anxiously waiting to try: building a passive solar heater.
Now it’s a bit early in the year for us way up North. Our sun is not very intense yet, but we were still successful in making this experiment work and we will definitely be revisiting it in a couple of months when we are in the full, intense summer sun.
To explore Solar Heat with this Solar Heat Chimney STEM experiment you will need:
Empty pop (soda) cans – we used 6 in this demonstration but you can scale this up and down to see how it affects your results
Masking tape
Matte black spray paint
Tin snips
Non-contact infrared digital thermometer
Solar powered fan kit – we used this one, it’s cheap and works! You can build a number of things but for this experiment you want to build the propeller plane without the base.
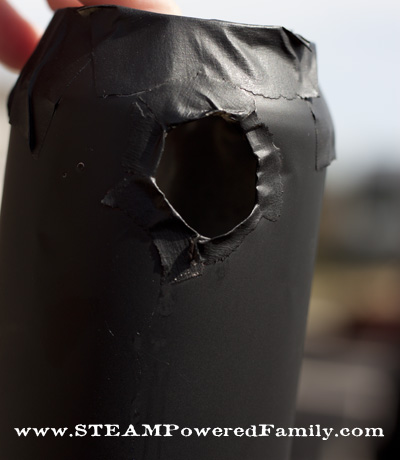
First up, you need to prepare your cans. Wash and dry them, then use the tin snips to create the holes. Use caution, the snips are sharp, and the can will be left with sharp edges. This step requires adult supervision for older kids and only adults should do it if you have younger kids. Use caution and be sensible. Safety comes first.

If you are using 6 cans these are the cuts you need to do:
Can 1 – Hole in the side near the bottom and top.
Can 2, 3, 4, 5 – Hole in the bottom and top.
Can 6 – Hole in the side near the top.
Now stack the cans in order starting with Can 1 on the bottom, ending with Can 6 at the top. Aim the side holes in cans 1 and 6 in opposite directions. Tape them together with the masking tape to secure them. I also recommend taping along the edges of the exposed holes as those edges are sharp.
Using matte black spray paint, paint the entire thing black. If you are feeling creative feel free to decorate your solar chimney once it is dry with a bit of paint or tape, but ensure it stays mostly black. Black will absorb the heat which what we want, lighter colours will reflect the heat and your chimney will not work as well. This could become a cool experiment if you wished!
Our finished black solar heat chimney: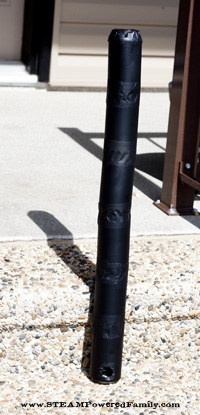
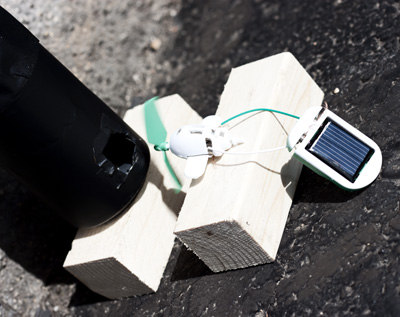
While it is drying, assemble your solar powered fan according to the instructions. The little kit we had was fairly simple to use and inexpensive. It worked beautifully, even in weak sunlight. You could use any small fan if you don’t have a solar powered fan available. Or try it without the fan. The fan simply helps keep air moving through the system.
Once everything is dry and assembled take your unit somewhere in the direct sun. You can do this outside if it’s not windy, or you can do it inside if the wind is too much. Wind is not your friend with this experiment and it will mess with your readings. Pick a calm day if possible with lots of bright, intense sunlight.
Place the fan so it is blowing into the bottom hole and let it sit for a few minutes.
After about 5 minutes take a reading with the handheld digital temperature gauge at the entrance and at the exit. Note the differences.
Wait another 5 minutes and take another reading. How much did the temperatures vary from your first reading?
Now try placing your fan at the exit vent, and position it so it is pulling air out of the chimney. How does that change your results?
You can also take away the fan completely, let it sit for a few minutes and repeat your readings. We wondered if the fan was cooling off the entrance too much, but we found that wasn’t true.
Since we are in Canada our readings are in Celsius. We recorded differences of 5 to 10 degrees between the top and bottom of our chimney.
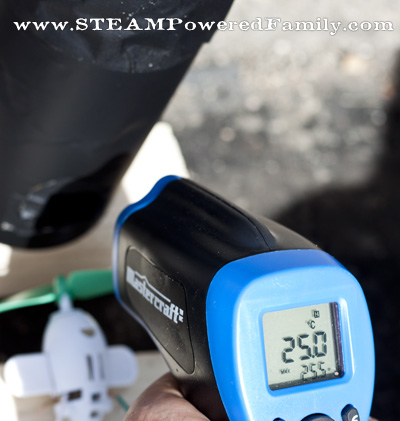
The air going in was reading 25 degrees, but the air coming out of the top was 30 degrees!

So what’s happening with our solar heat chimney? The sun’s energy is hitting the chimney and through a process called convection, the energy is transferred to the air the inside the chimney. This heats the molecules in the air. What does that mean? The high energy from the sun is transferred to the low energy molecules in the cool air inside the chimney. This makes the molecules move more rapidly as their energy increases. We refer to this energy as heat. Hot air rises to the top of chimney and escapes through the top vent. Applying a fan to the bottom of the chimney helps to push the air through the chimney and out the top vent.
You can build on this experiment even further by making the unit bigger, stacking more chimney units side by side (and linking them with side holes), or try different colours and see how that affects your readings. This little exercise is a great introduction to solar heat and is sure to ignite curiosity and get your little STEMists creating bigger and better solar STEM challenges.