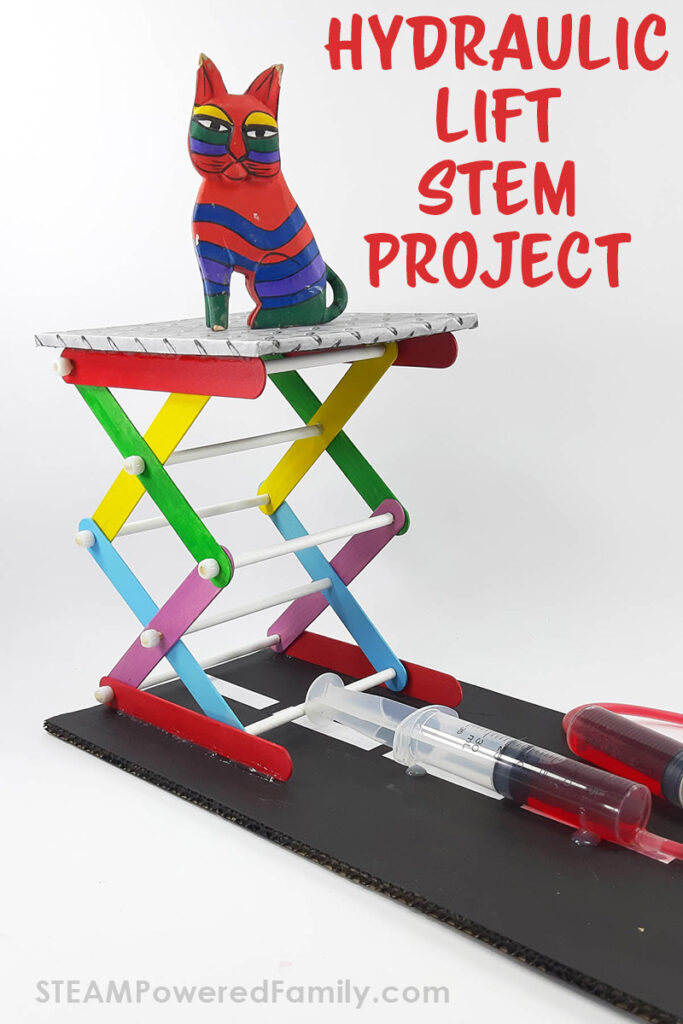
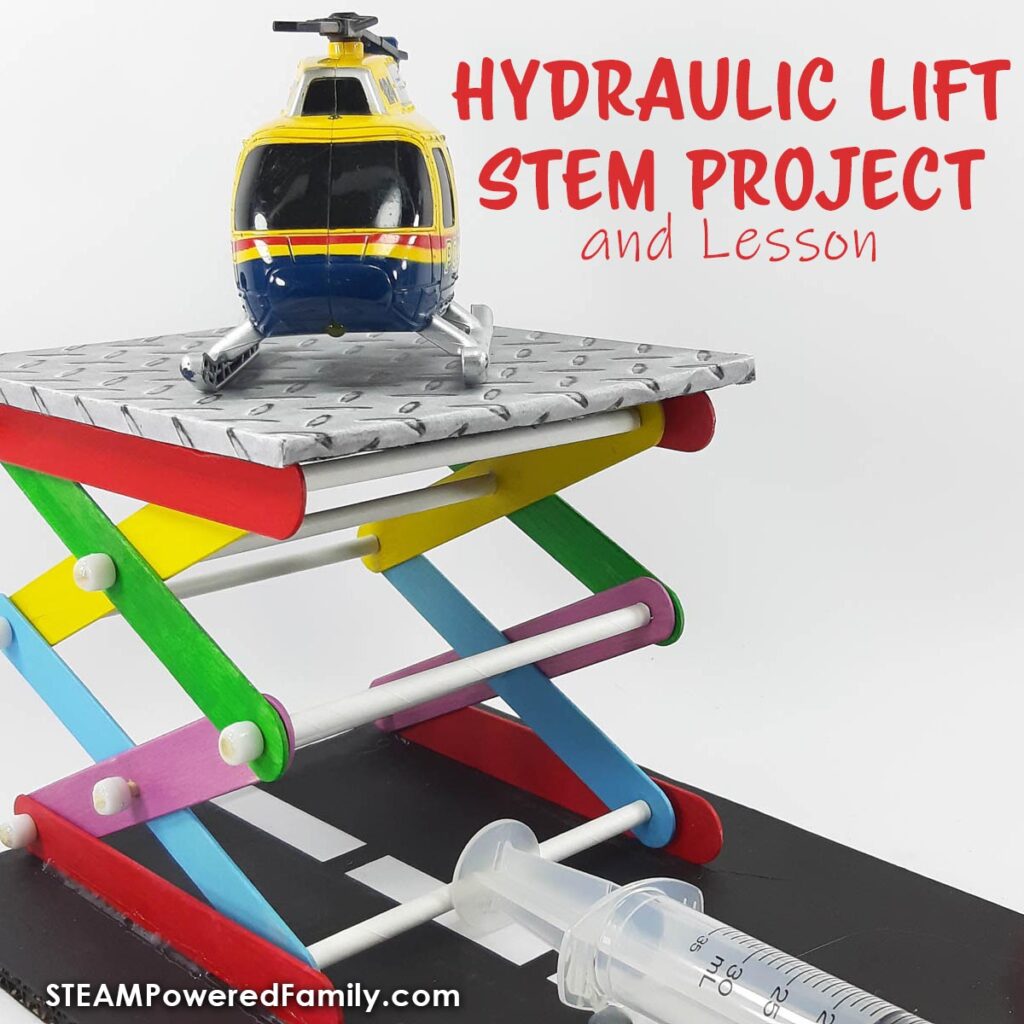
Hydraulic Lift STEM Project
Going up? Learn the science and engineering behind hydraulic lifts, then start building as you construct a fully functional hydraulic scissor lift. Have students test to see how much weight it can lift and how high it can go, then explore design changes that make the lift stronger. This hydraulics STEM project is a fantastic project for learning engineering and physics.
HYDRAULIC LIFT ENGINEERING CHALLENGE
Table of Contents
Disclaimer: This article may contain commission, paid partnerships, or affiliate links. We independently review everything we recommend. When you buy through our links, we may earn a commission from qualifying purchases.
Pascal’s Law
You brush your teeth every day, but have you ever wondered what the scientific process is to get the toothpaste out of the tube? Let’s take a closer look. Toothpaste is quite a thick substance that is incompressible and enclosed in a tube with a very small opening, so you must squeeze the tube with a bit of pressure to get it through this open end. Pressure is distributed equally through the toothpaste and forces the toothpaste out of the tube when it reaches the opening. This process is called Pascal’s Law which is the basics of Hydraulics.
In 1648, Blaise Pascal realized that fluids exerted an equal force in every direction.
Pascal’s Law states that: a pressure change at any point in a confined incompressible fluid is transmitted throughout the fluid such that the same change occurs everywhere.
He claimed that it would be one day possible to channel the forces of the liquid to our advantage. It would take about 200 years before this would happen, but we now see hydraulics used all around us.
What is a Hydraulic Lift?
There are six types of simple machines. Three of them, the lever, pulley, wheel, and axle, are very useful to engineers, as they make moving and lifting heavy objects easier, just like using a wheelbarrow to move heavy objects from one point to another. Lifting the wheelbarrow by its handles makes the job a breeze.
Hydraulic Lifts make it even easier to do the same task. A hydraulic lift is a machine that uses a force on either water or oil in a piston to make moving heavy objects effortless.
There are many examples of hydraulic lifts around us, like the elevator, the dentist’s chair, cranes, and the brakes in a vehicle.
A hydraulic system applies force to an incompressible liquid at one end of a pipe through a piston, which sends the fluid through the tube to another piston. The energy generated depends on the size of the pistons.
Build a Hydraulic Lift Model
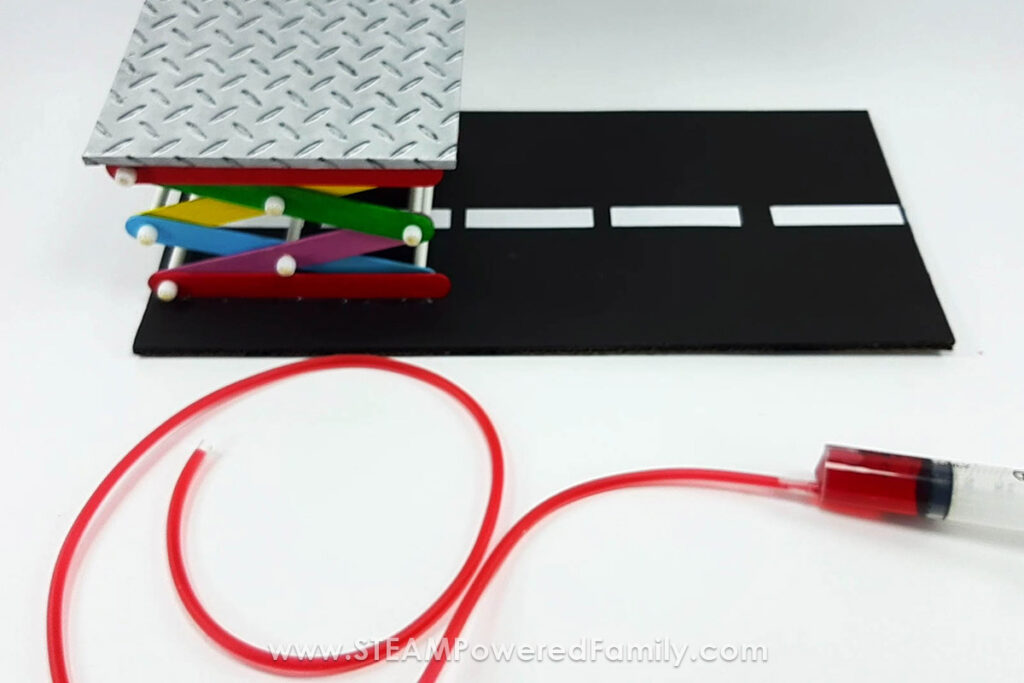
In this project, you will build a hydraulic lift using two syringes, a length of medical tubing, and colored water to make the lift move up and down. As there are many types of hydraulic lifts, the one you are going to make is a Hydraulic Scissor Lift. It’s called a scissor lift because its legs are a crisscross design. The length of the legs determines the height that the platform on the top of the lift might reach. The legs pull together when lifting objects and extend further apart when returning to their starting position.
DIY Hydraulic Scissor Lift Activity Video
Check out the video tutorial to see us building this cool hydraulic’s project. If you can’t see the video, please turn off your adblockers as they also block our video feed. Alternatively, you can find this and other videos on the STEAM Powered Family YouTube Channel.
How to make a Hydraulic Scissor Lift
First we need to gather up some supplies and tools.
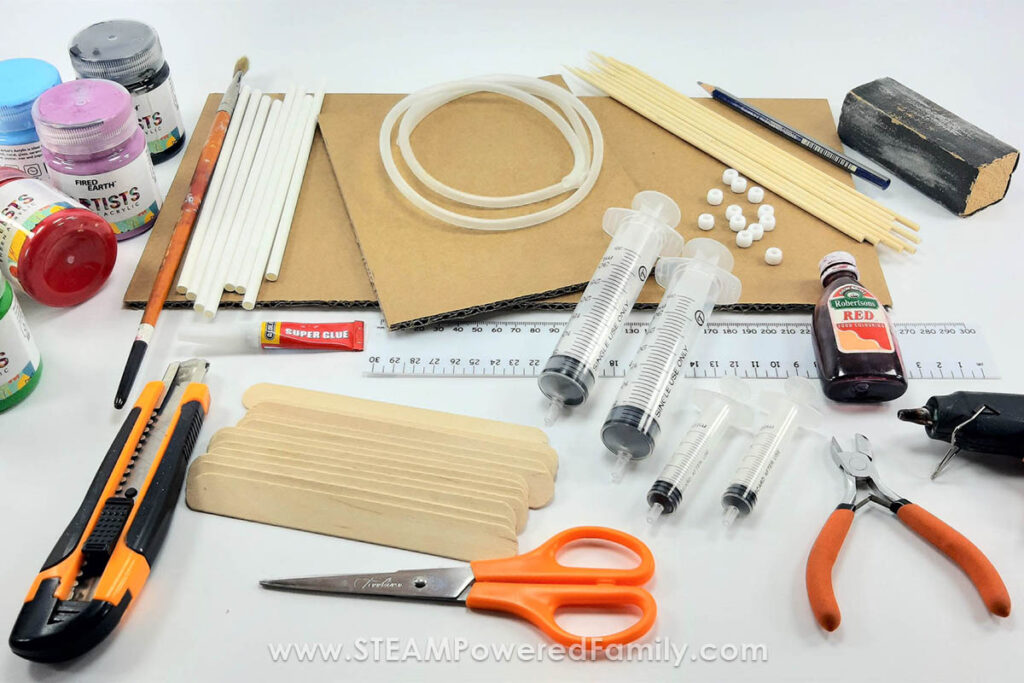
Materials & Tools
Double-wall cardboard
12 wooden tongue depressors or jumbo craft sticks
2 x 30cc/ml syringes
2 X 5cc/ml syringes
1m/39¼ inches of medical tubing
Glue gun
Super glue
Ruler
Scissors
Pencil or marker
Hobby knife
Side-cutter pliers or wire cutters
Paper straws
Eight wooden skewers
12 pony beads
Sanding block
Food coloring (any color)
Acrylic paint
Paint brush
Toys for testing the Hydraulic Lift
Access the Metal Plate Template Printable
Want to make your project look just like ours? You can grab the Metal Plate image as a member of the STEAM Powered Family mailing list. Simply enter your email into this form.
Hydraulic Scissors Lift DIY Directions
Start by getting the pieces ready.
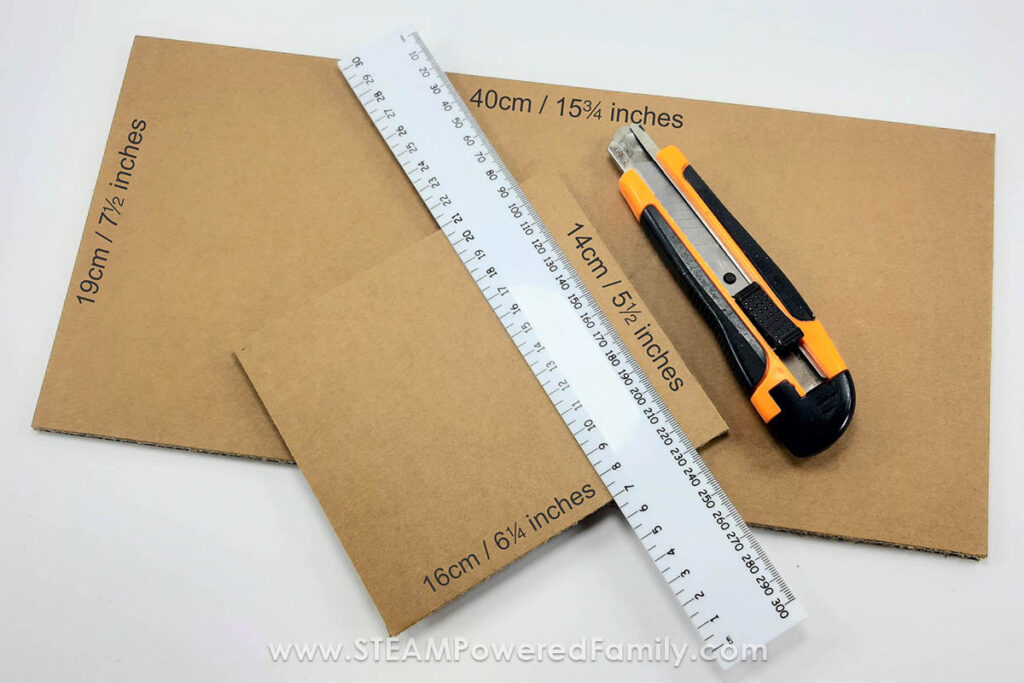
Measure and cut the two pieces of double-wall cardboard you will need:
19cm (7½ inches) X 40cm (15¾ inches)
14cm (5½ inches) X 16cm (6¼ inches)
Paint the larger piece of cardboard black and use white stickers or white paper to make the lines on the road.
Cover one side of the smaller piece of cardboard with a metal plate image, or you can paint it as well.
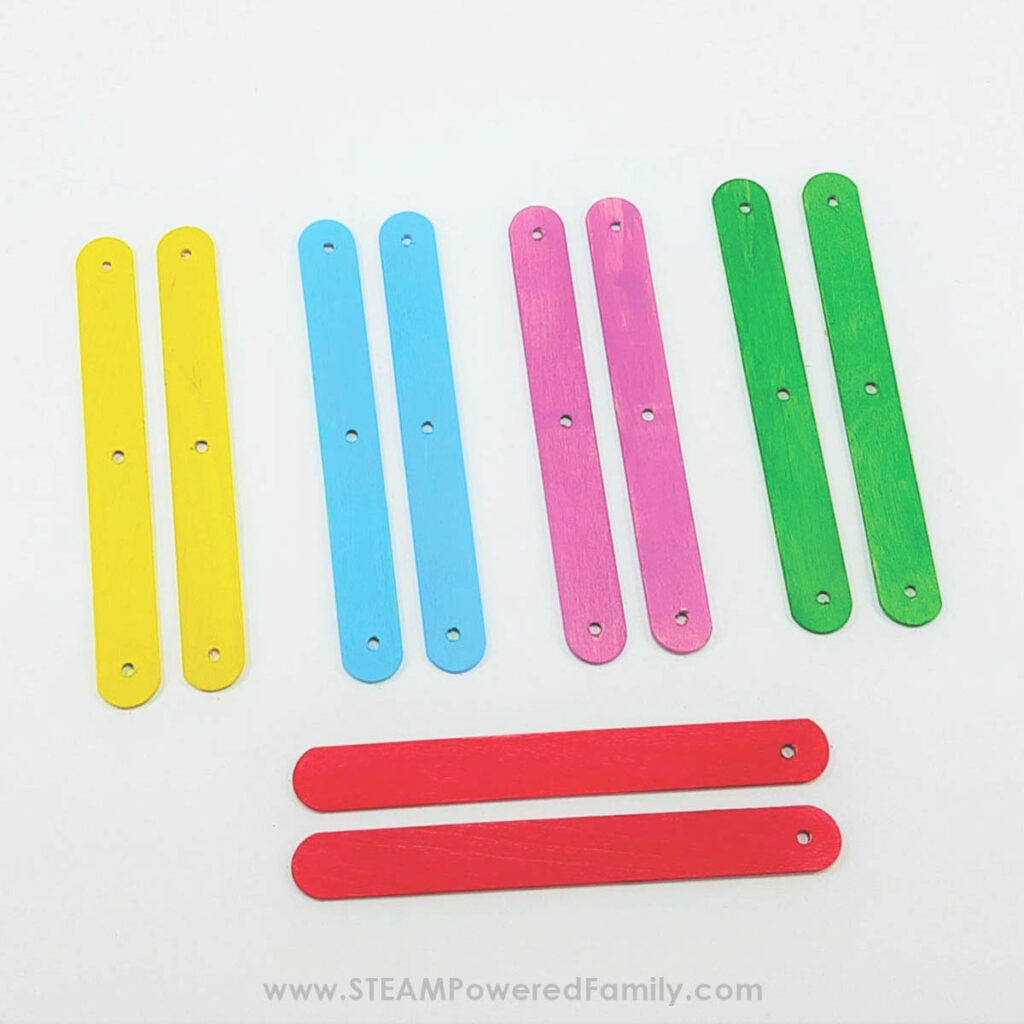
Drill holes in the tongue depressors/lollipop sticks and paint them as indicated below:
PRO TIPS!
Do not apply too much pressure when drilling, as the sticks snap easily.
Ensure you drill holes large enough for the wooden skewers to fit through easily but snugly. You may need an adult to help you drill the holes.
Mark & cut eight straws to a length of 11.5cm (4½ inches) each.
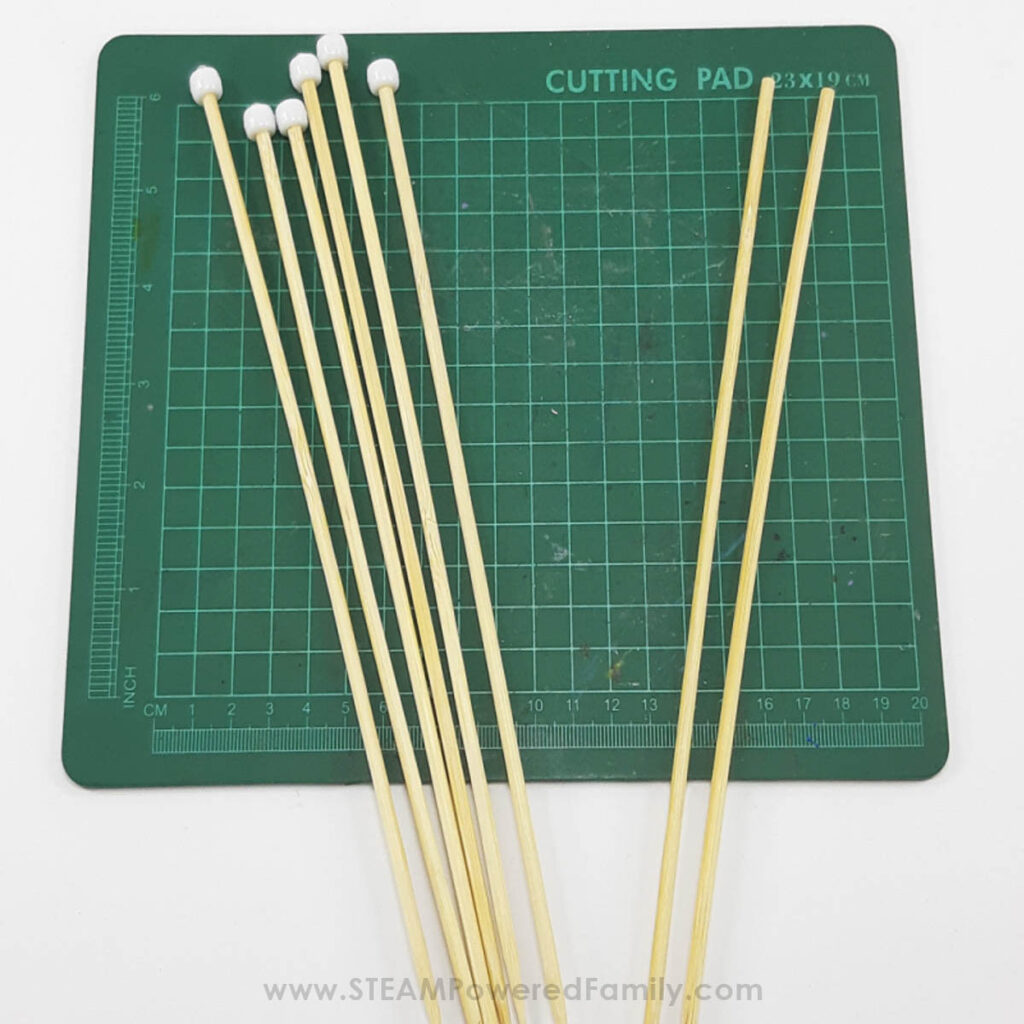
Glue the pony beads onto six wooden skewers’ flat sides with the glue gun.
Putting the Hydraulic Scissor Lift together
The first side: Push the wooden skewers with the pony beads on one end onto the tongue depressors and place the straws as indicated below:
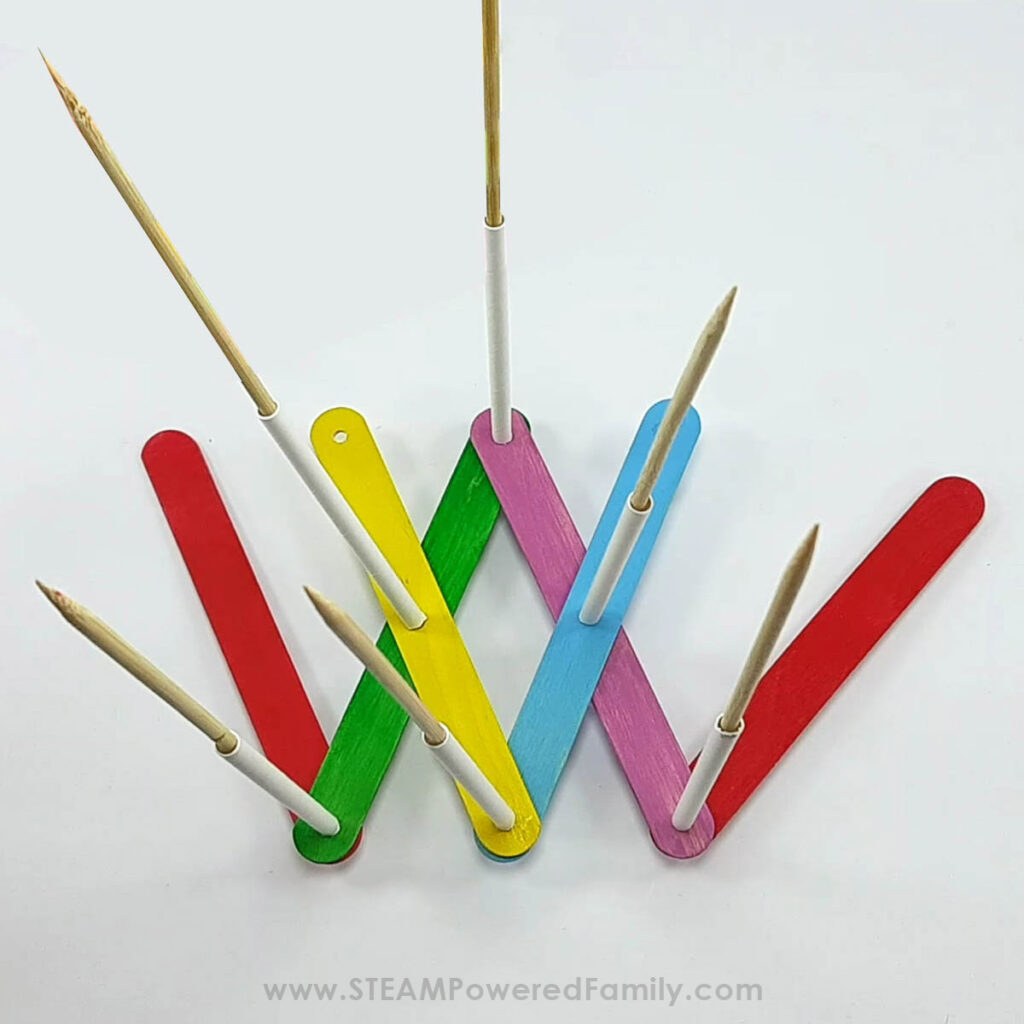
The second side: Place the rest of the tongue depressors and pony beads onto the sticks as indicated below:
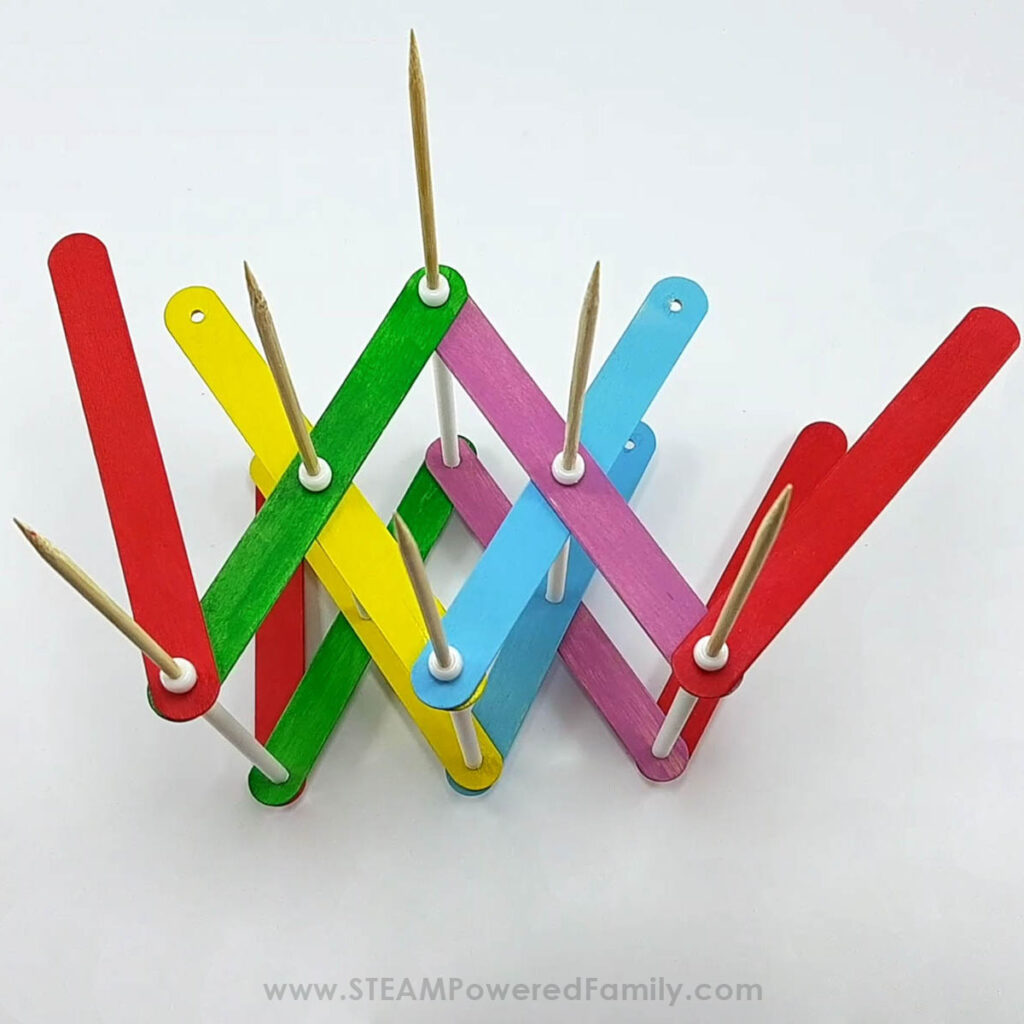
Once you are sure everything is in the correct place, cut the wooden skewers flush with the pony beads with the side-cutters and glue the pony beads in place.
PRO TIPS!
Correcting the tongue depressors placement is vital to get the scissor lift to work smoothly. I chose to paint them different colors to see the order more clearly. Check that the straws turn quickly and that the scissor mechanism works smoothly before putting glue on the pony beads.
You will notice two wooden skewers left and four tongue depressors with empty holes. These are for the inner legs that help the scissor lift move up and down.
Make a mark on the pointed end just past the point and make them 11,5cm (4½ inches) in length.
Push the skewer through the holes on the yellow sticks and trim (flush with the tongue depressor) with the side cutters on the marks you just made. Don’t forget to put the straw onto the skewer before gluing.
You may need the sanding block to sand the edge flat. Glue the sticks on the outer side with Super Glue. You can put a little hot glue onto the outer sides if you want to.
Do the same on the other side of the blue tongue depressors.
The scissor lift mechanism is now ready!
Finishing the scissor lift
Get the “road” and “metal plate” pieces you prepared.
On the underside of the “metal plate,” make marks with a pencil and ruler, 1cm (approx. ¼ inch) from each edge of the longer sides, and draw a line.
Put a line of hot glue onto each side and stick the red tongue depressors of the mechanism down on either side.
Reinforce each side with a bit of hot glue along the outside of the red tongue depressors.
Turn the hydraulic mechanism right side up and place it onto the “road” on one end.
Make marks with a pencil and ruler, 3,5cm (approx. 1½ inches) from each edge of the longer sides, and draw a line. You can also put the mechanism in place and make lines along the
outside of the red tongue depressors with a pencil for the placement of the mechanism.
Put a line of hot glue onto each side and stick the red tongue depressors of the mechanism and metal plate down on either side.
Put a line of hot glue onto each side and stick the red tongue depressors of the mechanism down on either side.
Test the movement of the mechanism. It should move smoothly.
Get ready for the magic of Hydraulics
Add a few drops of food coloring to a glass of water. Stir.
Get the two 30cc/ml syringes and fill both to the 30cc/ml mark with the colored water.
Attach the medical tubing to one of the syringes. (I had to use hot glue as the tube was slightly loose on the syringe tip).
Place the tube flat on a table and push the liquid slowly through the tube to just before the end, as shown below). Put this end onto the other syringe and gently push the fluid from one syringe into the other.
PRO TIPS!
There must be no air bubbles in the syringes & tubing. If there are any air bubbles, remove the tube from one of the syringes and push some of the water out of the syringe and tube; place the end of the tube back into the glass and refill the syringe to the 30cc/ml mark and reattach to the other syringe.
Please ensure the mechanism is at its lowest position and hot glue the end of the syringe to the straw on the blue (or yellow, depending on which side is facing out on your mechanism) tongue depressor.
Hot glue the front end of the syringe to the “road.”
YOUR HYDRAULIC SCISSOR LIFT IS READY!
It’s time to put it into action to see how it works.
Now let’s chat more about the science!
HOW DO HYDRAULICS WORK?
The force generated in a hydraulic system depends on the size of the pistons. In this model you built, the pistons are the syringes.
If you attach a large syringe to the hydraulic lift and a small syringe to the other end, the smaller syringe, which is the input force, it will result in a greater output force, pushing the lift with greater force and less effort. This is because the force in the smaller syringe is applied onto a smaller area. The smaller area being the small plunger tip, thus creating more pressure in the smaller syringe. In a larger syringe, the same force would be exerted over a larger area, resulting in less pressure.
So go ahead, change the syringes around and test this theory!
Get a few toys with different weights, and place them on the “metal plate,” one at a time to see how high the lift can go.
Do the different weights of all the toys affect the heights the lift can reach?
You can also test it with either two smaller syringes or one small and one large syringe.
What difference do the different size syringes make?
This model can be used to demonstrate hydraulic lift at a science fair, or you can design your model. Use your imagination to create an incredible model showing a hydraulic lift.
DIFFERENT TYPES OF HYDRAULIC LIFTS
Hydraulic lifts have become a necessary part of many different industries, from helping patients in and out of bed to specially designed lifts to help the disabled get into a car. There have been many kinds of hydraulic lifts designed over the years.
Table and platform lifts help move items from the floor to a workable level. Transportation companies use them to lift materials onto a truck bed or warehouse floor.
Personnel lifts safely lift people to various heights for work or moving materials, such as to reach electrical lines for repair and to replace the stock on a shelf.
Forklifts help move materials at construction sites, warehouses, factories, and loading and unloading trucks and airplanes.
Medical lifts are lifting devices for surgical tables, hospital beds, and other hospital equipment. The height of hospital beds is easy to adjust and lift the back or front up and down to make it more comfortable for the patient or easier for hospital staff to do their jobs more efficiently.
Automotive lifts lift vehicles for repair and inspection, and are extremely strong.
The strongest hydraulic crane in the world belongs to China’s Yantai Raffles Shipyard. Known as Taisun, the fixed dual-beam gantry crane has hoisted a record-setting 20,133 metric tons. That’s more than 98 Statues of Liberty put together.