Easy DIY Rainbow Soap Making Project
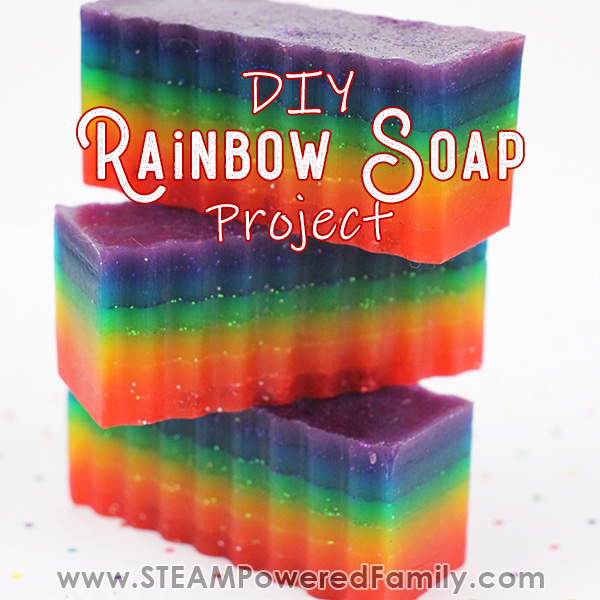
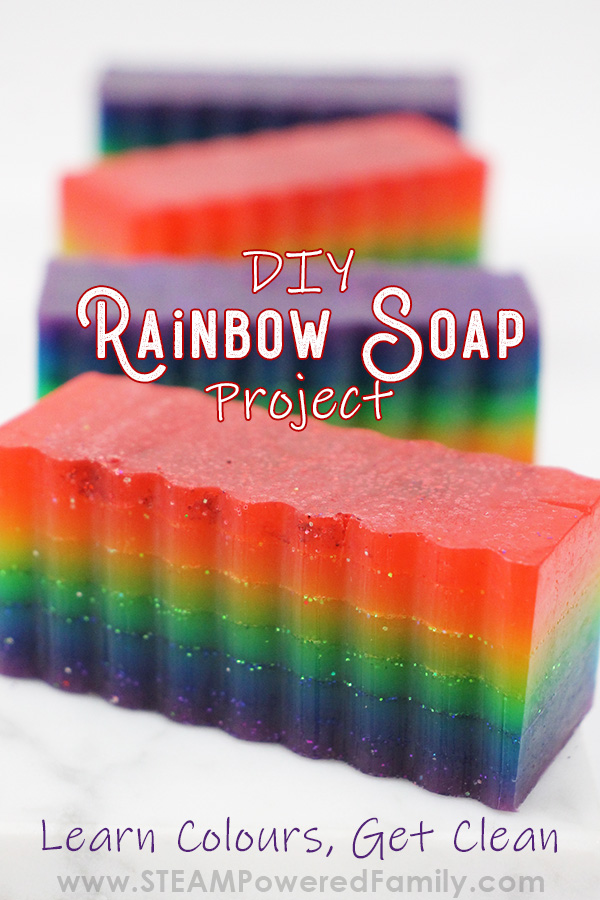
Making soap is a wonderful project to do with kids. It is incredibly easy and the results are consummable, so it won’t end up in the pile of craft projects, adding to the clutter in your life. Plus, if you make it educational, your kids will love reciting what they learned as they wash their hands. We’ve done this with our Layers of the Earth Soap, Unicorn Horn Soap and now we have Rainbow Soap so your kids can learn their colours!
Disclaimer: This article may contain commission or affiliate links. As an Amazon Influencer I earn from qualifying purchases.
Not seeing our videos? Turn off any adblockers to ensure our video feed can be seen. Or visit our YouTube channel to see if the video has been uploaded there. We are slowly uploading our archives. Thanks!
Who doesn’t love rainbows? They are these colourful, magical entities that appear in the skies with little warning, disappearing just as fast.
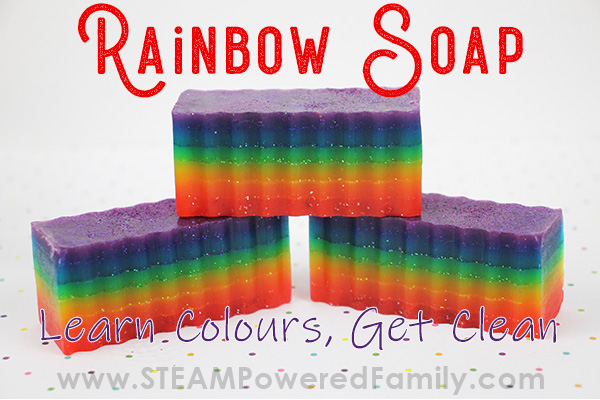
This is a wonderful project to do with a group of kids in a classroom, camp or after school program. One brick of soap will make approximately 10 rainbow soap slices. The soap makes a wonderful gift as well!
THE COLOURS OF THE RAINBOW
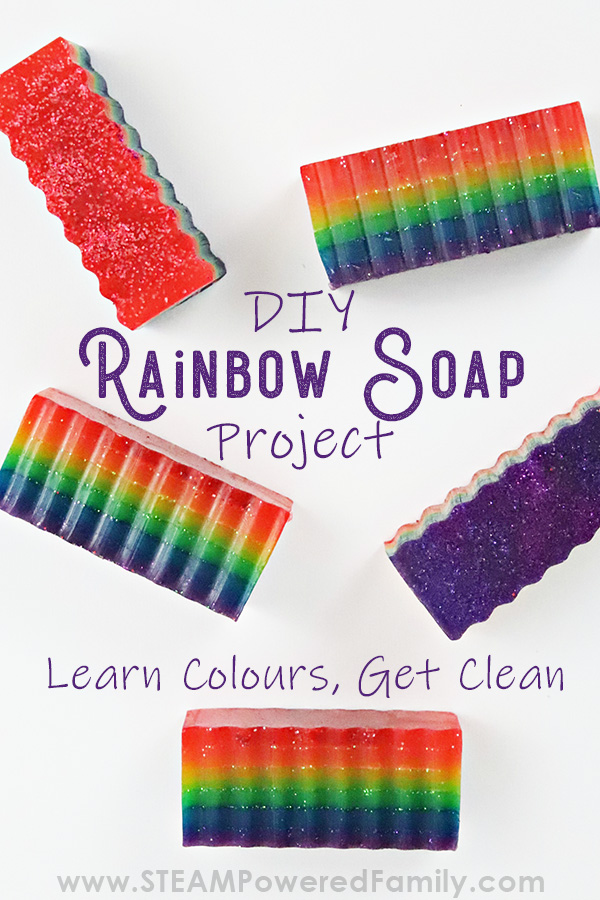
One of the earliest things my kids learned was the colours of the rainbow. Red – Orange, Yellow – Green – Blue – Purple.
Although I grew up with the acronym ROY G BIV which stands for Red – Orange, Yellow – Green – Blue – Indigo – Violet, sometimes it is nice to simplify it and just use purple at the end. Feel free to add an extra layer and do Indigo and Violet in this soap project if you wish.
LEARNING COLOUR THEORY
Once kids have learned the colours of the rainbow, it provides a great opportunity to start exploring colour blending (what happens when we mix colours). You can also explore primary and secondary colours. All within the rainbow!
Red, Yellow and Blue are primary colours.
Orange, Green and Purple are secondary colours.
But want to see something cool? Show your kids how knowing the order of the colours of the rainbow will teach them what happens when primary colours are mixed.
Red and Yellow mixed together produce orange (which is right in between them in the rainbow).
Yellow and Blue create Green (which again is found right in between).
Then Blue and Red make Purple!
Kids are going to love seeing how all the colours in the rainbow work together.
DIY RAINBOW SOAP
Making soap is fantastically easy and beautiful. Plus it doesn’t create unnecessary clutter. Kids will proudly show off their soaps and tell you all about what they have learned. Then each time they use the soap they made with their own hands, they will naturally think through their lessons helping commit those details to permanent, long term memory.
We discovered this amazing educational benefit when we made our Layers of the Earth Soap and our Layers of the Ocean Soap, again when we made Unicorn Soap (as part of a book study of Unicorns and Germs), and now we have Rainbow Soap!
RAINBOW SOAP SUPPLIES
To make rainbow soap with your kids you will need:
1 pound melt and pour clear soap cut into cubes
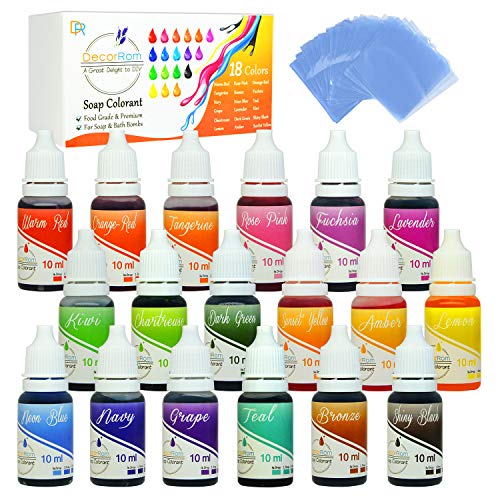
1-2 drops each of red, orange, yellow, green, blue and purple soap coloring
Lavender and eucalyptus essential oil
Red, Orange, Yellow, Green, Blue, & Violet cosmetic glitter*
Spray bottle of rubbing alcohol
Soap Mold and cutting tool
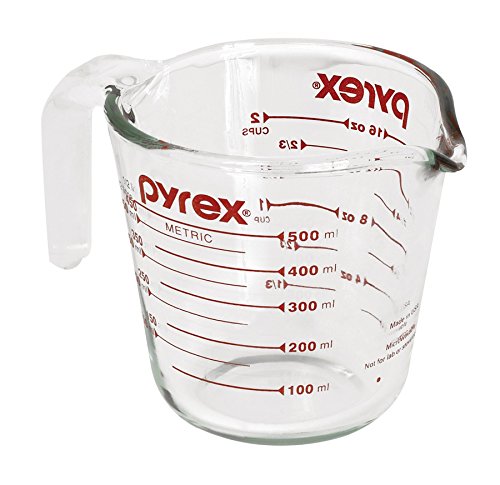
6 microwave safe bowls or measuring cups
*A note on glitter – We wanted to capture the magical qualities of a rainbow as it sparkles under the sun. To do this we use glitter in this soap recipe. Ensure you use a cosmetic glitter and if you want to be kind to our environment choose a biodegradable glitter. Or leave it out completely. It will not impact the recipe. Click on the images below to explore your options.
HOW TO MAKE RAINBOW SOAP
How to make Rainbow Soap
- Start with the Red Layer
Add 8 cubes of the soap base into a microwave safe bowl. Add 1 or 2 drops of each essential oil into the container. Melt the soap cubes in 30 second intervals, stirring between each cycle until completely melted. Add 1 or 2 drops of red soap coloring, stir. Add more until the desired color is achieved. Because you are using a clear soap base, you may need to add a few more drops to get the color you want. Add the red cosmetic glitter into container. Mix.
- Start Filling The Mold
Spray the soap mold with rubbing alcohol, then pour the red soap mix into the mold. Spray the top of the soap with the rubbing alcohol. The rubbing alcohol helps to prevent air bubbles forming in your soap. Allow the red layer to dry completely before adding next layer. If you blow on the soap and you see ripples, the soap is not hard enough for the next layer. This can take anywhere from 20 to 45 minutes.
- Next the Orange Layer
Repeat the same steps from the red layer, but use orange soap colourant and orange glitter. Before adding it to the mold, spray the red layer with rubbing alcohol, then pour in the orange mix. Finally, spray the top of the orange layer with rubbing alcohol again. Let set completely.
- Yellow Layer
Repeat the steps again, but use yellow soap colourant and glitter. Before adding it to the mold, spray the orange layer with rubbing alcohol, the pour in the yellow mix. Spray the top of the yellow layer with rubbing alcohol. Remember the rubbing alcohol helps prevent bubbles forming in your soap!. Let set.
- Green Layer
Repeat everything again but with the green soap colour and green glitter. Don’t forget that rubbing alcohol! And remember to let it set completely, if you don’t let it set completely before adding your next layer you will get bleeding through of your layers and not have nice crisp colour lines in your soap.
- Blue Layer
Ditto with blue… I’m sure you’ve got it by now!
- Purple Layer
Finally, last layer! Do everything again but this time with purple. Spray the top when you are finished with rubbing alcohol.
- Let Set
Now let the whole thing sit for a day to ensure it is completely hardened. Overnight might be sufficient, but I like to go for an entire day just to be sure.
- Cut your Rainbow Soaps
The final stage is to gently remove your soap block from the mold (once it is hardened) and set it on a cutting board. Using the cutting tool that came with the soap mold, slice the soap into approximately 1 inch wide pieces. You can use the wavy or straight cutter. I prefer wavy but that’s just because I think it looks cooler.
- Storing
If you need to store your rainbow soaps or want to wrap them up for your kids to take home, simply put them in an airtight container, in a plastic bag, or wrap them in wax paper. Tie them with a bow if you want to make them festive for gifting!
Check out this video of us making Rainbow soap


