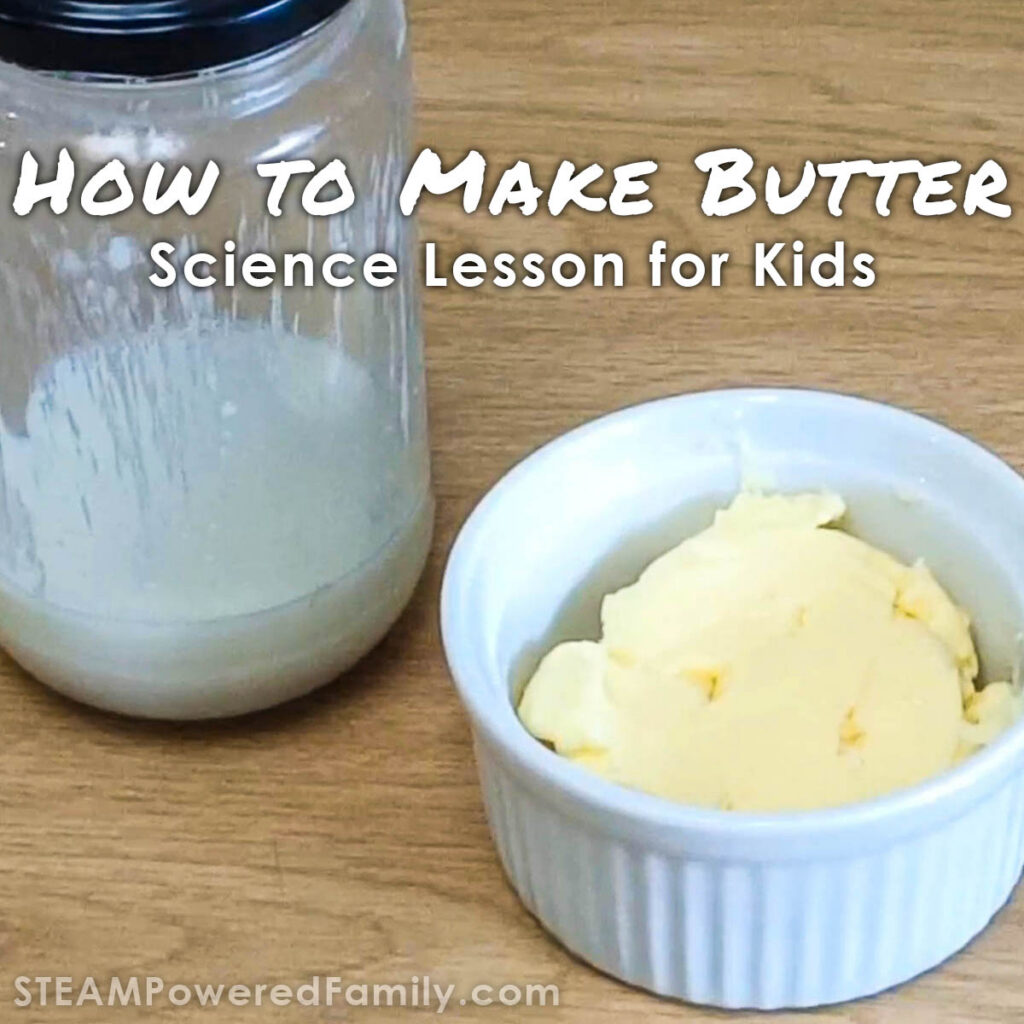

How to Make Butter in a Jar
Get ready to shake things up, literally! Making butter in a jar isn’t just a fun throwback to simpler times, it’s a hands-on kitchen science experiment that’s perfect for curious kids. With nothing more than cream, a jar, and a little elbow grease, students get to explore states of matter, physical change, emulsification and cause and effect, all while building patience, coordination, and a real appreciation for where food comes from. Whether you’re homeschooling, planning a classroom science activity, or just looking for a fun, educational afternoon project, this butter-making adventure blends science, sensory exploration, and life skills into one delicious lesson.
Making Butter with Kids Science Lesson
Table of Contents

Disclaimer: This article may contain commission, paid partnerships, or affiliate links. We independently review everything we recommend. When you buy through our links, we may earn a commission from qualifying purchases.
Did you know you can make butter just by shaking some cream in a jar?
With a little science and muscle power, kids can make creamy, delicious butter. It’s a fun kitchen science experiment that your classroom will love to eat when you’re done. We highly recommend pairing this butter making activity, with a bread making science lesson. Nothing beats warm homemade bread with homemade butter!
Science of Butter
Before we get shaking, let’s look at what butter is so you can build your science lesson for your classroom.
Butter is made primarily from cream, which is the fatty part of milk. When the cream is churned (or shaken in this project), the fat separates from the liquid (buttermilk), forming butter. This process is called emulsification.
What’s in Butter?
Butter is made up of about 80% milk fat which gives butter its rich texture and flavour.
It also has about 17% water. This water is also known as buttermilk.
Milk sugar, proteins and minerals, which are also known as milk solids, make up the remaining 3% of what is in the butter and give the butter some of its flavor too. Salt is also sometimes added to butter for extra flavor.
Now that you know what is in butter, get ready to: Shake, shake, SHAKE! And watch cream turn into whipped cream… And then into real, tasty BUTTER!
Teacher Tip: This is a very physical activity that is going to exhaust your kids. We recommend getting your whole class involved. Have everyone in a circle. Depending on how big your group is, you may want to have multiple jars ready to shake. Have each of the kids shake for a set amount of time (10 – 30 seconds depending on their age and ability), then pass it onto their neighbor to continue shaking. Turn butter making into a team building activity in your class!
How to Make Butter Video Tutorial
Watch how quick and fun it is to make homemade butter in a jar with your kids. If you can’t see our video below, you can watch it on the STEAM Powered Family YouTube channel.
Butter Making Supplies
125ml fresh cream
¼ tsp salt (optional if you want salted butter)
Measuring spoons
Glass bowl
Strainer
Glass jar
Jug of water
All the muscle power you can find!
How To Make Butter
Pour the cream into the jar, filling to just under half.
Close the jar and get ready to shake. Make sure that you have both of your hands securely around the jar and shake the jar up and down for about 6 minutes with the lid of the jar facing upwards. Set a timer so you don’t lose track of time.
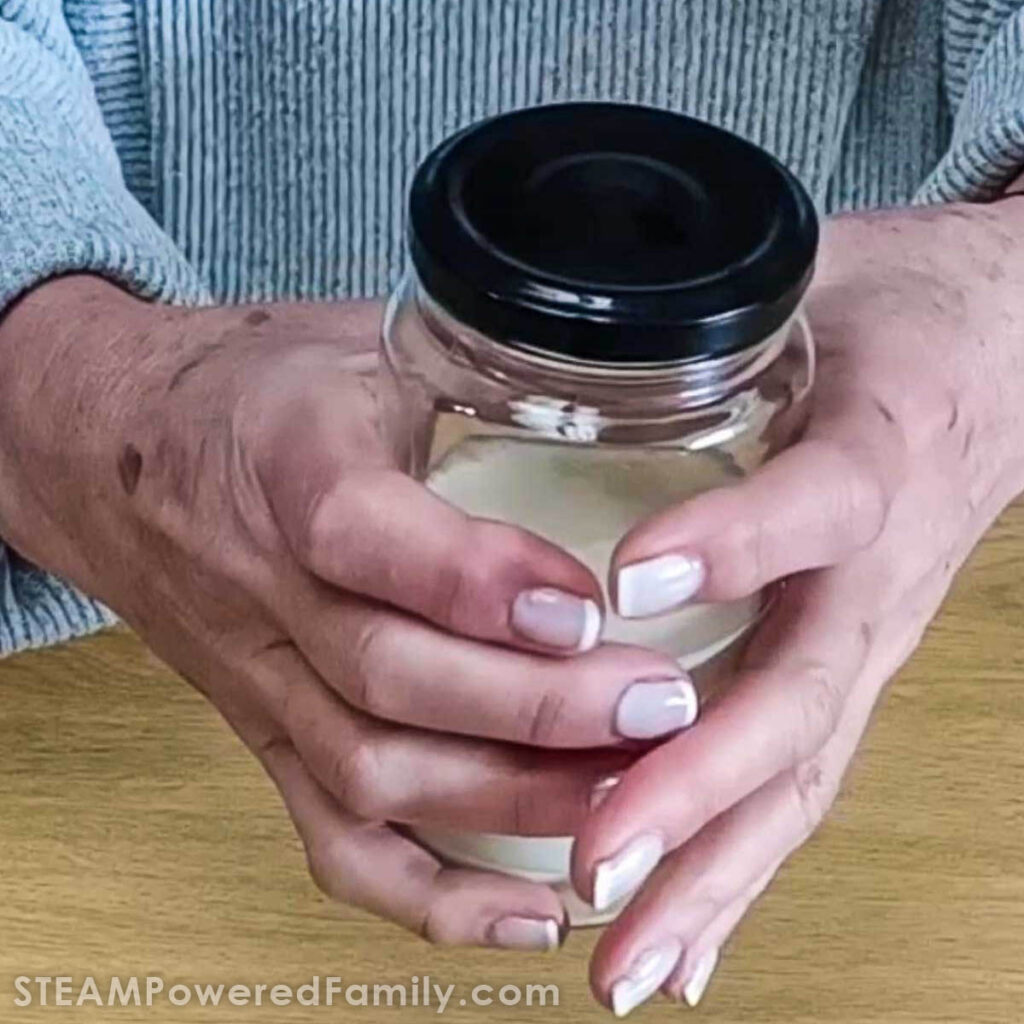
After 6 minutes, open the jar to see if it is getting thicker. This is a great moment for kids to see how it is changing thanks to all of their hard work!
Close the jar and shake for another 3 minutes.
Keep Shaking!
It should look like thick cream. If it is still runny, shake it for another 3 minutes and check again. Keep doing this until the cream is thick.
If it looks like thick cream, keep shaking (for about 4 minutes) until the cream turns into a ball of butter rolling around in milky water. You can hear the ball of butter knocking against the walls of the jar.
Once you hit this stage, empty the contents of the jar into a glass bowl over a strainer to drain all the liquid from the butter. Empty the liquid (called buttermilk) into a separate container. It can be used for baking or cooking, and can be stored in the fridge.
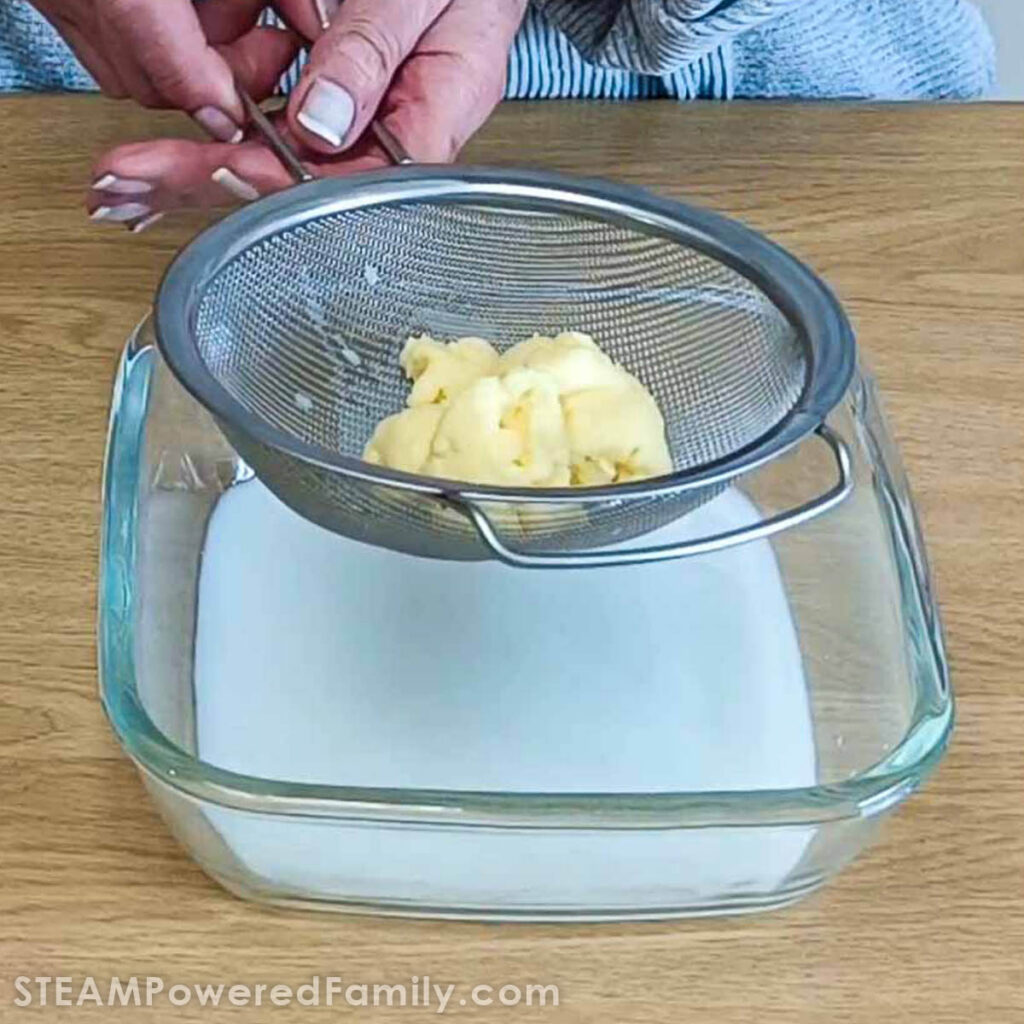
Keep the ball of butter in the strainer and pour the water from the jug over the butter to clean off all the buttermilk.
Your butter is ready to eat!
I highly recommend combining this activity with either a bread making project or a solar oven project and making toasted melty sandwiches in your solar oven with your homemade butter. So good and a fantastic, memorable project for kids that touches on their senses of taste and smell too.