Water Clock Easy STEM Activity
I love these simple STEM builds that tie into books. They make fantastic classroom projects, plus they teach valuable lessons. This Water Clock STEM activity is a powerhouse of learning in one simple project. Kids will learn about history, math, engineering, timekeeping and more. Check out this water clock project for your next lesson.
How to Build a Water Clock
Table of Contents
Disclaimer: This article may contain commission, paid partnerships, or affiliate links. We independently review everything we recommend. When you buy through our links, we may earn a commission from qualifying purchases.
The History of Water Clocks
Water clocks are one of the oldest time measuring systems. It is so old, the origins and original creators of the water clock are not known. Evidence of water clocks has been found in Ancient Egypt, with specimens discovered in Egypt that date from the 14th century BC., however some historians believe water clocks have been used in China as far back as 4000 BC.
Up until pendulum clocks became common in the 17th century, water clocks were used around the world and in almost every culture. With many innovations and developments making them more accurate over time.
AKA Clepsydra
The water clock was traditionally known as a clepsydra. This ancient device was used to measure time by the gradual flow of water. The interesting part of clepsydras is that they have been used by so many cultures around the world.
One form, used in North America by the North American Indians and some African peoples, consisted of a small boat or floating vessel that lost water through a hole until it sank.
In another form of water clock, a vessel was filled with water that was allowed to escape through a hole, and the time was read from graduated lines on the interior measuring the level of the remaining water. This was a more precise measurement rather than the all or nothing of the sinking model.
The ancient Greeks built many of these devices, as did the Romans. The Romans invented a clepsydra consisting of a cylinder into which water dripped from a reservoir. A float provided readings against a scale or markings on the cylinder wall. Both of these cultures made clocks that used gears and depended on water pressure. They also added mechanisms such as bells to sound at assigned “times” and other mechanical features that made the clocks much more complex than earlier creations.
Clepsydras were used for many purposes, just as we keep time today for many reasons. We know in history they were used for things like timing the speeches of orators, or to set a time limit in court. We also know that astronomers, like Galileo, used a mercury clepsydra to time his experiments in the 16th century.
So cool!
How Water Clocks Work
As the most basic level there are two types of water clocks: one measures time using inflow, the other measures outflow.
Put simply, inflow water clocks involve collecting water at a constant rate into a vessel with markings to track the passage of time. Outflow clocks measure time by how much water has flowed out of a vessel.
Pretty simple right? But also completely genius!
The best part is that you can create your own water clocks, and this activity is completely scaleable. Make it super simple for younger kids, or increase the complexity to challenge your middle school kids. Either way, all of them will have fun learning with this hands on STEM activity.
The Warlord’s Alarm (Book Study)
The inspiration for this activity came from a book called the Warlord’s Alarm. I love it when we have a good book to tie into a STEM Activity. It gives both the book and the activity greater meaning, which results in a richer learning experience.
I also love that this book is set in Ancient China, which gives us a glimpse into another culture. There have been amazing creations throughout history from cultures around the world. It is always exciting when we can celebrate those achievements and learn from them.
How to Build a Simple Water Clock
Supplies
To do this activity you will need:
Styrofoam or Plastic Cup
Small Bell
Small Plastic Lid – a pop bottle cap or milk jug cap works great
String or yarn
Toothpick or similar for poking a hole
Bead (optional)
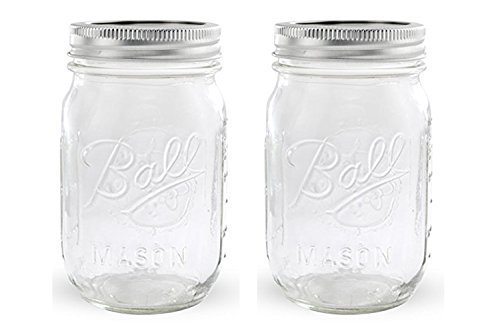
Glass Jar
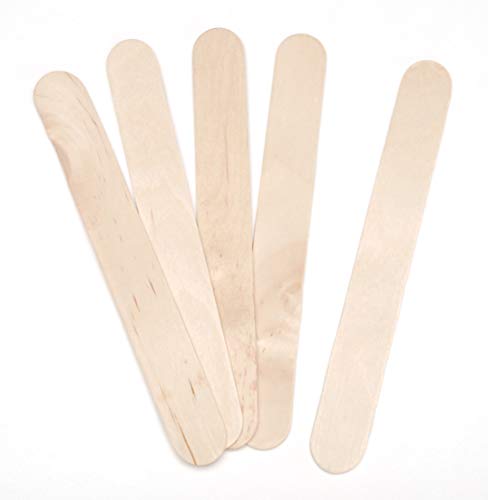
Popsicle Stick
Scissors


Many of these supplies could be easily substituted for something that can provide a similar function. This activity is very easy to adapt based on what you have on hand.
Directions
Use a toothpick or something similar to poke a small hole through middle of plastic lid and bottom of styrofoam cup.
Cut the string to length. To do this measure the distance from the top of the cup to just above the bottom of the cup. Then add a bit more length to ensure you have enough for tying on the cap and the bell.
Run string through the hole you made in the plastic lid. To secure it, tie bead to one side of string (this keeps the yarn from slipping through) or create a large knot. The goal is to simply prevent the string from pulling through the hole.
Tie a small bell to other end of string. Now measure! You want to make sure the string is short enough to pull the bell off of the popsicle stick when cup is empty. Adjust your knots as required to ensure the string is the proper length.
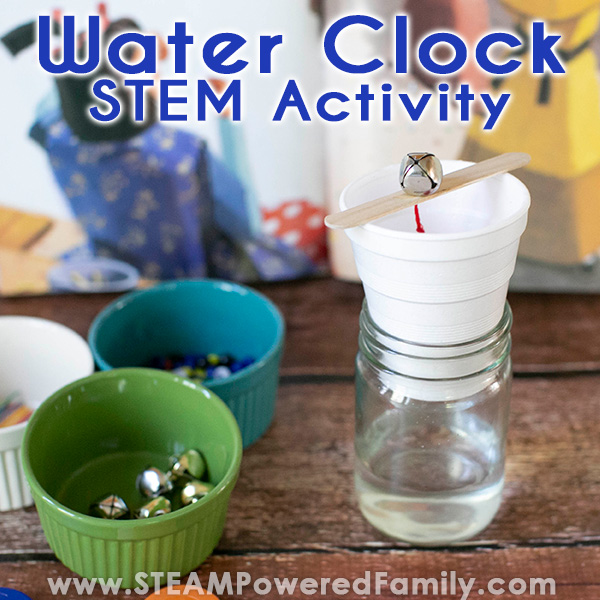
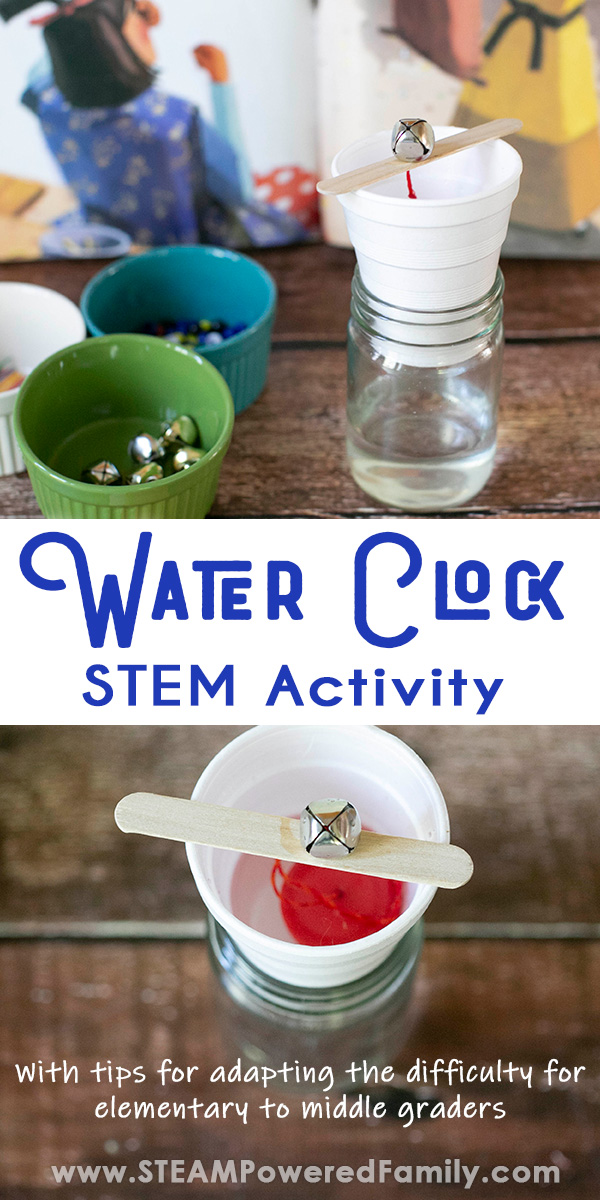
Now place the cup in top of the jar. Place popsicle stick over top of cup and balance the bell on the end of the string on the popsicle stick, while the lid hangs down into the cup. Hold it in place while you fill the cup with water.
The cap will float while the bell remains balanced on the popsicle stick.
Immediately after adding the water you will notice the water starts dripping out of the bottom of the cup and into the jar and the water level will start going down. When the water drains outs, the bell will be pulled into the cup. The sound of the bell is your alarm.
Water Clock Build Video
If you can’t see our video, please ensure all adblockers are turned off as they also block our video feed.
Water Clock Project Classroom Lessons
There is so much learning in this one little activity! Plus I love how we can scale it up from this very simple design to more complex projects that will appeal to middle graders. Here are a few tips and ideas to inspire your water clock projects.
First up we are engineering an outflow water clock. In this very simple design we simply know when time is up by when the bell falls and rings.
But we can make this a much richer learning experience!
TIME
Ask students to track how much time it took for the water to flow out of the clock. For this I like to use a stop watch.
Each water clock will have a total time that is a little different based on how big you make the hole and how much water you add. You could do an experiment just exploring the speed based on the size of the whole.
Or, explore a little viscosity science by testing different liquids like oil, syrup, etc. and see how much time they take to flow through the clock.
MATH
Incorporate some math by having them calculate the flow rate by taking the total amount of water and dividing it by the amount of time it takes for the bell to ring and the water to all flow out of the cup.
Now if we replace the styrofoam cup with a clear plastic cup, ask them to do the math and work out intervals of time on the side of the cup. Have them mark 10 seconds, 30 seconds, 1 minute, etc.
INFLOW VS OUTFLOW WATER CLOCKS
Or you can create an inflow water clock and mark the bottom cup to track the filling of that clock and the passage of time.
Using this one simple engineering design project, we can do so much more STEM.
Once your kids are familiar with the concept of how water clocks work and the difference between intake and outtake clocks, challenge them to come up with their own unique designs. Or maybe you can challenge your class to create a giant water clock!
So much learning in one very simple STEM project!
MORE STEM ACTIVITIES FOR KIDS