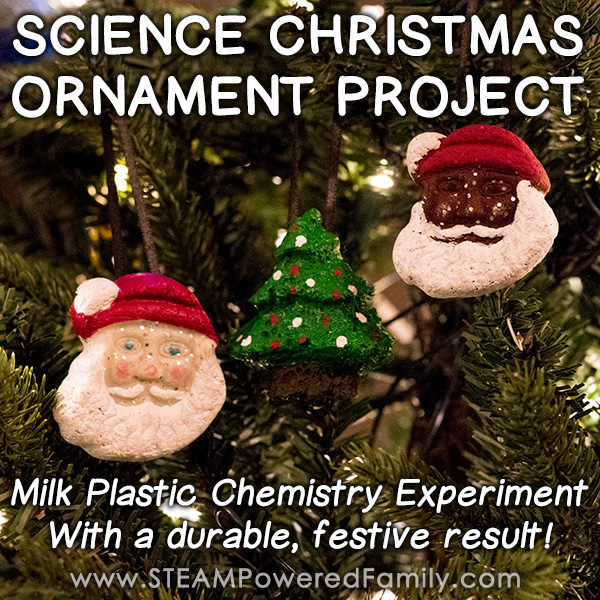
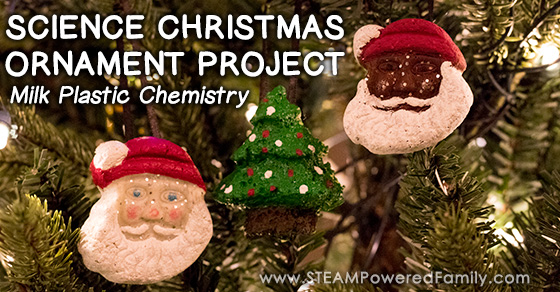
Science Christmas Ornament Project – Milk Plastic Chemistry
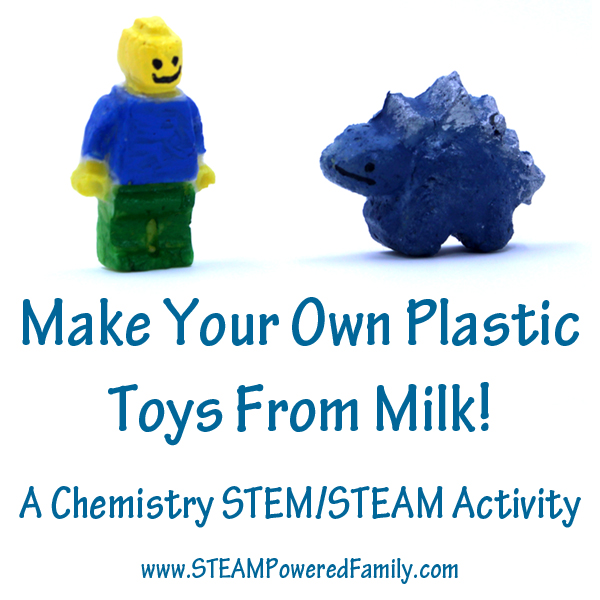
For Christmas I wanted to do something a little different. I wanted to bring a little science to our yearly ornament making. So this year I created a new Science Christmas Ornament Project that uses one of our favourite projects – milk plastic chemistry! This milk plastic chemistry experiment is perfect for creating durable, festive ornaments for your tree. Plus the kids LOVE doing it.
Bioplastic DIY Ornaments STEM Project
Table of Contents
Disclaimer: This article may contain commission, paid partnerships, or affiliate links. We independently review everything we recommend. When you buy through our links, we may earn a commission from qualifying purchases.
If you have never made milk plastic before it is insanely easy and creates extremely durable results. The best part is that it uses items you likely already have in your kitchen! So let’s get started!
Science Christmas Ornament Project Supplies
Milk – I find 1% works the best, but you can try it with whatever you have on hand. Milk plastic is a great way to use up milk that is beyond it’s expiry date but hasn’t curdled yet.
White Vinegar
Measuring Cup
Bowl
Fine Mesh Strainer or Cheese Cloth
Microwave or Stove
Spoons
Paper towel
Silicone Molds in a festive design
Paint (any paints will work) and brushes
Ribbon or ornament hooks
Hot glue gun
Clear coat spray
Milk Plastic Chemistry
The first step in our Science Christmas Ornament Project is to make the milk plastic through a simple chemistry experiment.
Begin by heating the milk on the stove or in the microwave. Stir constantly and use a low setting on the stove (or short intervals in the microwave) so you don’t over heat. You want the milk to just start to steam.
We made our milk plastic in batches, using 2 cups of milk at a time. We found we could make 3 ornaments with 2 cups of milk.
Transfer the steaming milk to the bowl and add 2 tablespoons of vinegar. Stir gently. You are making curds and whey, so you will notice white clumps with a clear, yellowish liquid. Stir gently until no more curds are forming. This takes less than a minute.
Carefully separate the curds from the whey. You want to save as much of the white lumps as possible. Use a very fine mesh strainer or cheese cloth to do this. Using a spoon gently squish the curds to remove as much liquid as possible.
Transfer to a paper towel. Fold the paper towel around the curds and squish it. The more liquid you can remove the better. Replace the paper towel and squish again to remove more liquid. Repeat until it is quite dry and you have formed a nice ball.
Tip! If you want images of the process check out our original article on making milk plastic.
Note – This is the perfect time to add glitter, essential oils, or other special touches into the plastic. See comments below for more details.
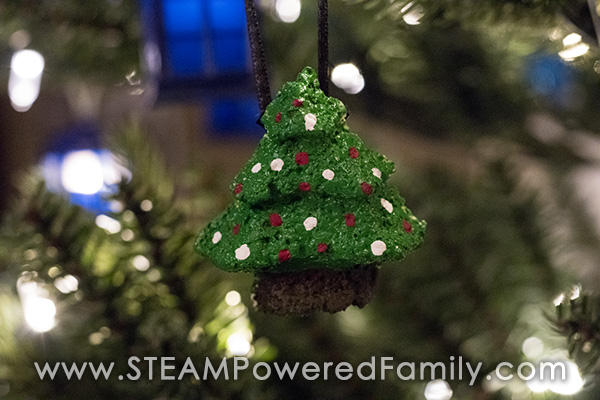
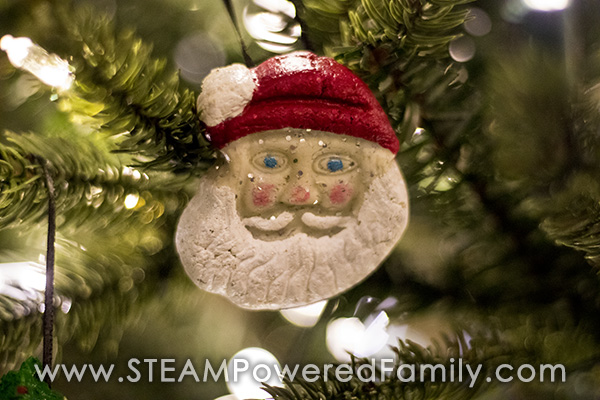
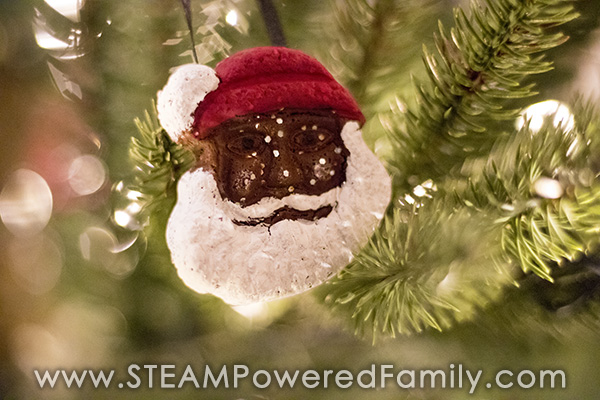
Now take some of the curds and place them in your mold. You want to really pack it into the mold, removing as much air as possible. If you have a deep mold, you don’t need to worry about going to the full thickness, aim for about 1cm.
Finally, let it dry for 24 hours. To speed up the drying process you can place it in the oven on very low heat (200F) for a couple of hours. About half way through the drying process, carefully pop them out of their molds and set them on a flat surface to continue drying.
Congrats! You made plastic!
Finishing Your Science Christmas Ornaments
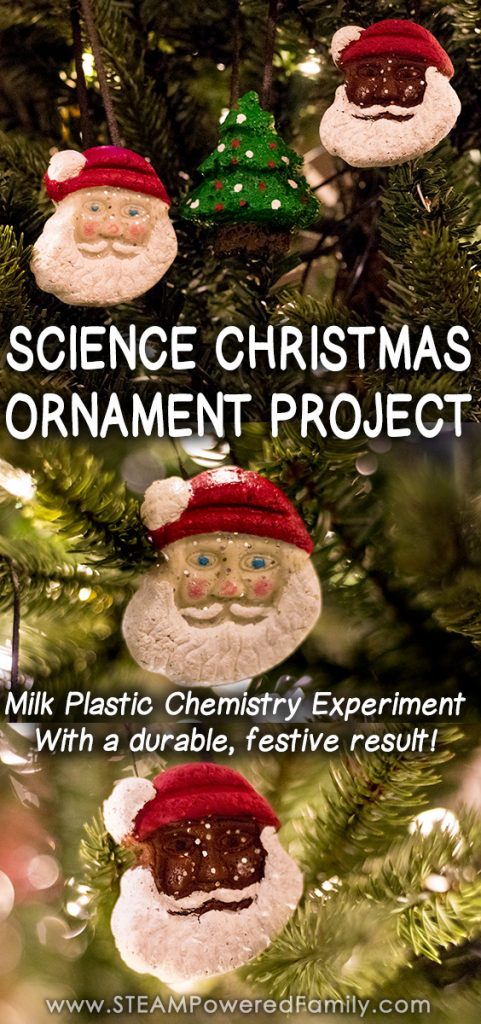
Once dry you can paint your ornaments using any regular paints you have around. Our classroom paints worked perfectly. The surface is fantastic for painting and they dry quickly and easily.
I’m not sure you need to use a clear coat spray, but I like our pieces to be really durable and long lasting. Some of our milk plastic projects are years old and still as strong and fresh as our new ones. So I do recommend you give them a quick coating with a clear coat spray.
Finally, with a hot glue gun, add a ribbon or hook so you can hang it on the tree. Depending on your mold, you could also add a hole to loop a ribbon through. The best stage to do this is about half way through the drying process when you pop them out of the mold. Be very careful and use a toothpick or similar to make the hole. Personally I prefer to hot glue onto the back, but the choice is yours.
Fun Extras To Do With Science Christmas Ornaments
For a fun twist you can add sparkles to your milk plastic. It is best to do this during the paper towel drying stage. Once you have it quite dry, sprinkle with glitter and work it in. Then repeat the paper towel drying one more time.
Add essential oil to make them smell amazing! We added peppermint oil to ours and I wish we had scratch and sniff screens, because it is seriously amazing how good they smell. Simply add during the paper towel stage like the glitter. One or two drops is plenty.
Use chocolate milk. We have made milk plastic a number of times and my kids asked “What if we used Chocolate Milk? Would the chocolate or extra sugars affect the chemical reaction?” So of course we had to test it out, and it worked perfectly! Plus a little peppermint essential oil added to the chocolate smell makes these ones smell soooo good!
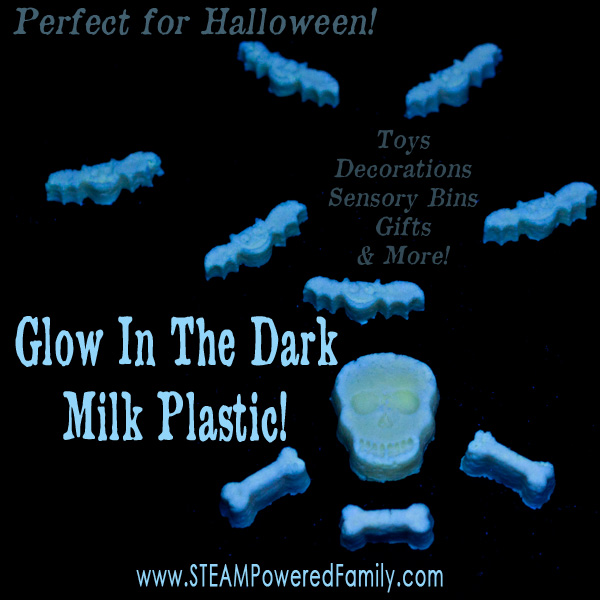
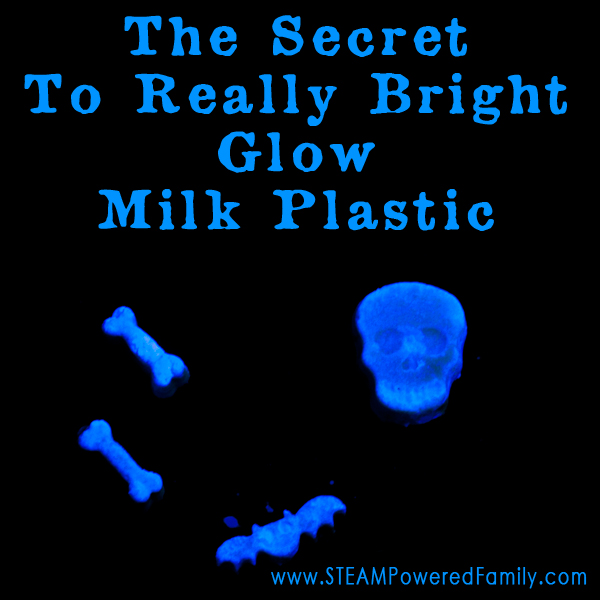
Want to make them glow in the dark? Try either this trick or this one to make them glow, especially under black light!
The Science Behind Milk Plastic Christmas Ornaments
This is a chemistry experiment working with polymers. Polymers are molecules that have formed a regular chain structure. Milk contains molecules of a protein called Casein. During this reaction between warm milk and acid (the vinegar) the casein molecules unfold and form long chains called a polymer. The polymer can be molded and shaped which makes it a plastic. In this case it’s called casein plastic or milk plastic because of the type of molecules that created the plastic. Once dry they form into a very hard and durable plastic structure.
Another Bioplastic Ornament
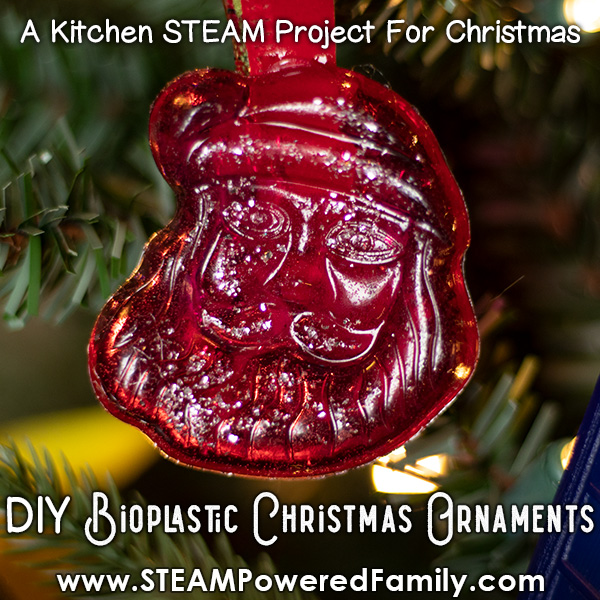
Once you have mastered this bioplastic ornament, you can try a more challenging transparent bioplastic Christmas ornaments! These ones really sparkle on the tree against the lights.
Have fun making your own special plastic Christmas ornaments! Happy Holidays!
More Bioplastics Milk Plastic Projects
Want to try even more milk plastic experiments? Check out our other projects.