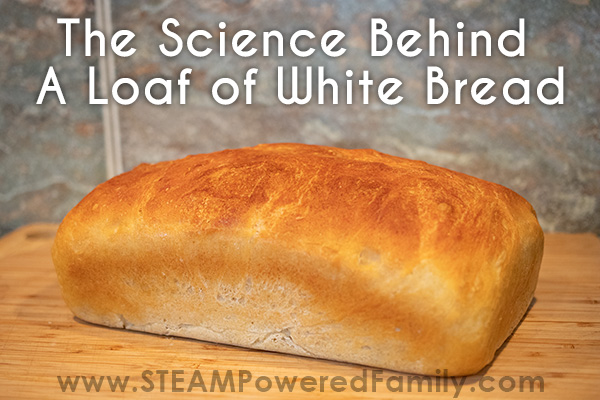
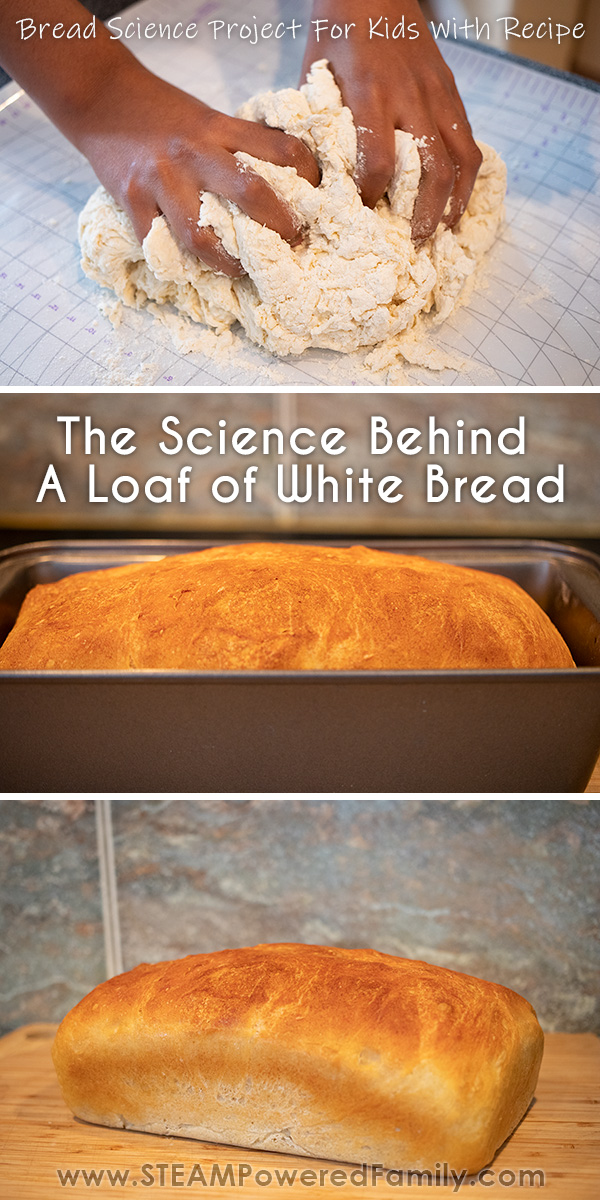
The Science Behind A Loaf Of Bread
Bread making and learning the science behind a simple loaf of bread can be a profound learning experience for a child. Often they don’t understand where their food comes from. They don’t know the ingredients, or that it is even man made (sorry, no bread trees last I checked). If asked many kids will say bread comes from the store. As part of learning to live a healthy life it is important that we teach kids where their food comes from and how it is made. With bread it’s even better because their is some fun science involved!
Learning Bread Science

Disclaimer: This article may contain commission or affiliate links. As an Amazon Influencer I earn from qualifying purchases.
Not seeing our videos? Turn off any adblockers to ensure our video feed can be seen. Or visit our YouTube channel to see if the video has been uploaded there. We are slowly uploading our archives. Thanks!
Have you ever asked kids where certain foods come from? Try it. It’s good for lots of giggles. Until you realize that even many tweens and teens don’t know where their food comes from! Some kids really don’t know. They haven’t been involved in grocery shopping, or cooking in the kitchen. So they really don’t understand the origins for the fuel their bodies need.
That’s why we love Kitchen Science projects. My kids learn about ingredients and making food. They become confident and competent in the kitchen, a very important life skill. And they have a greater appreciation for the work and time that goes into the food placed in front of them.
We’ve done lots of Candy Science in the past, but now we wanted to tackle something a little healthier. We wanted to learn about Bread Science and how that loaf of bread came to exist.
The best part is that there is some really cool chemistry involved in bread making. Which makes it a fantastic, real life application of the lessons we have been studying.
The Science behind Baking a Loaf of bread
Bread has only a couple of ingredients, so how much science can there be in a loaf of bread?
Well, there’s a lot!
Most breads are made with: Flour, Water, A Leavening Agent, and Salt. So, let’s look at each ingredient and see how they react to each other and what they add to bread.
FLOUR
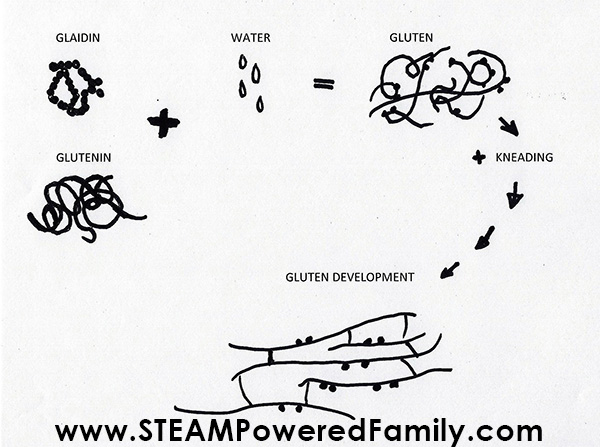
Flour is made by grinding up kernels of grain (or seed) into a powder called Flour. Wheat flour is the most common one used in North America. Flour has two important protein molecules needed to produce bread – glutenin and gliadin.
WATER
When flour and water are mixed together the glutenin and gliadin become gluten. Gluten is a tightly wound mess of protein strands but when it is kneaded these strands unravel, stretch and rearrange themselves into a strong structured network of protein strands called dough. This network is both elastic and plastic meaning it will change shape easily but will always try to move back to its original shape when left alone.
Starch is also a very important molecule found in flour. Amylase is an enzyme found in flour which breaks down the starch into glucose and maltose when water is added into flour.
LEAVENING AGENT
Yeast is for leavening in many types of bread. A leavening agent is a substance that causes expansion of doughs and batters by releasing gases into the mixtures, producing baked products with porous structure. Examples of leavening agents includes baking powder, baking soda, steam, heat, air and, like we use in this recipe, yeast.
Yeast is a single cell fungus that feeds on the glucose from the starch. Yeast metabolizes the sugars and, as the yeast multiplies, it creates carbon dioxide. This carbon dioxide gets trapped the gluten network and creates bubbles making the dough expand and creating the fluffy, porous, foam like texture of bread.
SALT
Finally, we have salt. Salt curtails the yeast growth by slowing the fermentation. It also adds to the flavor and elasticity of the dough.
Science Specific To This White Bread Recipe
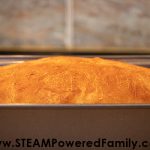
For our first bread making exercise we decided to make a simple loaf of white bread.
White wheat flour comes in various types. You can see the many varieties on the shelf at the store. Since we want to take advantage of the gluten development in the flour for this recipe, we need to select a hard flour. A hard flour is made from grains with high levels of the proteins glutenin and gliadin. In most markets they are packaged as bread flour with a protein content around 12-14%.
The yeast should be either instant or quick yeast. Both will work without the need for blooming first. Blooming requires placing the yeast in warm water with a little sugar to start the fermentation.
Bonus Bread science experiment
Although we don’t need to bloom the yeast for this bread recipe, you can wow the kids with a simple experiment. Add a teaspoon of yeast and a teaspoon of sugar to one cup of warm water. Then watch as the yeast starts feeding and producing carbon dioxide. This simple experiment will help kids understand what is happening in our bread as it rises.
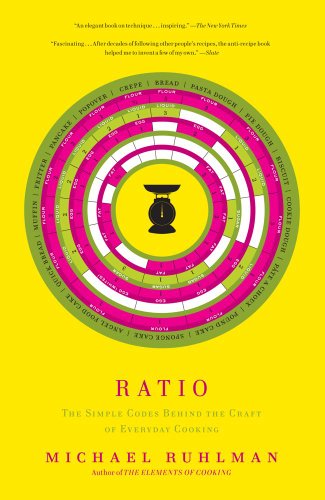
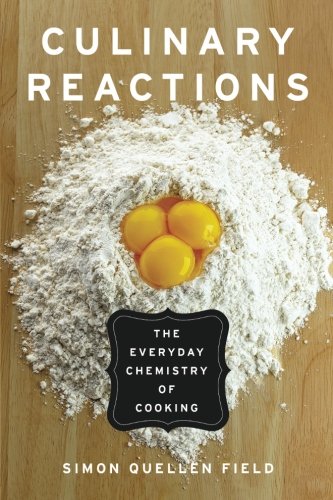
If your kids enjoy this and want to do more reading on reactions in the kitchen, we really enjoy Ratio and Culinary Reactions.


Easy WHITE BREAD LOAF RECIPE
Supplies
A flat pan about 9×12” should be perfect
A little oil to coat the pan, I used olive oil
500 grams bread flour
Extra flour for kneading
Board or mat suitable for kneading dough
One package of instant yeast (equals 1/4 oz)
300 grams warm water
½ teaspoon salt
Directions
Add the flour, salt and yeast to a large bowl. Put the yeast on one side of the bowl and salt of the other so the salt doesn’t inhibit the yeast at this stage.
Pour in the water and start mixing with a spoon. Mix until you have a wet sticky dough. Leave it for 10 minutes to allow the starch to absorb the water.
Turn the dough onto a floured board and knead for 5 minutes. It will go from a sticky mess to a smooth resilient ball as you mix it. This is the gluten stretching.
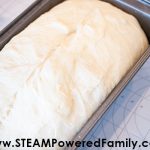
Place the mixture in a bowl and cover it with a towel. Leave it for 2 hours until it has risen to double its original size.
Turn out the dough onto a floured board and punch it down (kids love this step!). Now, knead it again and shape it into a ball. Grease the baking pan with a bit of oil or butter and set the ball into the pan. Leave it for another 30 minutes to rise.
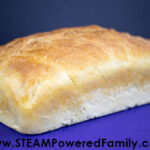
Preheat the oven to 220C/425F. Take a knife and make a slight slit along the top of the loaf, this helps prevent cracking during the baking process. Bake for 35-40 minutes.
If you want a good thick crusty bread put a pan of water onto the bottom rack of the oven during the preheating. The steam is the key to making bread crusty.
Cool for 30 minutes and then slice and enjoy!
We had so much fun with this bread science that we are we have explored the science behind different types of bread. So far we have also explored No Knead Bread, Irish Soda Bread, Pita Pockets (find out how they get those mysterious pockets inside!), plus Bannock. Fun and delicious science, our favourite!
Easy White Bread Loaf Recipe
Easy white bread recipe to make with the kids
Supplies
- 1 tbsp olive oil
- 500 grams flour
- 1 packet instant yeast
- 300 grams warm water
- 1/2 tsp salt
Instructions
-
Add the flour, salt and yeast to a large bowl. Put the yeast on one side of the bowl and salt of the other.
-
Pour in the water and start mixing with a spoon. Mix until you have a wet sticky dough. Leave it for 10 minutes to sit.
-
Turn the dough onto a floured board and knead for 5 minutes.
-
Place the mixture in a bowl and cover it with a towel. Leave it for 2 hours until it has risen to double its original size.
-
Turn out the dough onto a floured board and punch it down. Knead and shape it into a ball.
-
Grease the baking pan with a bit of oil or butter and set the ball into the pan. Leave it for another 30 minutes to rise.
-
Preheat the oven to 220C/425F. Take a knife and make a slight slit along the top of the loaf, this helps prevent cracking during the baking process. Bake for 35-40 minutes.

-
Allow to cool for 30 minutes before slicing.
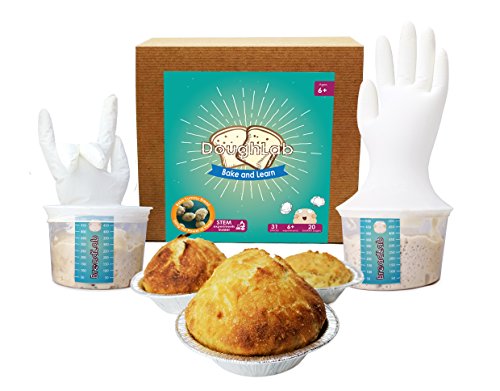
A fun out of the box dough lab
Check out this fun Dough Lab STEM kit we did. It was so much fun, and everything comes in the box, just add warm water and a curious, hungry, kid!
Get your Dough Lab kit here:
MORE KITCHEN SCIENCE FUN