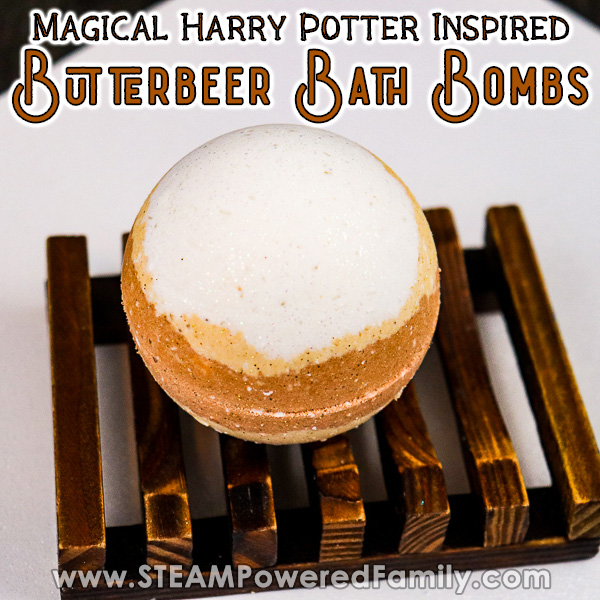
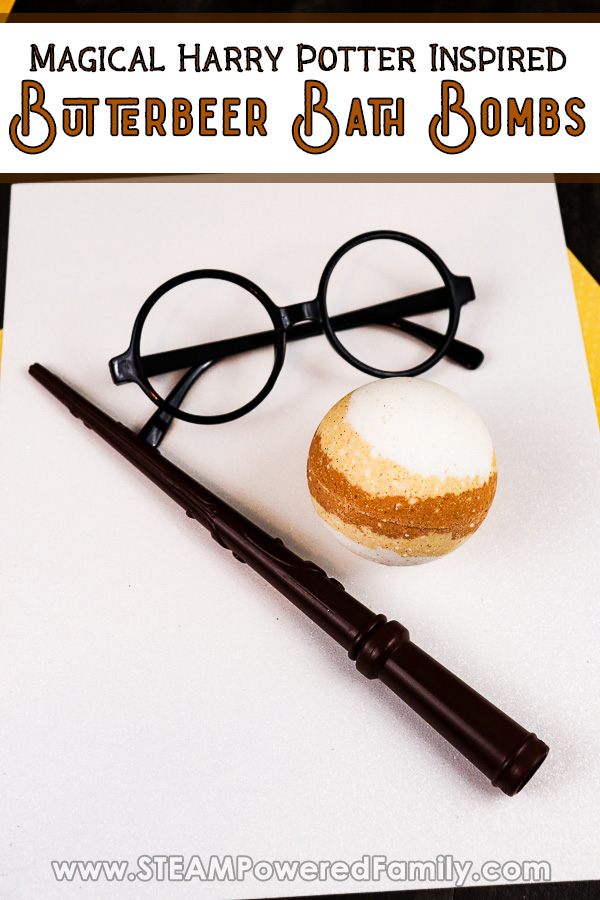
Magical Harry Potter Inspired Butterbeer Bath Bomb Recipe
The magic of Harry Potter combined with the magical fizz of a bath bomb? It’s the perfect, magical combination! We’ve made many Harry Potter Bath Bombs in the past, this time we decided to embrace the delicious treat Butterbeer! Presenting our amazing smelling, fun and easy to make, Butterbeer Bath Bomb Recipe!
Butterbeer Harry Potter Bath Bombs
Disclaimer: This article may contain commission or affiliate links. As an Amazon Influencer I earn from qualifying purchases.
Not seeing our videos? Turn off any adblockers to ensure our video feed can be seen. Or visit our YouTube channel to see if the video has been uploaded there. We are slowly uploading our archives. Thanks!
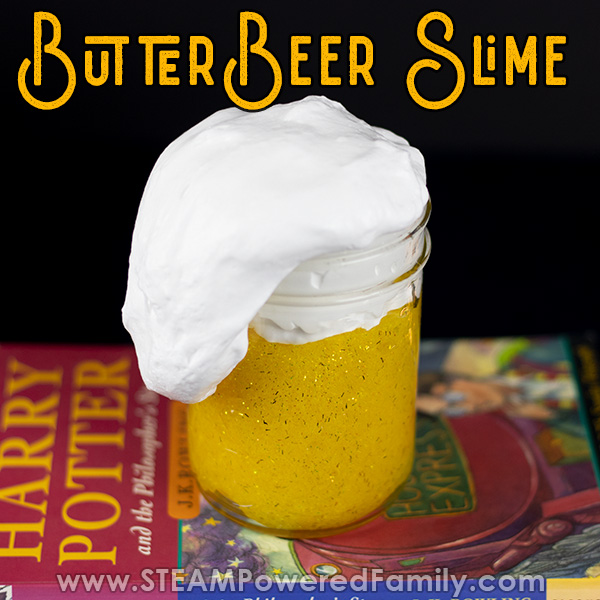
Have you ever tried Butterbeer? It is this amazing butterscotch flavoured drink that is a favourite of students at Hogwarts. So far we have created a Butterbeer Fudge, Butterbeer Slime and Butterbeer Cake Pops that all celebrate that amazing flavour then we found a Butterbeer scent that is perfect for bath bombs and soaps!
So of course we used it when making our Sorting Hat soaps and bath bombs. And they were a big hit!
But we still have some Butterbeer scented oil left over, so it was time to make a new bath bomb. This time we were inspired by the look of those amazing glasses of Butterbeer at Hogsmede as we created our round bath bombs. They look, and smell, amazing!
Butterbeer Bath Bombs Ingredients & Supplies
2 cups baking soda
1/2 cup citric acid
1/4 cup cornstarch
1/4 cup Epsom salts. Fine grain works the best.
1/4 cup white kaolin clay
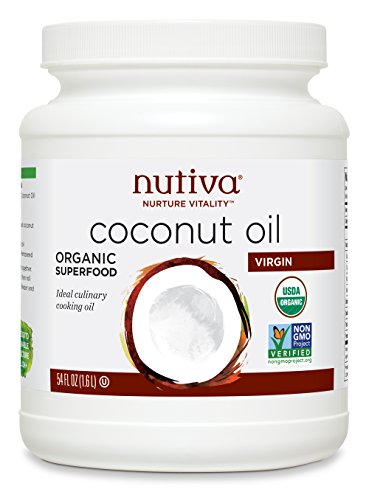
1/3 cup coconut oil
1 tablespoon polysorbate 80
1 teaspoon Butterbeer scented oil
White mica powder
Light gold mica powder
Dark gold mica powder
Biodegradable cosmetic glitter*
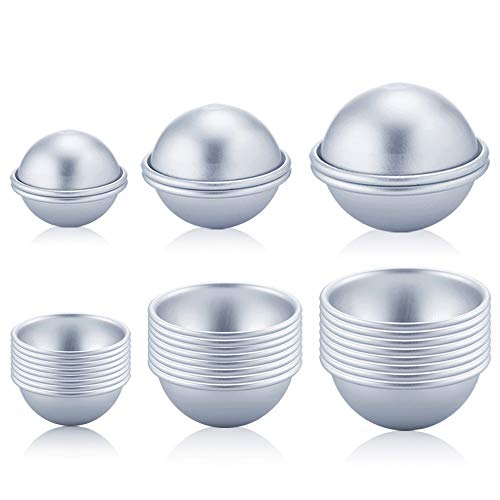
Stainless steel bath bomb molds
1 large mixing bowl
1 microwave safe measuring cup
3 small bowls
Measuring cups and spoons
*A NOTE ON GLITTER – Glitter has become very controversial due to the negative impacts on the environment, but I know many of you still love a little sparkle in your projects! When it comes to glitter, I believe it is always optional. None of my projects require it. But if you decide you do want a little sparkle and shine in your creations, I highly recommend using a biodegradeable glitter. There are lots of fantastic options available.


![Mica Powder Ultimate 25 Color Set [Huge 250g/8.82oz] Perfect for Epoxy Resin Color Pigment, 25 Essential Pigment Powder Colors, Soap Making, Bath Bomb Colorant, Slime Supplies, BIG 10g/.353oz Portions](https://images-na.ssl-images-amazon.com/images/I/51fcow1s4LL.jpg)


HOW TO MAKE BUTTERBEER BATH BOMBS
Start by mixing the dry ingredients. To do this add the baking soda, citric acid, Epsom salts, white kaolin clay and cornstarch to a large bowl then stir with a spoon or mix everything with your hands.
In a microwave safe measuring cup melt the coconut oil until it is just liquid.
Add the butterbeer scent and the polysorbate 80 to the coconut oil. Mix.
Add the oil mixture into the dry ingredients. Using your hands, combine everything together until it is well mixed. Make sure any lumps are broken down and the oils evenly dispersed. The mixture is perfect when it holds together when it is pressed or squished.
Set out three bowls and evenly divide the mixture between the bowls.
Add 1 tablespoon of the white mica and some glitter into the first bowl. Add the dark gold mica and glitter into the 2nd bowl. Finally add light gold mica and glitter in the last bowl.
Mix each bowl well. You may wish to use gloves to prevent staining your skin. Plus you can change gloves between colours to prevent transfer of the colours. If you wash your hands between colours make sure they are dried COMPLETELY. Even a tiny bit of moisture on your hands will trigger a reaction.
Shaping the Bath Bombs
We shape the bath bomb mix into our bath bombs by using molds. For this bath bomb we used the traditional round bath bomb molds. You can also use silicone molds to create bath bombs in fun shapes. We did that with our Sorting Hat Bath Bombs.
Take one half of your bath bomb mold. Layer the colours in half of the bath bomb. Play with the thickness and sequence of your layers to create variety in your bath bombs. Repeat until loosely heaped. Then repeat with the other half.
Now, press both sides of the mold together firmly, grinding together to get rid of the excess mixture. Do this over a bowl to catch the bits that fall. You can use those in future bath bombs or add water for a fun chemical reaction at the end of your bath bomb making!
Tap both ends of the mold and gently release the bomb.
Set the bath bombs in a mini-muffin tray for easy transporting. Set the bath bombs in a warm, dry place to let them harden and set for 24 to 48 hours. They are ready when they are hard to the touch.
Store them in an airtight container until you are ready to use your bath bombs.
After running a warm bath simply add your bath bomb and enjoy the bubbly, fizzy, reaction.
Understanding the Magical Fizz of Bath Bombs
One of the reasons we love making bath bombs with the kids is because it involves some fascinating science. It’s like a special potions class. So what makes that fizz we love so much in bath bombs? It’s a chemical reaction between and acid and a base.
Have you done acid-base experiments before? For a great simple science experiment that requires almost no time or set up, try one of our baking soda and vinegar experiments. This is a great way to introduce the chemical reactions between acids and bases. .
In bath bombs the acid is citric acid and the base baking soda. They don’t react while dry, they need a special, magical ingredient to trigger the reaction… warm water!
During our science fair project on bath bombs we learned that the warmer the water, the bigger the reaction!
Another fascinating bit of science is the use of polysorbate 80. It’s an emulsifier you can see in action when we made our Moon Dough. Oil and water do not mix. We all know that. But when it comes to bath bombs, that causes a very messy problem. All those oils, colours and fragrances float on top of the water in a nasty layer that sticks to everything. We use an emulsifier because it makes all those oils blend with the water, creating a much cleaner and more luxurious bath experience.
Have a magical time making bath bombs!
MORE HARRY POTTER INSPIRED LEARNING