Glow In The Dark Milk Plastic
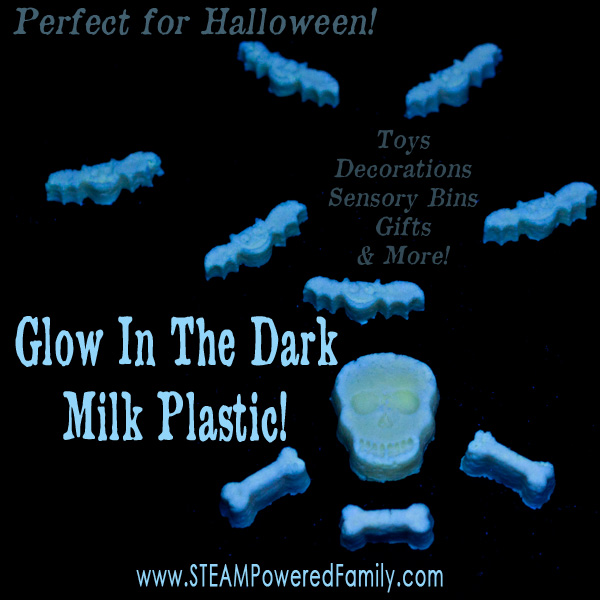
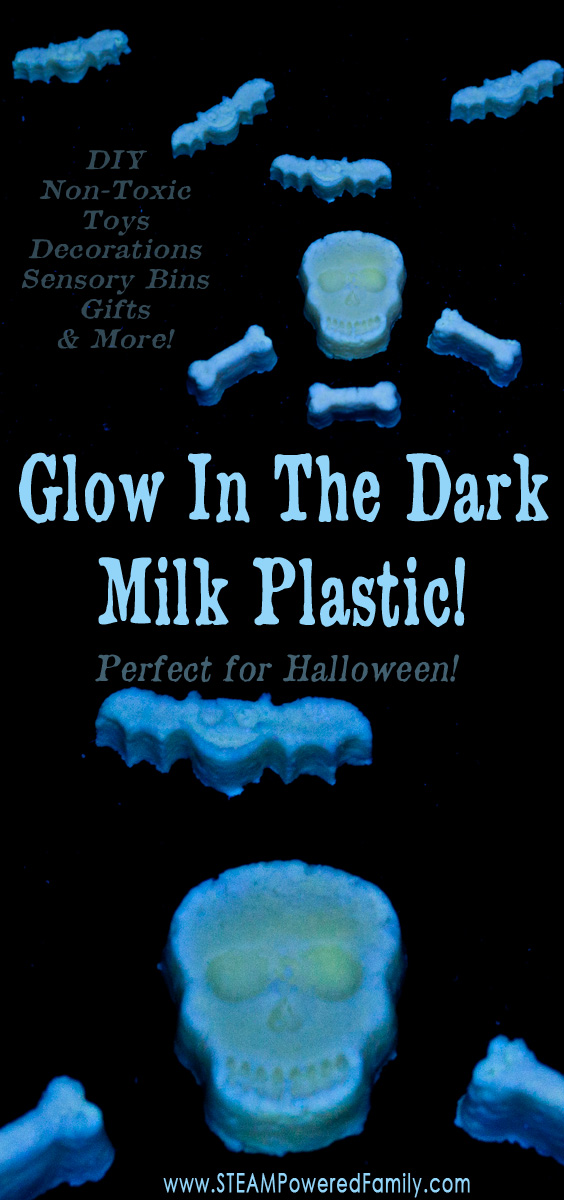
Glow in the Dark Milk Plastic – non-toxic, easy and fun kids STEM Activity. Create toys, decorations, sensory items and more. Perfect for Halloween.
We LOVE making milk plastic. Once we discovered this non-toxic and extremely simple way of making our own plastics it’s like a whole new world of making and creation opened up to us. For Halloween we decided to try something new, glow in the dark milk plastic!
Disclaimer: This article may contain commission or affiliate links. As an Amazon Influencer I earn from qualifying purchases.
Not seeing our videos? Turn off any adblockers to ensure our video feed can be seen. Or visit our YouTube channel to see if the video has been uploaded there. We are slowly uploading our archives. Thanks!
The topic of plastic is everywhere as we seek new ways of becoming more eco-friendly and embrace techniques that will protect our planet for generations to come. One way we can do this is by reducing plastic use, and moving to bioplastics which easily decompose after use or can be easily recycled. There are a few different types of bioplastics you can make at home. The simpliest one is milk plastic. Also known as casein plastic. With just a few simple ingredients, you can make bioplastics at home or in the classroom.
But we don’t like to stay boring around here, so for Halloween we developed this fun Glow in the Dark Milk Plastic recipe! There are a couple of different ways you can do this, but all result in a spooktacular science experiment and lesson for kids!
Materials
Milk – 2% works best in our experience and yes it can be past the due date, as long as it hasn’t already started going off.
Vinegar
Highlighter pen
Laundry soap
Paper towels
Mesh strainer or cheese cloth
Silicone Mold with spooky Halloween shapes
Black light
Directions
Making milk plastic is incredibly forgiving making it a fantastic experiment to do with kids or in the classroom. The best part is that you don’t even need to be exact with your portions. Perfect for kids that love to just slap everything together and be independent in their STEAM work!
For a more detailed tutorial, you can check out my original post on making milk plastic.
Making Curds
The first step is to fill a microwave safe bowl with milk (or you can heat the milk on the stove in a pot). Heat it until it is just starting to steam. Don’t let it boil.
Remove from the heat.
Now, add a few teaspoons of vinegar, and mix gently. The curds will begin forming immediately, but stir gently for a couple of minutes until the reaction is complete. You are creating curds and whey, just like in the nursery rhymes!
Strain off the whey liquid, leaving only the curds using a strainer or cheese cloth.
Strain
Now is the really important step, place the curds in some paper towel and get out as much liquid as possible. You will probably go through a lot of paper towel, but this is the step that really affects the final quality of your plastic.
Add Glow Power
This next step is what makes that spooky glow! Pour some vinegar in a bowl, now break open a non-toxic yellow highlighter and pull out the ink tube, place the tube in your vinegar and squish it around to get all the ink out and into your vinegar. Remove the empty tube, then add your curds to soak for an hour.
The curds will soak up the highlighter ink and fluoresce under black light!
NOTE: If you have glow in the dark pigment powder or paint, you can use that instead of the highlighter. Just mix it well with your vinegar before adding the curds.
Make the Spooky Shapes
After the curds have soaked for an hour in the glow solution, use a strainer or cheese cloth to remove them from the vinegar. Place them in paper towels again. Squeeze and roll the curds to remove all the liquid. Once again the goal is to remove as much liquid as you possibly can.
Once you have them as dry as possible pack them into a silicone mold. Use a small spoon or your fingers to really pack it into the model and remove all the gaps. For our Halloween sensory bin we decided we wanted skeletons and bats. But you could use any mold you like.
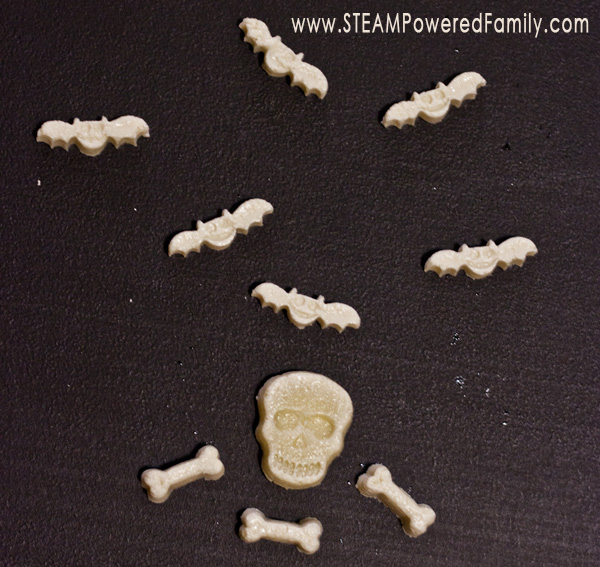
Let them sit for 24 hours in the mold, then carefully remove them from the mold and let them air dry for another 24 to 48 hours.
Glow Time!
Turn on your black light and watch them GLOW!
If you want to add an even brighter glow, grab a paint brush and brush a light layer of liquid laundry soap over the top of the plastic. Let it dry then compare the bright glow!
You can use this same glowing laundry soap trick to make Invisible Ink.
To preserve your creations for a long time (ours have lasted years), spray them with a light coating of clear coat.
Breaking Down Milk Plastic
When you are done with your creations, turn it into a science experiment to discover the best method for breaking down milk plastic. Simply set out a bowl of water, a bowl of vinegar, and a bowl of saline solution (salt water). Set some of the pieces in each bowl and compare how they break down to find the best way.
Milk plastic will also break down in a regular compost system within 30 days.