Agamograph Optical Illusion Project
Have you ever heard of an Agamograph? It is a clever form of art that uses optical illusion to create artwork that changes when you look at it from different angles. An Israeli artist called Yaacov Agam developed this kinetic art style around 1953 that is based on lenticular printing, a technique used to create holograms. Students can learn all about optical illusions, art, perspective, colours and the colour wheel, as they make a captivating work of art that can be displayed on your classroom bulletin boards for everyone to enjoy.
This project is fantastic for elementary through high school art and science lessons.
Optical Illusion Art Project for Kids
Disclaimer: This article may contain commission or affiliate links. As an Amazon Influencer I earn from qualifying purchases.
Not seeing our videos? Turn off any adblockers to ensure our video feed can be seen. Or visit our YouTube channel to see if the video has been uploaded there. We are slowly uploading our archives. Thanks!
What is an Agamograph?
An agamograph is an art form that uses optical illusion to change the image seen in an artwork, depending on the angle of the viewer. Another name for an agamograph is a “lenticular.” Agamographs are named after Yaacov Agam, the Israeli artist who created the agamograph.
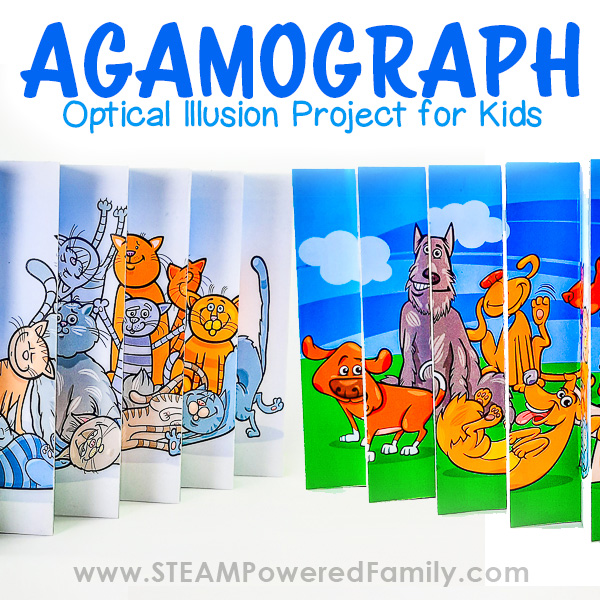
Here is an example. First, take a look at it straight on. Kind of weird… right?
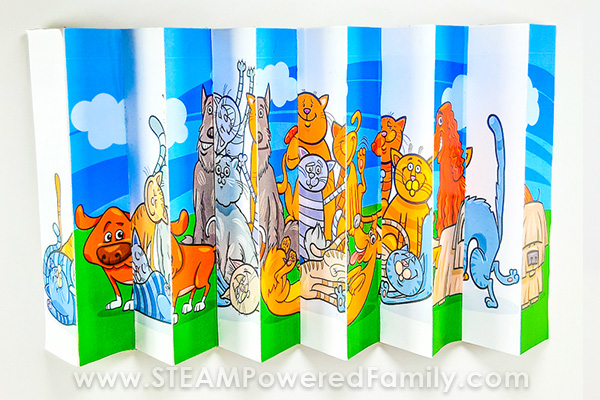
Perspective 1
Next we move to the left and check out the image! Cool cats!

Perspective 2
Now take a few steps to the other side… and it changes to a new dog image. So cool!
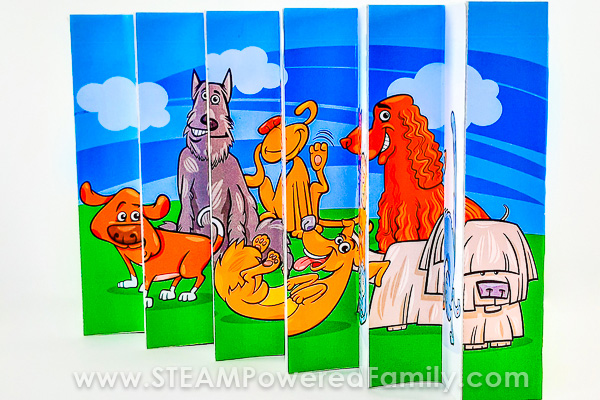
An Agamograph is a folded series of images, like an accordion shape or fan. It allows the viewer to see one picture when the work is viewed from one angle and a completely different picture when the work is viewed from another angle.
These Agamograph projects, are inspired by Lenticular printing or kinetic images, which is a technique using layered works where several images are combined on one surface to create illusions of depth when a viewer moves around the art. Depending on the position of the viewer, a single work shapeshifts between several compositions, producing holograms and optical illusions. Lenticular printing is a complex process, but today we have a fun, simple version for kids.
Colour Wheel Agamograph Art
To make your lessons more impactful, we wanted to include a special aspect to this resource that would allow kids to play with colours.
In our templates package, we included two coloured templates of flowers. One image is coloured in warm colors and the other in cool colours. So, what is the difference between cool and warm colours?
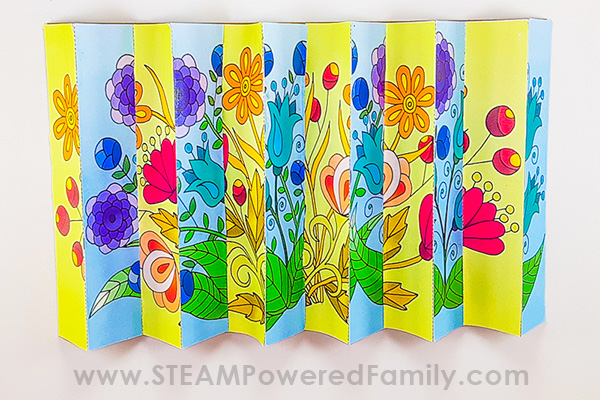
Warm colors are a combination of orange, red, and yellow. They tend to make you think of warm things, like sunlight and heat. Cool colors are a combination of blues, greens, and violets. They remind you of water and sky, even ice and snow.
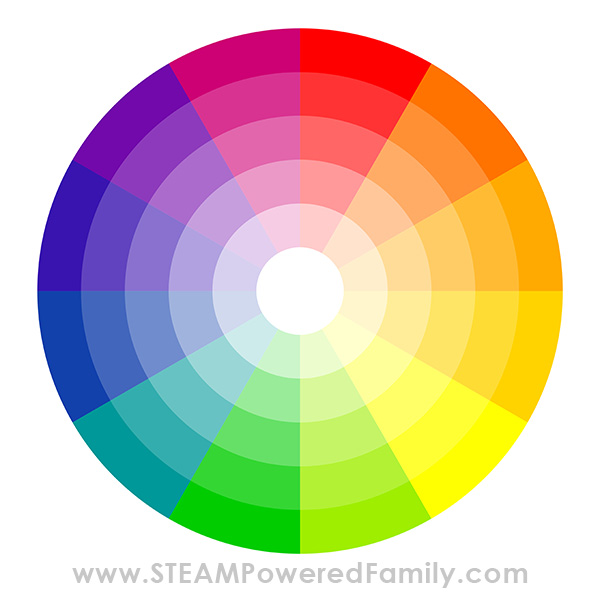
Colour is one of the five main elements of art, line, shape, texture and space. Colour is created when light strikes an object and reflects back to your eyes.
All colors come from the three primary colors, black and white. Primary colors can be mixed to create other colors.
Secondary colors are combinations of two of the primary colors in equal amounts. Red and yellow make orange, yellow and blue make green, and blue and red make purple.
Tertiary colors are a combination of a primary color and a secondary color.
All together, they form a COLOUR WHEEL. The color wheel organizes colors in a circle and shows the relationship between colors.
You can create an exciting AGAMOGRAPH using all these elements of art in your own way with our coloured templates, or by colouring our line art templates, or by creating your own templates. Just remember, you will need two related but separate images.
Project Video
Watch the video to see us making this project. If you can’t see the video, ensure all of your adblockers are turned off. Adblockers also block our video feed. Thanks!
How to Make an Agamograph
Materials & Tools
Scissors or craft knife
Sturdy box cardboard that measures 30 X 19cm
Cardstock
Color Printer that can print on cardstock
A screw or nail (to score the cardstock for folding)
Glue or glue gun
Glue stick
Ruler
Subscribe to SPF to access the templates (enter your email in the form to unlock the PDFs)
Agamograph DIY Directions
1. Print TEMPLATES A & B on cardstock and cut them out on the solid lines.
2. Glue TEMPLATE B on top of TEMPLATE A where it is indicated.
3. Use a ruler and a screw or nail to score the cardstock on all the dotted lines. This will make folding the cardstock much easier.
4. Fold the two small end pieces backward and make concertina folds (like a fan) on all the other dotted lines.
5. Choose which templates you would like to use and print them out on regular paper. You can either use the templates that are colored or choose ones that you can color in yourself with markers or crayons. There is also a blank template for you to draw your own pictures. Just print the blank template twice.
6. Cut the templates you have chosen on all the dotted lines. Each picture should have 6 strips. You should have 12 strips in total.
PRO TIP:
When cutting the strips, keep them in their correct order. This makes it easier to stick them each in the proper place. You can use a pair of scissors or a craft knife.
7. Now, you will glue all the strips onto the base. Put glue onto 2 sections at a time, so you can stick the first strip of each template, then the second, the third, the fourth and so on, till they are all stuck down.
8. Refold all the folds again to get the Agamograph ready to be stuck down on the sturdy cardboard. This cardboard makes it easier to hang the Agamograph up on the wall.
9. Using a ruler and pencil, make 5 lines 5cm apart on the sturdy cardboard. This is where you will glue the folds of the Agamograph to.
10. Start by gluing the small end piece, which was folded back, to the underside of the sturdy cardboard. Turn the whole work on the right side up.
11. Glue all the other sections onto the sturdy cardboard. There will be six “peaks” in total.
PRO TIP:
A glue gun or other strong glue works best for all the folds. When using the glue gun, hold each section of the Agamograph down until the glue dries.
12. Finally, glue the other small end piece to the underside of the sturdy cardboard.
Your Agamograph kinetic art is now ready to be hung up on the wall or classroom bulletin board for everyone to enjoy the science of optical illusions!
How does the Agamograph work?
Now you have made an Agamograph, let’s explore the science behind this optical illusion.
First, stand in front of the Agamograph. What do you see?
You should see both pictures in a mixed up image.
Now move over to the left side of the Agamograph. What do you see now?
You should see a whole picture now.
Now move over to the right side of the Agamograph. What do you see now?
You should see a whole different picture.
Why did this happen?
The Agamograph is a style of kinetic art pieces. Kinetic art is a form of art that either moves by itself or needs the person viewing the art to move around for the artwork to make sense.
OP ART (Optical Illusion Art) is also a form of kinetic art. An optical illusion is created when geometric shapes and contrasting colors are used together in an artwork. It makes objects appear different from what they are.
Extension Ideas
Here are some ideas for you to use for your own unique Agamograph project:
- Day & Night
- 2 Different Family Photos
- Mother’s & Father’s Day
- 2 Different Quotes
- Different Feelings
- Holidays
- Homemade Cards with special messages
AGAMOGRAPHS ARE REALLY AMAZING!
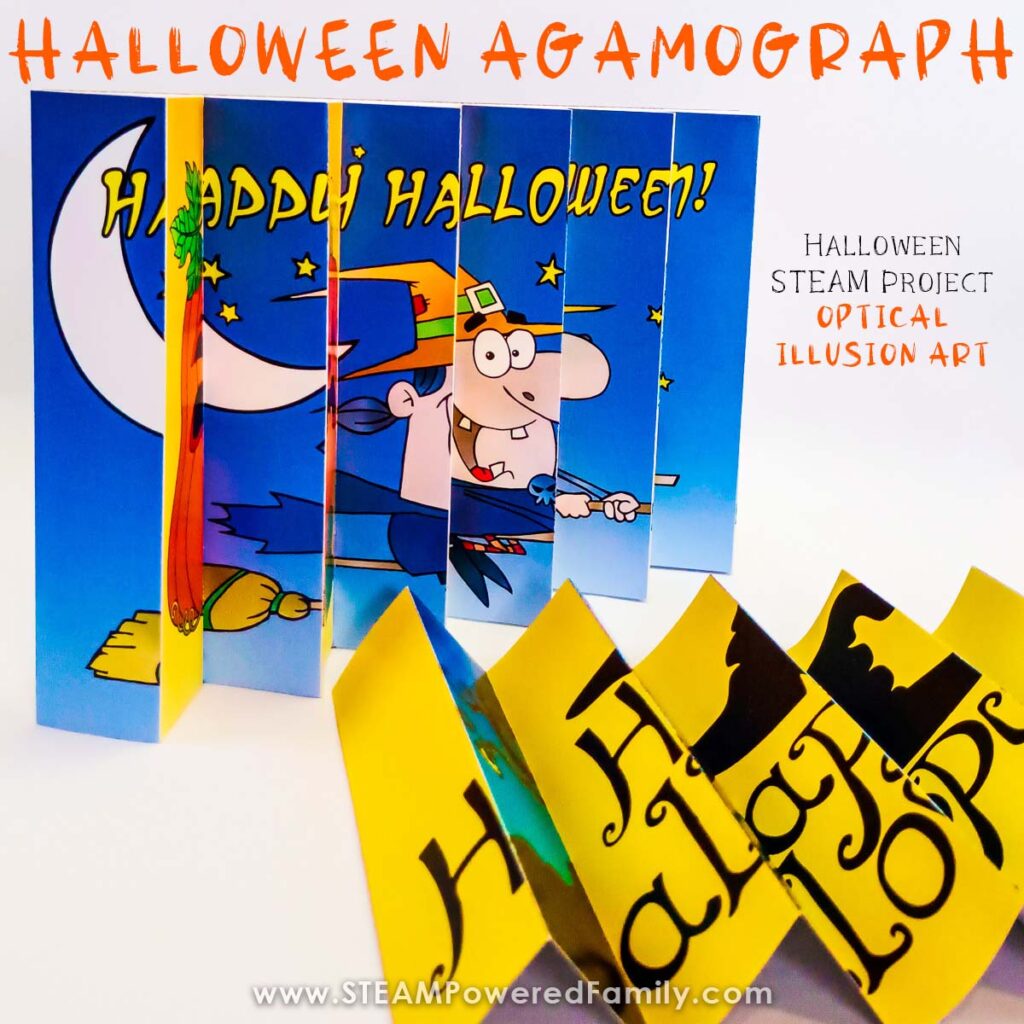
Check out our Halloween Agamographs for a spooky twist perfect for October.
More Optical Illusions for Kids