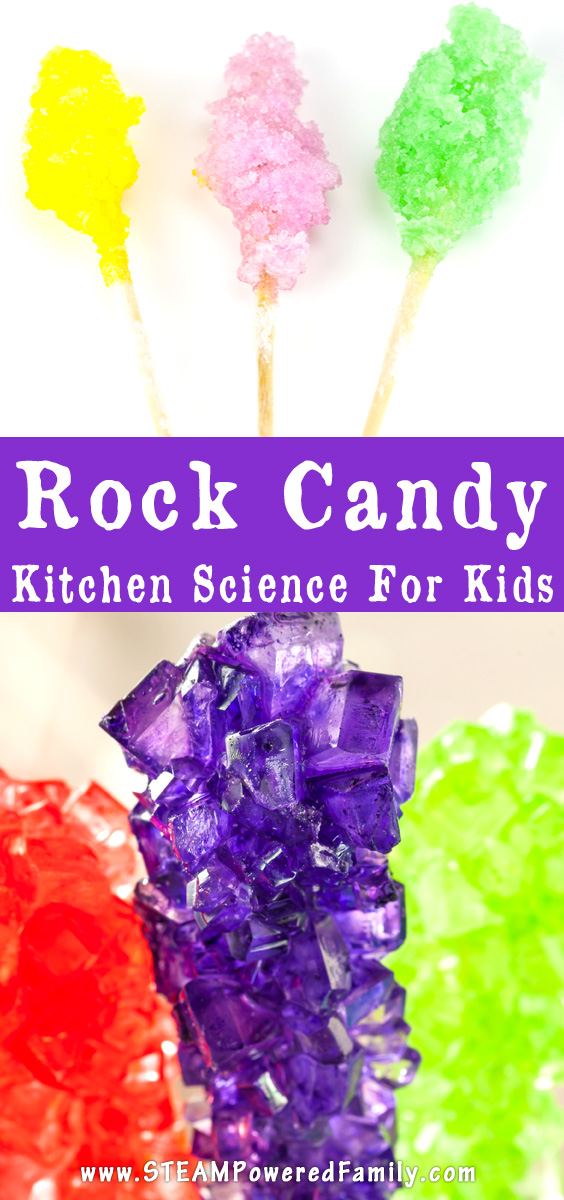
Kitchen Science For Kids – Rock Candy
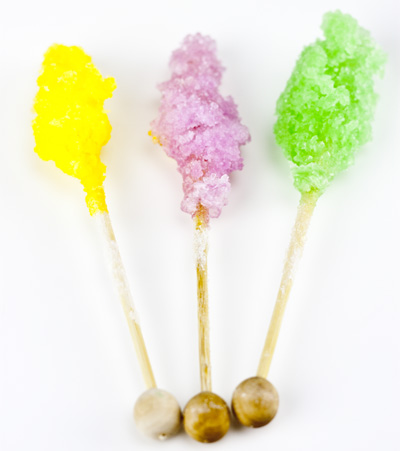
Kitchen science for kids is so much fun and a guaranteed way to get kids engaged and excited, especially with the promise of super yummy candy at the end! Using some of the principles we learned growing borax crystals, we made some rock candy, which is crystal candy on a stick. This activity requires extensive adult supervision and involvement as we are working at very high heats. Please use common sense and keep everyone safe. Not all children are safe in the kitchen, and this activity should not be done with them until they are old enough to behave safely and appropriately in the kitchen.
Disclaimer – This post contains affiliate links
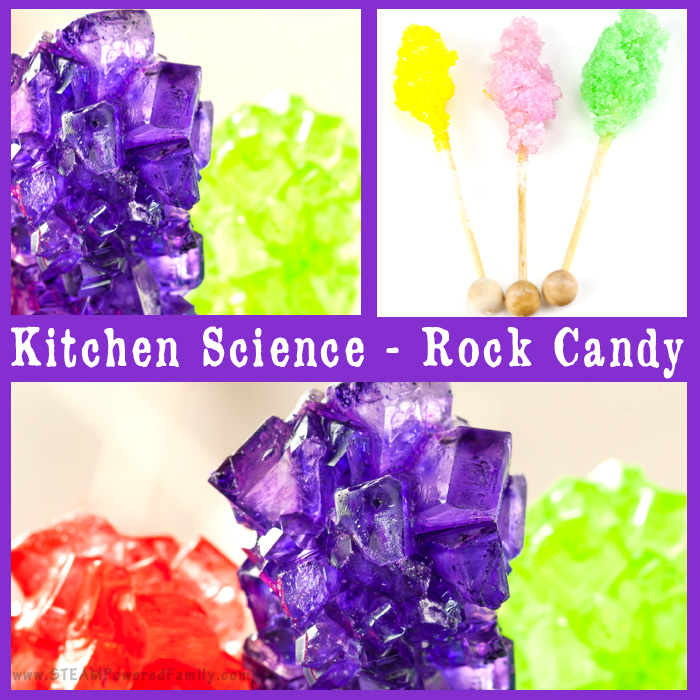
Rock candy is produced from a supersaturated solution of sugar, just like we created our borax crystals from a supersaturated solution. A supersaturated solution simple means that the liquid has more solvant (sugar in this case) dissolved into it, than what could normally be achieved if dissolution took place under normal conditions (room temperature in this instance). The goal with rock candy is to create a 3 – 1 sugar solution.
To create a supersaturated solution the liquid needs to be hot while the sugar is added, please be extremely careful during this stage and use all appropriate safety precautions. Once the liquid starts to cool the sucrose crystals will form a solid crystalline structure. Hopefully on the stick creating our rock candy treat.
If you want to learn more about the science behind candy making and supersaturation, there are two great articles here and here.
So enough about the science, let’s get to making some tasty treats!
Rock Candy Supplies Needed:
4 x 2 cup mason jars
Candy sticks
4 clothes pins
4 quart saucepan
A metal spoon
Candy thermometer
Rock Candy Ingredients:
6 cups of sugar plus ½ cup for ‘seeding’ the sticks
2 cups of water
Food coloring
Food flavoring if desired
&
Directions:
Clean the mason jars thoroughly and set aside.
Put 2 cups of water into the saucepan and add 1 cup of sugar. Heat on medium high until boiling. Reduce the heat to control the bubbling. You don’t want it splattering as this is dangerous.
When the syrup is clear (no little specks of sugar are left in the syrup when you inspect it) add another cup of sugar. Allow to boil gently until that sugar is full dissolved. Continue adding sugar a cup at the time until all 6 cups are dissolved into the water.
You will find that the sugar will take longer to dissolve the more sugar you add. If you find that the sugar is not dissolving, raise the heat a little bit.
Keep the slow boil going until you reach 110 centigrade or 230 Fahrenheit. Use your Candy Thermometer to carefully track the temperature. Once you reach the goal temperature, the mixture is now known in candy making as a syrup and in science as a supersaturated liquid.
Remove the syrup from the heat and allow to cool to room temperature.
Take 4 lollipop sticks and dip the pointy end into the syrup several times. Remember the syrup is very hot so be careful.
Now roll the top third of each pointy end stick into some sugar. Allow them to dry. What you are doing with this step is ‘seeding’ the stick so that when you put them into the syrup the molecules will be attracted to the sugar and start crystallizing on the stick.
Time To Make Some Rock Candy Crystals!
Into each Mason jar add 6 or 7 drops of food coloring and flavoring if you have decided to use it.
Now carefully fill each jar approximately 2/3 full with the syrup.
Take the Lollipop stick and carefully lower the pointy end into the syrup. Make sure it doesn’t touch the sides or the bottom of the jar. Use the clothes pin balanced across the neck of the jar to hold the stick in place. Repeat putting a different stick into each jar.
Now it’s time to wait and let science do its work!
To encourage the formation of crystals don’t jiggle or touch the jars or sticks; put them into a quiet area where they will not be disturbed.
If you want to make large crystals place the jars into the dark warm room. You can also carefully wrap the jars in towels. If you remember from our giant crystals experiment, the slower the supersatured solution cools, the larger the crystals that are formed.
Leave the rock candy for two or three days to form. Once the crystallization process is complete, carefully remove the sticks – you may need to dig through the crystals forming on the top of the syrup. You can use a wooden skewer to do this. Be very careful not to dislodge any of your crystals on your sticks!
Take your rock candy stick and lay it on paper towels to dry. Enjoy your tasty experiment!
Changing Variables To Get Different Results
We’ve been playing with different variables a lot and coming out with lots of different results. Not all are pretty but they are all very tasty! So really it’s a no fail experiment. Even when the crystals turn out weird. Perhaps because certain kids got excited and disturbed the jars during the crystallization process… they still taste amazing! Plus, there is a lesson in there about what happens if you do move the jar to take a peek.
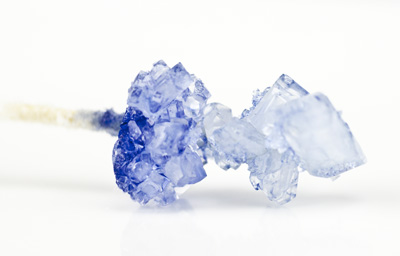
My kids actually prefer smaller crystals for eating. Like this:
Enjoy some tasty science with this kid approved kitchen science experiment making rock candy!
MORE FROM STEAM POWERED FAMILY