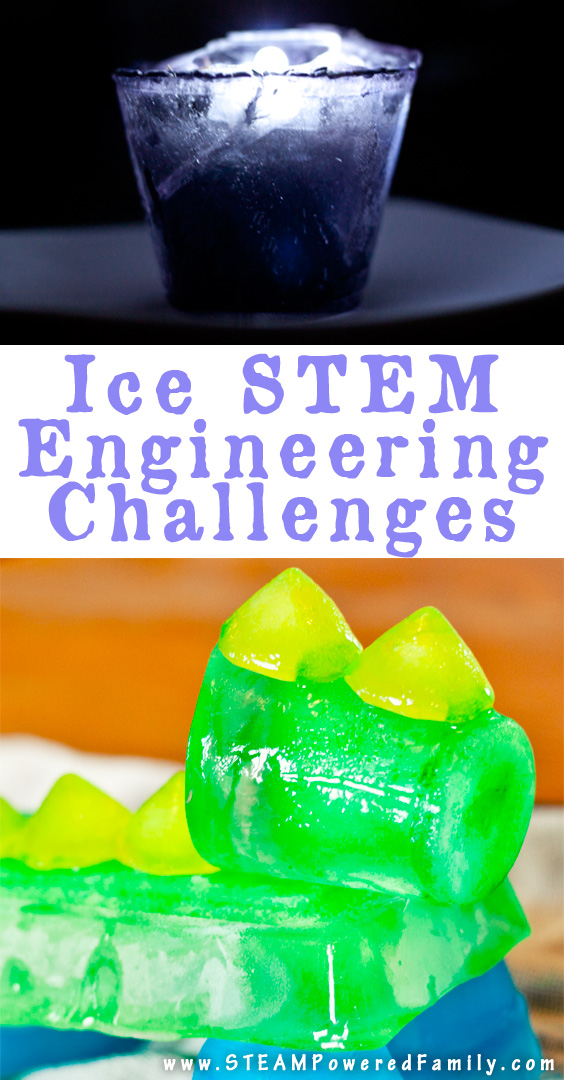
Ice STEM Challenges
We love a good STEM Challenge, especially when we can use simple materials like Paper or Water. Today we decided to up the challenge a bit and do some incredible Ice STEM Challenges. These activities are perfect for a Winter STEM Activity Day or at any time of the year to explore states of matter and how they can be incorporated into STEM Education in the classroom or at home.
ICE STEM CHALLENGES FOR KIDS
Disclaimer: This article may contain commission or affiliate links. As an Amazon Influencer I earn from qualifying purchases.
Not seeing our videos? Turn off any adblockers to ensure our video feed can be seen. Or visit our YouTube channel to see if the video has been uploaded there. We are slowly uploading our archives. Thanks!
When preparing any STEM Challenge with the kids, I focus on a theme and core learning outcomes. I also really like it when they are easy prep and use simple materials. These ice challenges tick all the boxes!
The theme of these activities is ice with specific learning outcomes around exploring states of matter, density, displacement, and more. The best thing about these activities is that you can use simple materials for molds like cupcake liners, plastic cups, and balloons to freeze your water into a variety of shapes for the challenges. The only thing you need to consider is how much freezer space you have available. If you happen to live where it is really cold, you can do these challenges outside and freeze your molds outside too. A great way to take your learning outdoors even in winter!
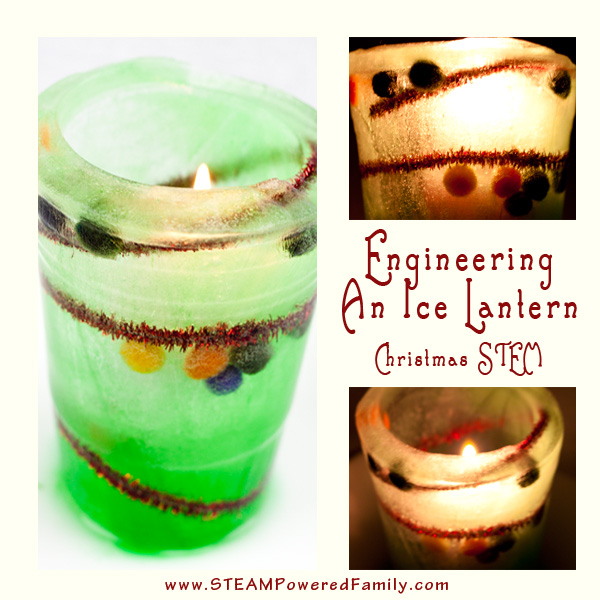
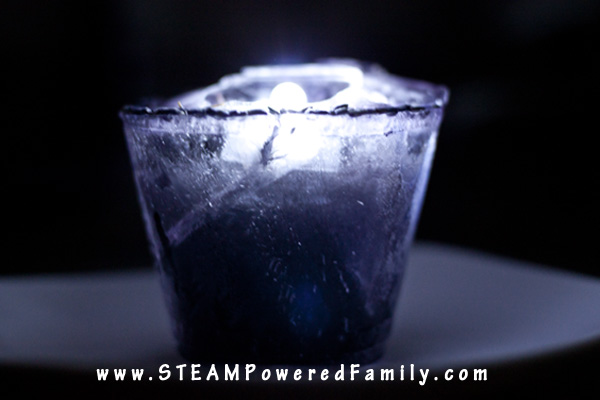
Ice STEM Challenge #1 – Make an Ice Lantern
In this challenge we are making beautiful ice lanterns. All you need is:
A larger plastic cup
Smaller plastic cup
Water
Tape
Something to weigh down the smaller cup
Optional – Decorative elements (some ideas: ribbons, pipe cleaners, beads, glitter, berries, pine needles, etc.) plus food colouring to make your lantern special
How to Make an Ice Lantern
To get the full Ice Lantern lesson, visit this tutorial.
The smaller cup needs to fit inside of the bigger cup leaving at least a centimeter of space all the way around.
If you are using decorations, place your decorations in the larger cup. Get creative! How you do this will depend on what decorations you use.
Next, place the smaller cup inside of the bigger cup and use tape to hold it in place, so the tops of the cups are flush. If you have used decorations, you may need to use a craft stick or chop stick to adjust where your decorations are to make it perfect.
In a separate cup colour your water with food colouring if desired. Now carefully pour the water into the larger cup. The smaller cup will start to rise. Add some weight, like erasers or anything you have around to hold it down. Leave about 2 cm at the top of the cup.
Science Break
Ask your kids, why does the smaller cup try to rise up? It is due to displacement. As the larger cup is filled with water, the lighter, smaller cup is displaced or pushed up. However when we add weights to the smaller cup so it stays in place and the water is forced to move around the small cup and up the sides of the larger cup, creating the lantern shape.
Now place the whole thing carefully in the freezer for about 5 hours or overnight. You can also place it outside if it is well below freezing.
Once frozen, you should notice that despite the tape and the weights the smaller cup is higher and the ice is to the top of the large cup. This is due to water expanding as it freezes.
Carefully remove the plastic cups to reveal the lantern. Place a candle inside to light it up! I recommend using battery operated candles so your lanterns last the longest without melting. In the winter you can place these outside to enjoy for days or weeks if your temperatures are well below freezing.
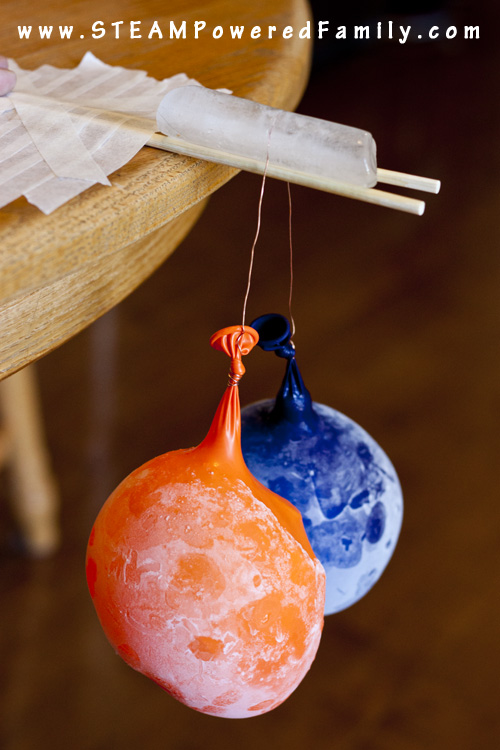
Ice STEM Challenge #2 – Wire Ice Cutting Challenge
This activity is like a magic trick. It is absolutely fascinating to watch. For this experiment you need a block of ice, fishing line, copper wire and 4 small weights (0.5-1lb is perfect). If you don’t have weights, you can fill some balloons with water to make your own weights, use soup cans, ball bearings, or anything else you have on hand that provides consistent weight across the four weights.
First, make an ice block. You can do this in a long balloon or using a silicone mold. The key is to ensure it is uniform thickness throughout.
Science Break
Variables are a very important part of all science experiments. In this experiment we need to ensure our constant variables are exactly the same. This means the thickness of the ice needs to be consistent and the 4 weights need to be identical. This ensures our constants and allows us to be sure any differences we discover in this experiment are due to the differences between the copper wire and the fishing line.
Place the block on a bridge of chopsticks and tape the chopsticks to the table to hold it securely. I recommend putting a tray or bin underneath the ice block to catch any water drips.
Tie the weights to either end of the fishing line and the copper wire.
Now hang the wire and line across the top of the block. Watch to see what happens!
The copper wire goes through the ice much faster than the fishing line. This is because copper has a higher thermal conductivity. When ice freezes it releases heat. The heat transfers or conducts through the copper into the ice below. This speeds up the melting process. But the ice not in contact with the heat conducting copper refreezes.
Fishing line is a poor thermal conductor, so little happens with the fishing line unless you do something special like we did in our Ice Fishing Challenge below.
One really cool thing you will observe. The copper wire goes through the block of ice but it refreezes behind the wire. It is like the wire is moving through the ice by magic instead of cutting through it. The top will stay perfectly intact and smooth. Very cool!
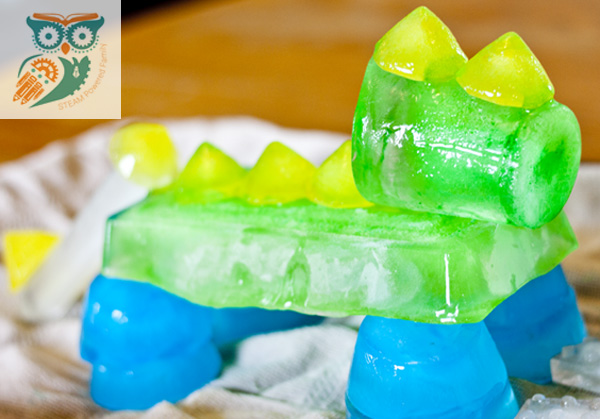
Ice Challenge #3 – Ice Engineering Challenges
For this activity we want to encourage kids to get really creative and put some of that math and geometry knowledge to work, just like we did in our Treehouse STEM Challenge.
In this building challenge we want students to come up with an idea for a structure or sculpture that they can build out of ice blocks. Let them use their imaginations, or give them a specific theme or concept. Some examples could be famous landmarks or buildings, space ships, trees, animals, etc.
Have them sketch out their design and determine what ice shapes and parts they will need from the mold options you have available. We used our silicone molds to create a wide variety of ice shapes for this challenge. You can also use plastic cups, ice trays and more. Get creative!
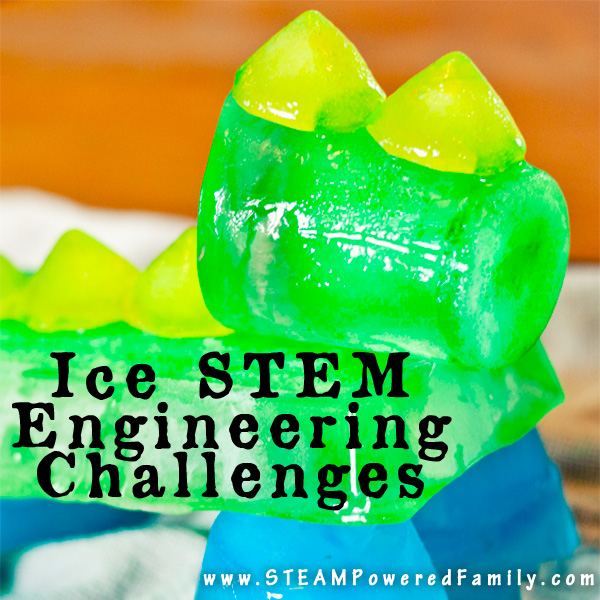
Make the required ice shapes. We decided to build a dinosaur ice sculpture!
Pro Tip! Add food colouring to your water before you freeze it. Change up the colours so you have a wide variety. Your structures will be colourful masterpieces!
Once the ice is frozen, remove it from the molds. Now use a sprinkle of salt to attach the pieces of ice to each other and build your ice sculpture!
Ice Fishing Challenge
In this project, we are taking what we learned about building ice structures in the previous activity and how salt works to help the pieces adhere. Now we have that knowledge, we can turn it into a fun game, and go ice fishing!
All you need is fish shaped silicone molds to make the ice fish, string and some salt. Can you figure out how to do this challenge?
You can get all the details on how to do this challenge in our ice fishing tutorial.

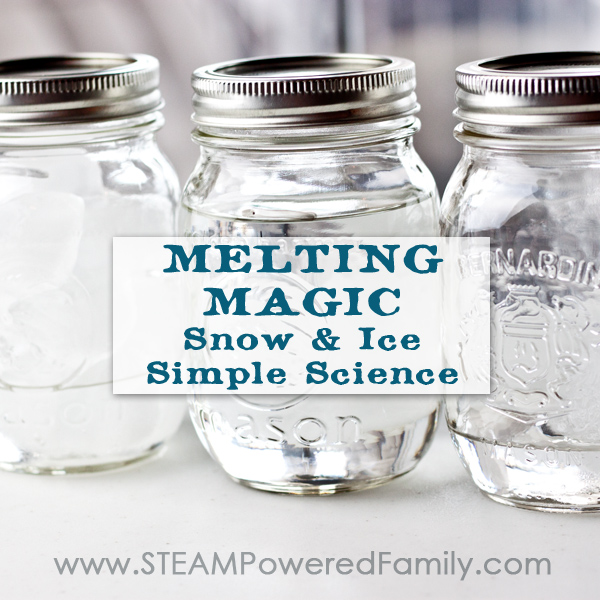
Winter States of Matter Challenge
In this activity all you need is 3 mason jars. Fill one with snow, one with ice cubes and one with water. Ask your students to predict which jar will have the most water once they are all melted. The results may surprise your kids!
Get all the details on this challenge, including the science, in our Simple Melting Magic Winter Science Experiment.
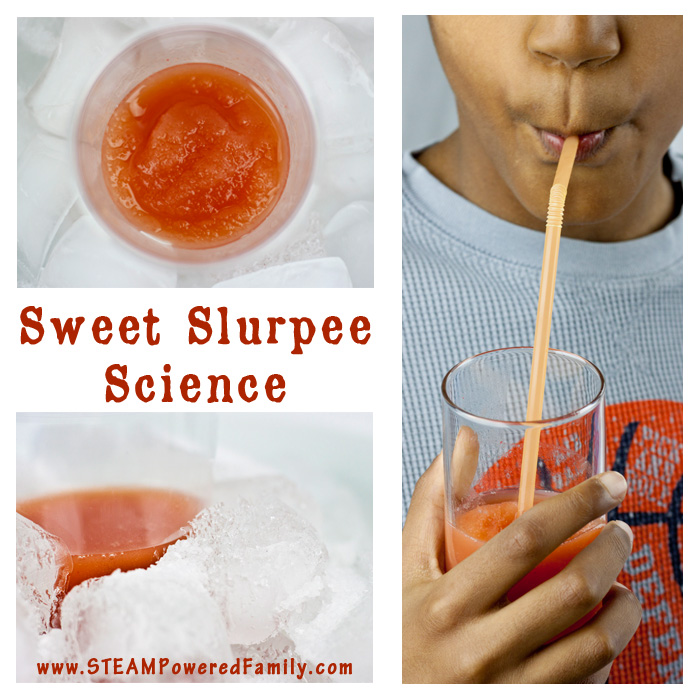
Slushie Drink Making Ice STEM Challenge
This is a very tasty way to wrap up your studies into Ice and States of Matter. By making slushies or slurpee! This is always a massive hit with the kids and you can easily have a batch of this going while you do the other experiments. Just make sure to set a timer so you remember to come back and stir your slurpee regularly!
Get all the details on making slushies or slurpee treats, plus the heat transfer science behind how they are made in our slurpee making challenge.
Have a blast exploring these Ice STEM Challenges! Chilly fingers and learning ahead!