Make A Frederick’s Cross Using Blacksmith Secrets
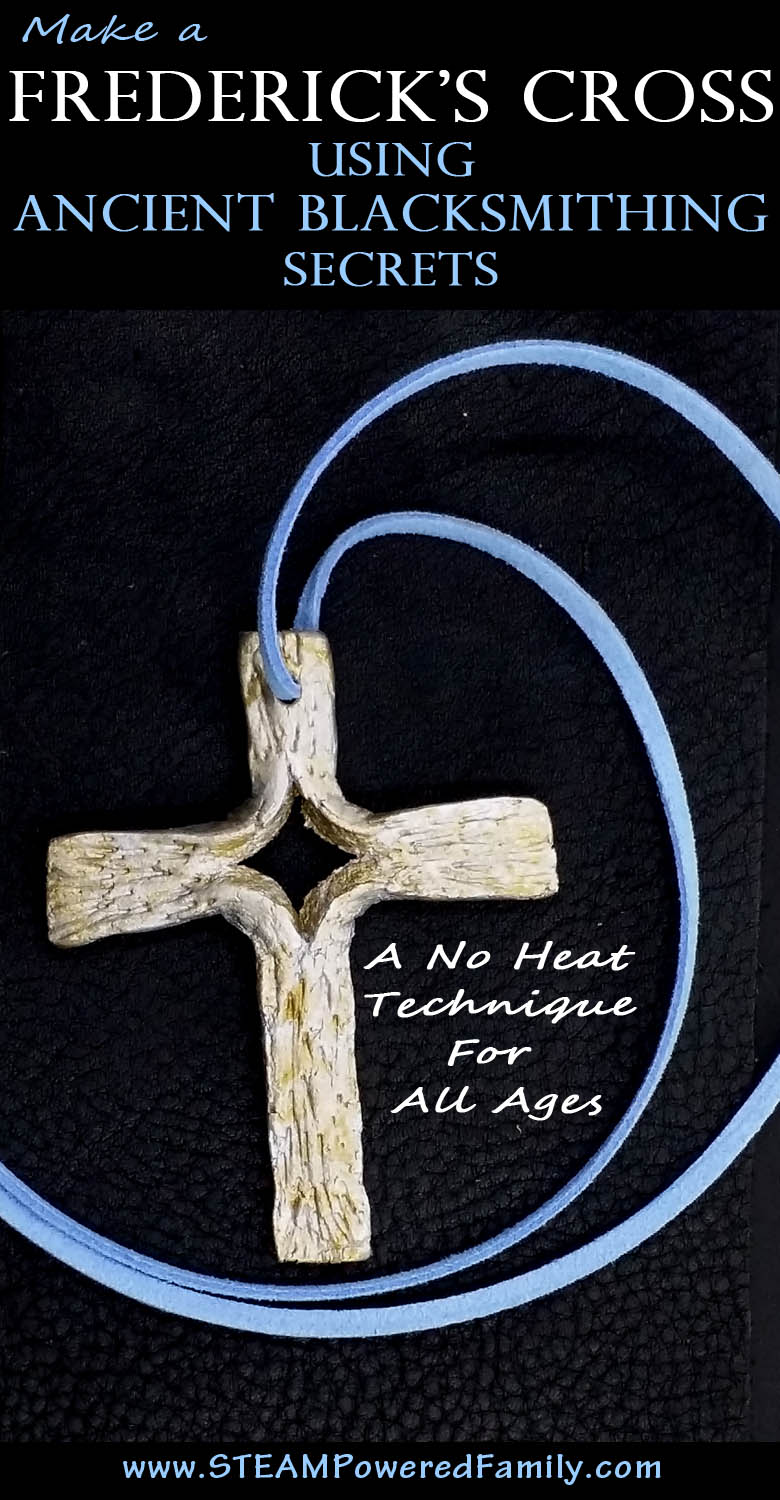
A Frederick’s Cross is a beautiful piece that has been created by blacksmiths for many years. Today I’m sharing the ancient blacksmith secrets with a little adaptation (no forge or fire needed!), so anyone, of any age, can create their own stunning Frederick’s Cross.
FREDERICK’S CROSS
Disclaimer: This post contains affiliate links
The Frederick’s Cross is traditionally made by blacksmiths who heat up metal until it is beyond red hot, to white hot, then they pound on it with hammers until they create beautiful pieces of art. My husband is a blacksmith and he has made a number of these crosses and they are stunning pieces that I wear proudly.
One day I had my husband show me how these crosses were made. The process was fascinating and it gave me an idea for this no fire technique that all ages could do to learn the secrets of the Frederick’s Cross and make their own special pieces.
To make our no fire, no forge, no hammer required Frederick’s Cross, you will need:
Air dry clay
Craft knife (chose an age appropriate tool, for the most precision sharp is best, but safety comes first)
Toothpick
Acrylic paints
Lacing or string (I like using eco-suede lacing)
The dimensions shared here can be adjusted to make your cross bigger or smaller, but these dimensions will give you a nice sized pendant.
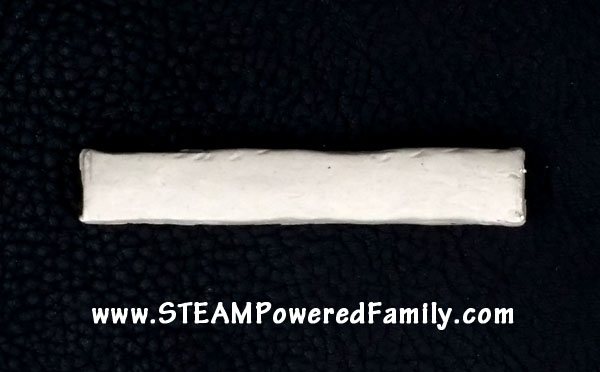
The first step is to carve out your starter piece. It should be 2.5 inches long and 3/8 inch square.
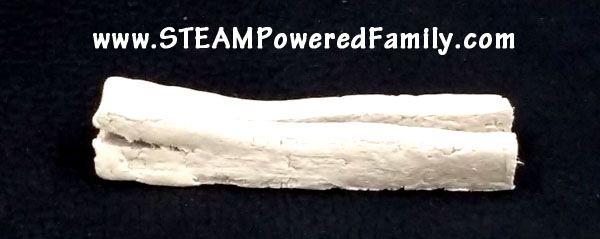
Next cut in from one end through the middle 1 inch deep.
Rotate, then make a cut from the other end 1.75 inches deep. You will notice these cuts overlap in the middle. This is important to the design.
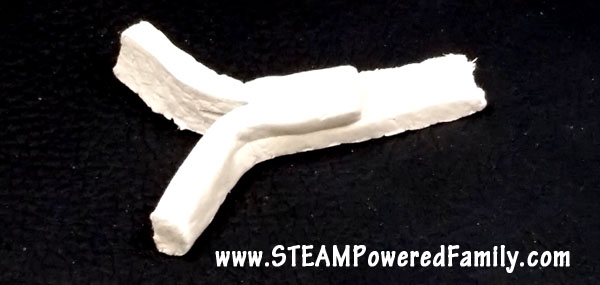
From this end chose one side and cut 0.75 inches off one part (this will create the shorter top of your cross).
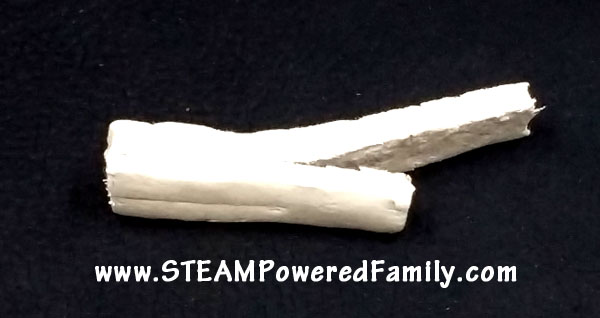
Go to the other end, the one that has two equal ends and carefully pull apart the ends, then repeat on the other end to open the cross.
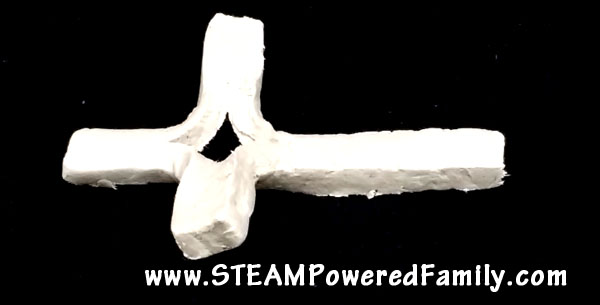
Carefully flatten your cross. Imagine the amount of heat and hammering a blacksmith needs to use at this point to shape metal this way!
Then using a toothpick clean up the edges and create a pattern in the clay.
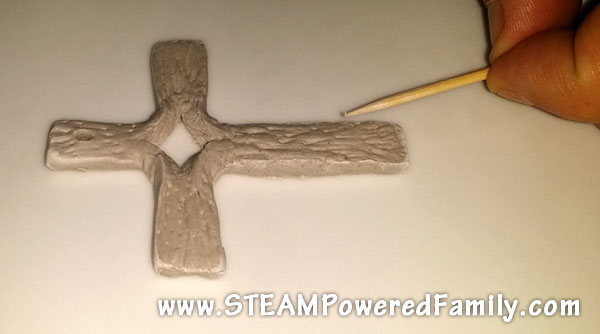
Using the toothpick place a hole at the top, make it a little bigger as it will shrink a bit as the clay dries.
Once finished let it dry for 24 hours. Once dry, you can paint it with whatever colours you like. We went with a combination of silver and bronze metallic paints, but you can paint it whatever colours you wish!
Once the paint is dry finish with a string, ribbon or leather thong. I used an eco-suede lacing.
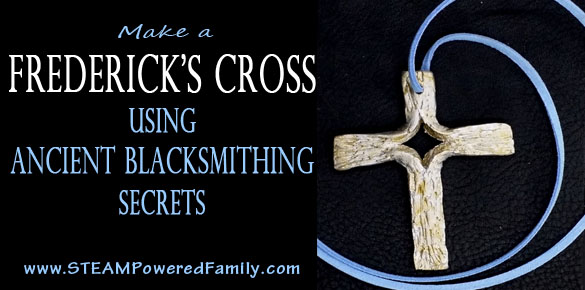
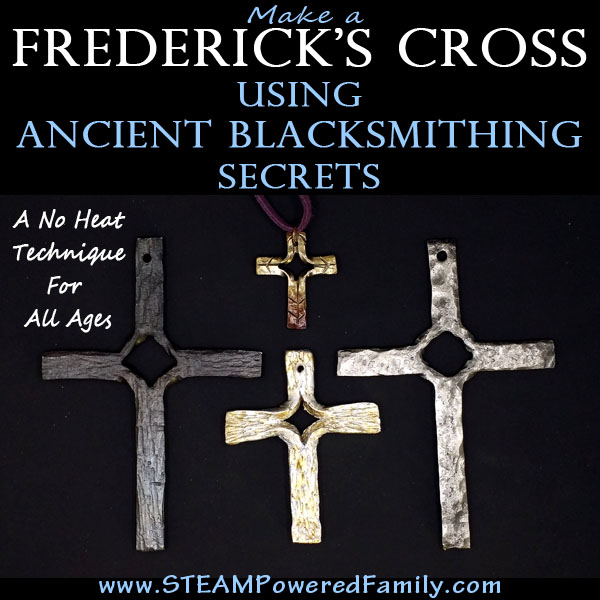
Here is our finished clay Frederick’s Cross along with some blacksmith forged crosses for comparison. The small one at the top is the one I wear every day. The colours in it were created using a special metallurgy heat treatment technique called tempering. It’s a beautiful way to naturally colour metal. But for our clay crosses, paint does a pretty amazing job!
I hope you enjoy your Frederick’s Cross and had fun learning some ancient blacksmith techniques!
Want to learn more about being a Blacksmith? Check out our article So You Want To Be A Blacksmith.

MORE FROM STEAM POWERED FAMILY